What is Portainer?
Portainer is a tool that simplifies the management and maintenance of Docker’s containers. It helps you to speed up deployments, simplifies migrations and allows monitoring and solving problems in a fast and intuitive way. It is controlled through a web interface and looks similar to the following:
Portainer Screenshots
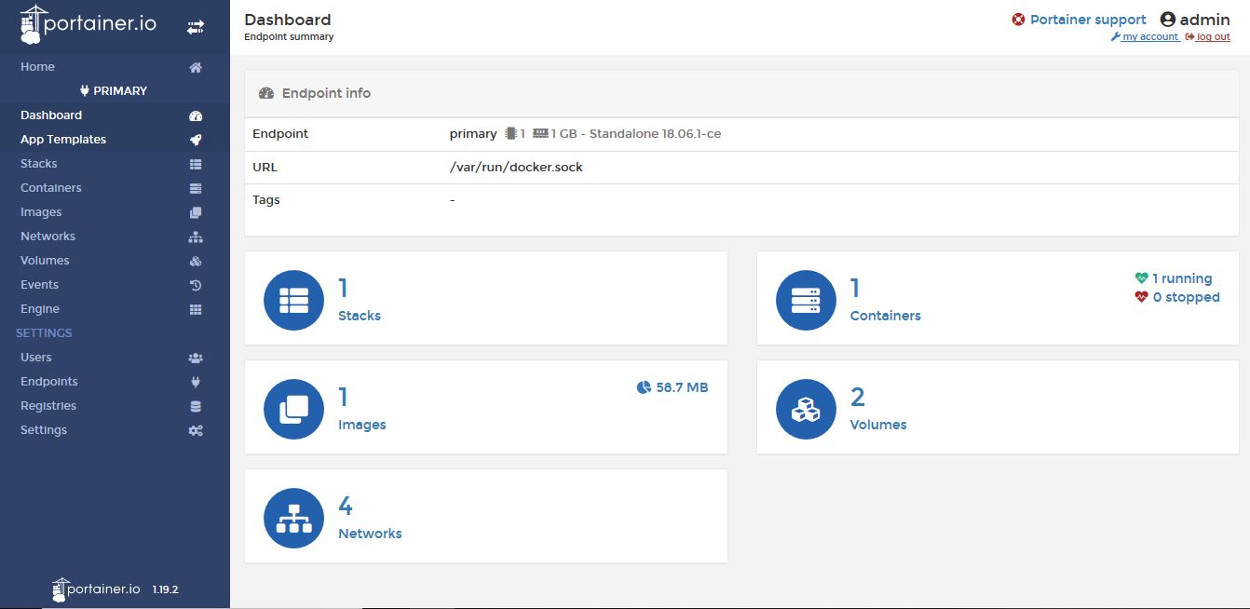
Dashboard
Portainer’s Control Panel
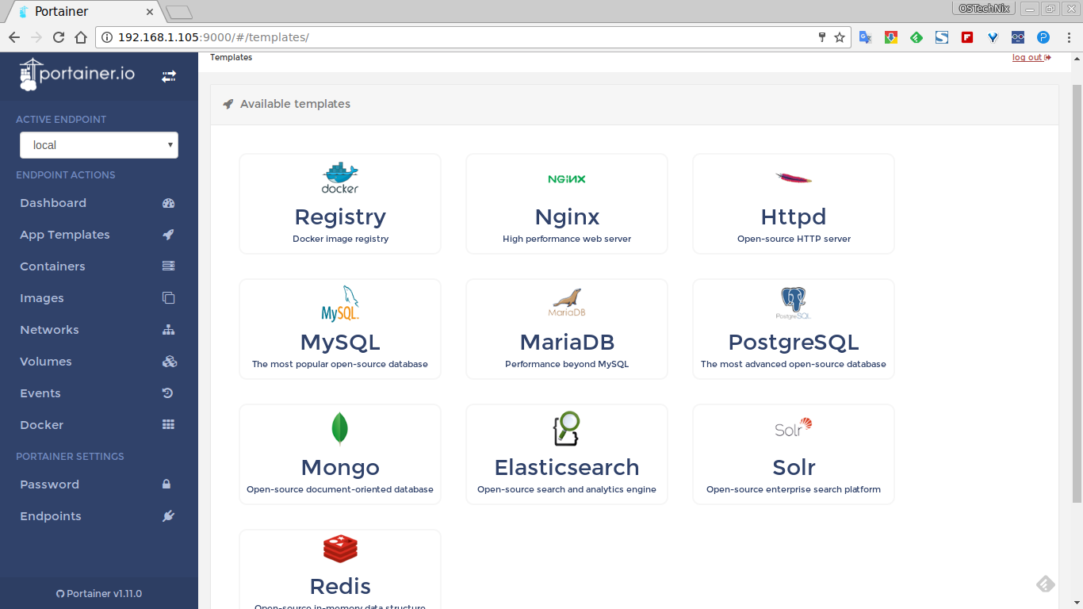
App Templates
Portainer’s Application Templates
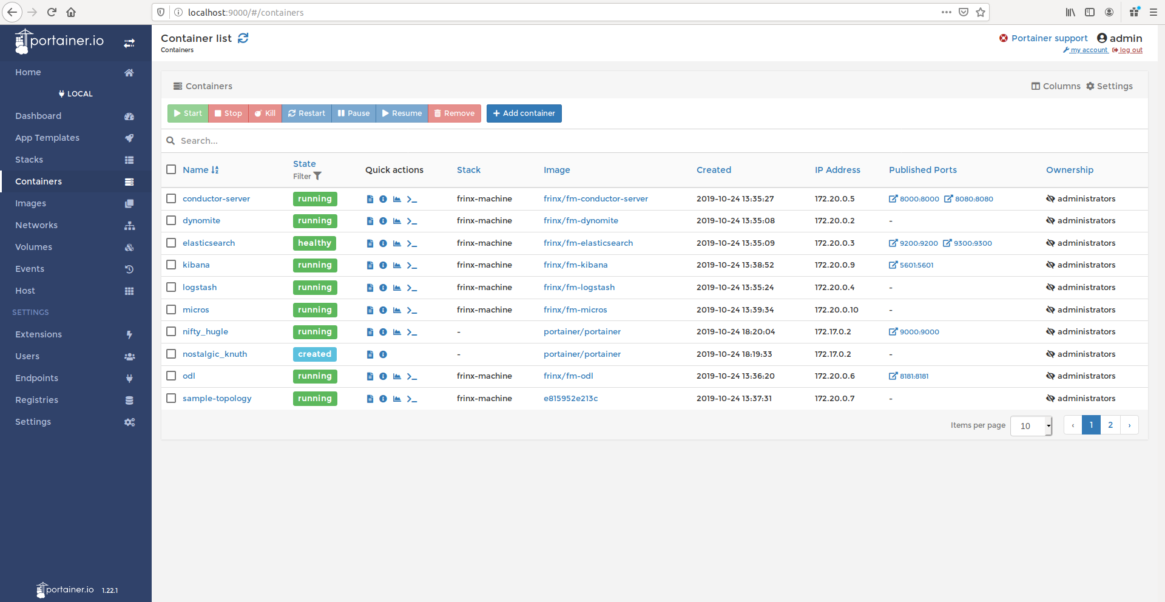
Containers
Portainer’s Container List
Previous Requisites
- Docker installed following the steps described in How to install Docker in Ubuntu 20.04.
- Docker Compose installed following the steps described in How to install Docker Compose in Ubuntu 20.04.
Installing Portainer
To install Portainer in our system, we will create a Docker container using Docker Compose. In order to do that we will first create a file called docker-compose.yml with container’s definition, and then we will execute it in our system.
mkdir -p docker/portainer
cd docker/portainer
nano docker-compose.yml
Inside file docker-compose.yml we add the next content:
version: '3'

services:
  portainer:
    image: portainer/portainer-ce:latest
    container_name: portainer
    restart: unless-stopped
    security_opt:
      - no-new-privileges:true
    volumes:
      - /etc/localtime:/etc/localtime:ro
      - /var/run/docker.sock:/var/run/docker.sock:ro
      - ./portainer-data:/data
    ports:
      - 9000:9000
We save the information pressing Ctrl+X, y, ENTER.
We execute the container using Docker Compose:
docker-compose up -dWe open a web browser and access Portainer’s service we are running in Docker:
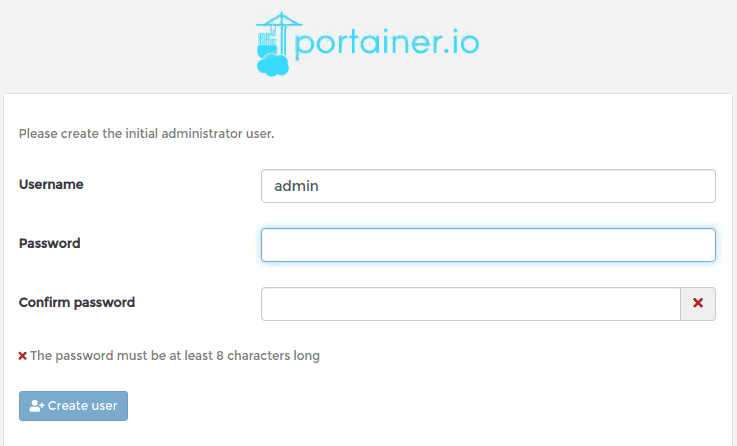
http://SERVER_IP:9000/We create administrator user credentials filling in the form:
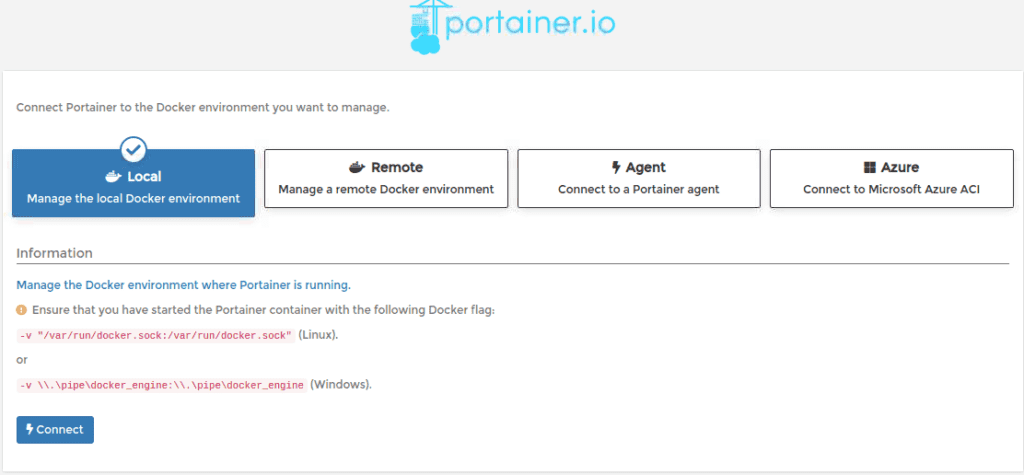
At last, we connect Portainer to local Docker instance:
