How to install Coolify on Docker (2026 step-by-step guide)
Table of contents
- Key takeaways
- Requirements
- Installation with the official script
- First access
- Configure domain and TLS
- First Git deployment
- Managed databases
- Backups and maintenance
- When to use Coolify
- On Coolify 4.x vs previous versions
- FAQ
- Is Coolify a real alternative to Vercel or Heroku?
- How much resource does the VPS need at minimum?
- Does Coolify support deployments from GitHub Actions?
- How do you migrate from Coolify v3 to v4?
- How much does Coolify cost?
- How does it compare to CapRover, Dokku, or Portainer?
- Does it work with Cloudflare Tunnel?
- Do backups include application data volumes?
- Can you use your own Docker Compose inside Coolify?
- What happens if the server reboots?
Actualizado: 2026-05-16
Coolify 4.x is a self-hosted deployment platform that manages Git applications, databases, and SSL certificates from a web dashboard, on top of Docker. An official script brings up the full installation in 2-5 minutes on Ubuntu 24.04 or Debian 13. This guide covers installation, domain and TLS configuration, the first Git deployment, and backups.
Key takeaways
- The official script installs Docker and starts Coolify 4.x in 2-5 minutes.
- Manages PostgreSQL, MySQL/MariaDB, MongoDB, Redis, and ClickHouse with persistence and S3 backups.
- Integrated Traefik issues Let’s Encrypt certificates without additional configuration.
- Works well for personal projects, startups, and agencies wanting full infrastructure control.
- Does not cover native multi-region or distributed edge functions.
Requirements
- Ubuntu 24.04 LTS or Debian 13 (Trixie), minimum 2 GB RAM and 40 GB disk.
sudoor root access to the server.- Domain pointing to the server (optional for testing, required in production).
- Ports 80, 443, and 8000 open.
If Docker is not yet on your server, see how to install Docker on Ubuntu 22.04 or how to install Docker on Debian 12 first.
Installation with the official script
Coolify ships a script that installs Docker if missing, pulls the base containers, and configures the internal network. On the server as root:
curl -fsSL https://cdn.coollabs.io/coolify/install.sh | bashThe script does three things:
- Installs Docker Engine and Docker Compose v2 if they are not present.
- Pulls the Coolify 4.x images and dependencies (Traefik proxy, internal database).
- Starts the containers and sets up the internal
coolifynetwork.
Takes 2-5 minutes depending on server download speed. The script source is in the official Coolify GitHub repository[1].
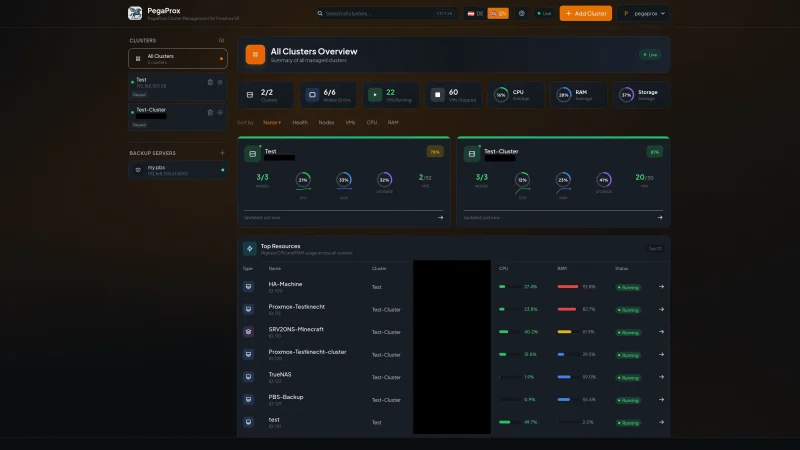
Coolify 4.x dashboard after installation. The “localhost” server appears ready to deploy.
First access
Once the script finishes, open the browser at:
http://<server-IP>:8000Coolify asks you to create the admin user on first load. After signup, the dashboard shows a pre-configured “localhost” server ready to deploy applications.
Configure domain and TLS
For production, the flow in Settings → Server is:
- Set the hostname to the domain pointing to the server.
- Coolify uses Traefik[2] as the internal ingress, the same tool used in jacar.es to route traffic between containers, see how to install Traefik with Docker Compose.
- Let’s Encrypt certificates are issued on the first request to the domain.
Coolify 4.x SSL panel. The Let’s Encrypt certificate is issued automatically without additional configuration.
First Git deployment
In the dashboard:
- Projects → New Project, assign a name.
- Add Resource → Application → choose “Git repository”.
- Connect GitHub, GitLab, or Gitea via OAuth or personal token.
- Select the repository and branch.
- Coolify detects the framework (Next.js, Nuxt, Astro, Node.js, Python, PHP, etc.) and proposes build configuration.
- Add the required environment variables.
- Click Deploy.
In under three minutes the application is live at <slug>.<domain> with automatic HTTPS.
Real-time deployment logs. Coolify shows each build step and the final URL once the container starts.
Managed databases
Coolify creates and manages database containers with persistence in Docker volumes:
- PostgreSQL
- MySQL/MariaDB
- MongoDB
- Redis
- ClickHouse
Add Resource → Database creates the container with persistent storage. Credentials are injectable directly into environment variables of applications in the same project. Backups to any S3-compatible bucket (Hetzner Object Storage, Backblaze B2, Cloudflare R2) are enabled per policy from the same interface.
Database panel. Coolify shows the connection string ready to copy and inject into the application.
Backups and maintenance
There are two independent backup levels:
- Coolify instance: Settings → Backup configures backup of the Coolify configuration itself, including project and resource metadata.
- Databases: each database has its own backup policy to an S3-compatible bucket.
Updates ship from Settings → Updates. Coolify updates its own containers without stopping deployed applications.
Backup configuration. Coolify lets you schedule copies of the instance and each database to any S3 provider.
When to use Coolify
It fits well if:
- You have a VPS and want to replace manual deployments with a dashboard.
- You need to host several applications with databases on the same server.
- You want to avoid variable costs of platforms like Vercel or Railway past a certain traffic level.
- You manage infrastructure for clients and need to isolate projects.
It does not fit if you need native multi-region, distributed edge functions, or strict regulatory compliance certifications (SOC 2, HIPAA, etc.).
To compare with container security tools that integrate well with this stack, see Trivy and Grype for Docker image scanning in CI.
On Coolify 4.x vs previous versions
Version 4 rewrote the core compared to the v3 series. v3 projects do not migrate automatically: resources must be recreated in v4. The interface is more stable and the data model cleaner, but if you come from v3, plan migration time. The official Coolify documentation[3] keeps the migration guide up to date.
FAQ
Is Coolify a real alternative to Vercel or Heroku?
Yes, for projects without edge computing requirements. Coolify replicates the Git deployment flow with preview URLs, environment variables, and managed databases. The difference is you run the platform on your own server and pay for the VPS instead of per usage. For a project with moderate traffic on a 4 GB RAM VPS, the monthly cost is noticeably lower than Vercel Pro.
How much resource does the VPS need at minimum?
The Coolify 4.x base installation uses around 500 MB of RAM at idle. With one or two lightweight applications deployed, 2 GB RAM and 2 vCPUs are sufficient. For production with several applications and active databases, 4 GB RAM is more comfortable.
Does Coolify support deployments from GitHub Actions?
Yes. Coolify exposes webhooks per project that GitHub Actions can call at the end of a workflow. The usual pattern is for Actions to build and push the image to a registry, then Coolify’s webhook forces a redeploy with the new image.
How do you migrate from Coolify v3 to v4?
Migration is not automatic. The official process involves exporting v3 configuration, installing v4 clean, and recreating resources manually. Coolify maintains the migration guide in its official documentation. Plan a 1-2 hour maintenance window depending on how many projects you have.
How much does Coolify cost?
The open source edition (self-hosted) is free. There is a cloud edition managed by the Coolify team with paid plans starting at around $5 USD per month per managed server. The source code is on GitHub under the Apache 2.0 license.
How does it compare to CapRover, Dokku, or Portainer?
Dokku is more minimal and requires command-line configuration. CapRover has a similar learning curve to Coolify but less active recent development. Portainer manages Docker containers directly but lacks the concept of a “project with database and automatic SSL.” Coolify targets the same niche as CapRover but with a more polished interface and active development in 2025-2026.
Does it work with Cloudflare Tunnel?
Yes. Coolify can sit behind a Cloudflare Tunnel instead of exposing port 443 directly. In that case you need to disable Cloudflare’s “Full (strict)” mode for origin certificates, or use a Cloudflare origin certificate instead of Let’s Encrypt. Coolify’s official tutorial documents this flow.
Do backups include application data volumes?
Not by default. Instance backups cover Coolify configuration. Database backups cover SQL dumps of managed databases. Application data volumes (uploaded files, assets, etc.) must be backed up separately with rsync or a VPS provider snapshot tool.
Can you use your own Docker Compose inside Coolify?
Yes. Coolify accepts docker-compose.yml files as a resource type. You can deploy a full Compose stack with multiple services and Coolify manages the lifecycle, domain, and SSL the same way as with normal Git applications.
What happens if the server reboots?
Coolify configures containers with restart: unless-stopped. After a server reboot, Docker starts automatically and Coolify and all applications come back up without manual intervention.