Gemini CLI: An Agent in Your Terminal
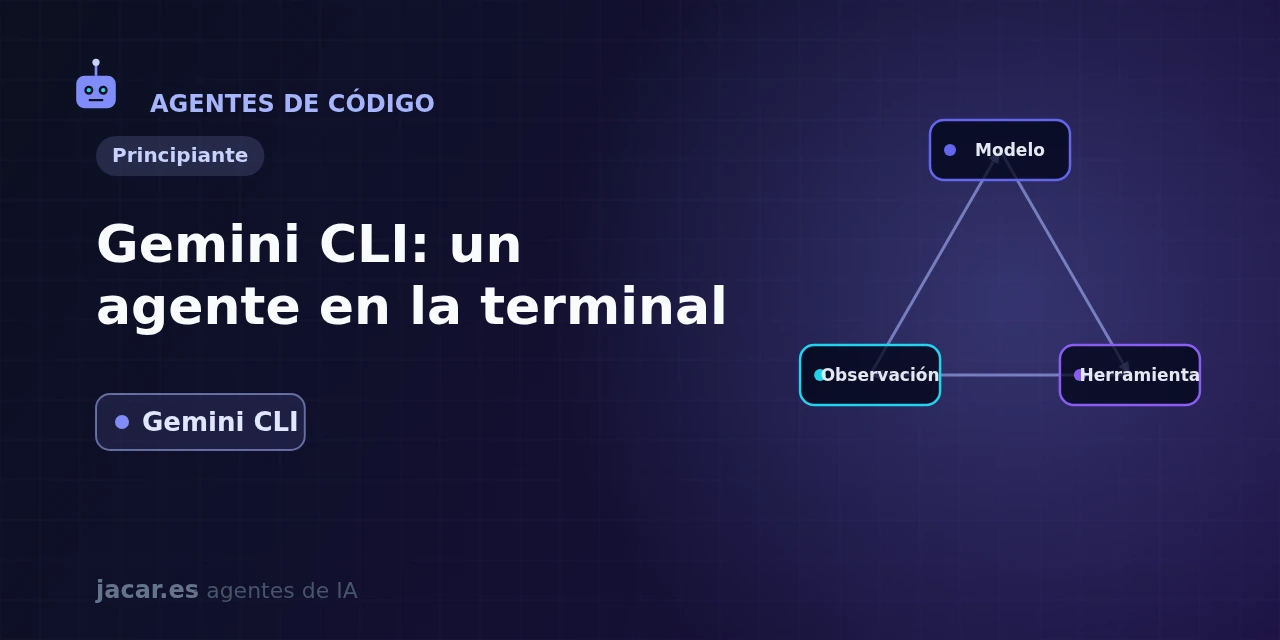
Table of contents
- Key takeaways
- What is Gemini CLI?
- Installation and the free tier
- Commands and project context
- MCP and tools
- Gemini CLI versus Codex CLI
- Frequently asked questions
- Is Gemini CLI still free?
- What is Antigravity CLI and how does it differ?
- Can I use it with a model that is not from Google?
- Conclusion
- Sources
Gemini CLI is Google’s coding agent that lives in your terminal: you describe a task in natural language and it reads your files, runs commands, searches the web and edits the project for you, always asking for your approval before each sensitive action. It is open source, uses the Gemini 3 model with a one-million-token context window and installs with a single npm command. In this guide you will see what it is, how to install it, what happened to its famous free tier, how you give it context with a GEMINI.md file, how to extend it with MCP and how it differs from OpenAI’s Codex CLI. The same explanation is available in Spanish.
Key takeaways
- Gemini CLI is an open-source terminal agent (Apache 2.0 licence), written in TypeScript, with more than 106,000 stars on GitHub; the current stable release is v0.50.0 (July 2026).
- It uses the Gemini 3 model with a one-million-token context window and ships with built-in tools: Google Search, reading and writing files, running commands and fetching web pages.
- It installs in seconds with npm (
npm install -g @google/gemini-cli) and needs Node.js 20 or later; there is also annpxbinary and a Homebrew formula. - Its free tier for individuals (60 requests per minute and 1,000 per day) stopped serving requests on 18 June 2026: Google moved individual users to Antigravity CLI. Gemini CLI stays available with a paid API key or an enterprise licence.
- It supports the Model Context Protocol (MCP), so you can connect external tool servers, and it reads a
GEMINI.mdfile to learn your project’s conventions.
What is Gemini CLI?
Gemini CLI is an AI agent that Google launched in June 2025 to work directly from the command line. Instead of opening a chat window, you type gemini in your terminal, tell it what you want ("refactor this module and add tests") and the agent enters a loop: it reasons, picks a tool, runs it, observes the result and repeats until it finishes. It is, in essence, an AI agent that lives in the console rather than in an editor.
The project is open source under the Apache 2.0 licence, is written almost entirely in TypeScript and has more than 106,000 stars on its GitHub repository[1], which makes it one of the most popular terminal agents. The stable release at the time of writing is v0.50.0. Under the hood it uses the Gemini 3 model, with a one-million-token context window that lets it load whole repositories without running out of memory.
What sets it apart from a plain assistant is autonomy combined with real tools. Gemini CLI ships with Google Search to ground its answers in current data, file-system operations, shell command execution and web-page fetching. With those pieces it can investigate a bug, apply the fix and verify it, all without leaving the terminal.
Installation and the free tier
Installing Gemini CLI takes seconds if you already have Node.js 20 or later. The recommended way is to install it globally with npm:
npm install -g @google/gemini-cli
gemini
You can also run it without installing anything using npx @google/gemini-cli, or install it on macOS and Linux with Homebrew (brew install gemini-cli). The first time you open it, it asks you to authenticate, and this is the most important change you need to know about in 2026.
For its first year, Gemini CLI offered a very generous free tier: signing in with a personal Google account was enough to get a free Gemini Code Assist licence, with 60 requests per minute and 1,000 per day at no charge. That stage is over. In the official announcement, Google warned that on 18 June 2026 "Gemini CLI and Gemini Code Assist IDE extensions will stop serving requests for Google AI Pro and Ultra, as well as those using it free of charge." From that date, Google steers individual users toward a new tool, Antigravity CLI, written in Go.
The good news is that Gemini CLI is not going away: it remains an active open-source project and works with a paid API key. To use it today as an individual, generate a key in Google AI Studio and export it before starting:
export GEMINI_API_KEY="your-ai-studio-key"
gemini
In this mode you pay per token consumed rather than enjoying a fixed daily allowance, so it pays to watch spending on long agentic loops. Organisations with a Gemini Code Assist Standard or Enterprise licence keep access unchanged.
Commands and project context
Inside the interactive session, Gemini CLI is driven with natural language and with commands that start with a slash. /help lists the available ones, /chat manages the history, /tools shows the active tools and /mcp lists the connected MCP servers. You can also reference specific files with @path/to/file to include them in the context, or run a one-off shell command with !.
The key piece for the agent to understand your project is the GEMINI.md file. It is Google’s equivalent of persistent instructions: place it at the root of the repository and Gemini CLI reads it on startup to learn your coding conventions, the style you follow or your build commands. A minimal example:
## Project conventions

- Use strict TypeScript and avoid `any`.
- Run the tests with `npm test` before considering a task done.
- Do not touch the `dist/` folder: it is generated at build time.
General settings (model provider, theme, MCP servers) live in ~/.gemini/settings.json, and you can have a per-project settings file to override them. This split between context (GEMINI.md) and configuration (settings.json) keeps your preferences tidy.
MCP and tools
Beyond its built-in tools, Gemini CLI extends through the Model Context Protocol, the open standard that connects agents to external data sources and services. An MCP server can give it access to your database, the GitHub API or any tool you build yourself.
To connect an MCP server you declare it in the mcpServers section of the settings file. This example adds the official GitHub server:
{
  "mcpServers": {
    "github": {
      "command": "npx",
      "args": ["-y", "@modelcontextprotocol/server-github"]
    }
  }
}
Once the session restarts, the /mcp command confirms the server is active and its tools become available to the agent. If you want to expose your own functions, the guide building your own MCP server explains how step by step. The same MCP server later works with other terminal agents, such as Goose, because the protocol is common to all of them.
Gemini CLI versus Codex CLI
Gemini CLI and OpenAI’s Codex CLI start from the same idea, a coding agent that works from the terminal, but they differ on three points. The first is the model: Gemini CLI uses Gemini 3 with its one-million-token context, while Codex CLI runs OpenAI’s models; both are open source and support MCP servers.
The second is authentication, and this is the most practical difference in 2026. Codex CLI can be used with a ChatGPT subscription or with an OpenAI API key. Gemini CLI, after its free tier for individuals was retired, requires a paid API key or an enterprise licence; its old free experience now lives in Antigravity CLI. The third is the implementation: Codex CLI is written in Rust and Gemini CLI in TypeScript, which matters mostly if you want to read or contribute to its code. In practice, the choice depends on which model ecosystem you already pay for: if you work with Gemini, the integration is direct; if your subscription is with OpenAI, Codex CLI comes free within the plan.
Frequently asked questions
Is Gemini CLI still free?
No longer for individuals. The free tier with a personal Google account (60 requests per minute and 1,000 per day) stopped serving requests on 18 June 2026. Today Gemini CLI works with a paid Google AI Studio API key, billed per token, or with a Gemini Code Assist enterprise licence. Individual users who wanted the free experience were redirected to Antigravity CLI.
What is Antigravity CLI and how does it differ?
Antigravity CLI is the tool Google introduced at its May 2026 conference as the successor to Gemini CLI for individual accounts. It is written in Go instead of TypeScript, is faster and adds asynchronous background workflows, while keeping features such as skills, hooks, subagents and extensions. Gemini CLI, for its part, continues as an open project for anyone using API keys or enterprise licences.
Can I use it with a model that is not from Google?
Not natively: Gemini CLI is designed for the Gemini models and authenticates against Google’s services. If you need a provider-agnostic terminal agent, other open-source options suit you better, such as Goose, which lets you choose among several models, including some you run on your own machine.
Conclusion
Gemini CLI brings the power of Gemini 3 to the terminal with an open approach, a huge context and tools ready to act. The change you cannot ignore in 2026 is the end of its free tier for individuals on 18 June: today it is an API-key or enterprise-licence tool, while the free experience moved to Antigravity CLI. The next step is to install it with npm, give it an AI Studio key and a GEMINI.md file, and compare it with OpenAI’s Codex CLI to decide which fits your workflow best.
Sources
Source code
Access all the source code for this post on GitHub.
View on GitHub