How to Set Up a WireGuard VPN with wg-easy in Docker
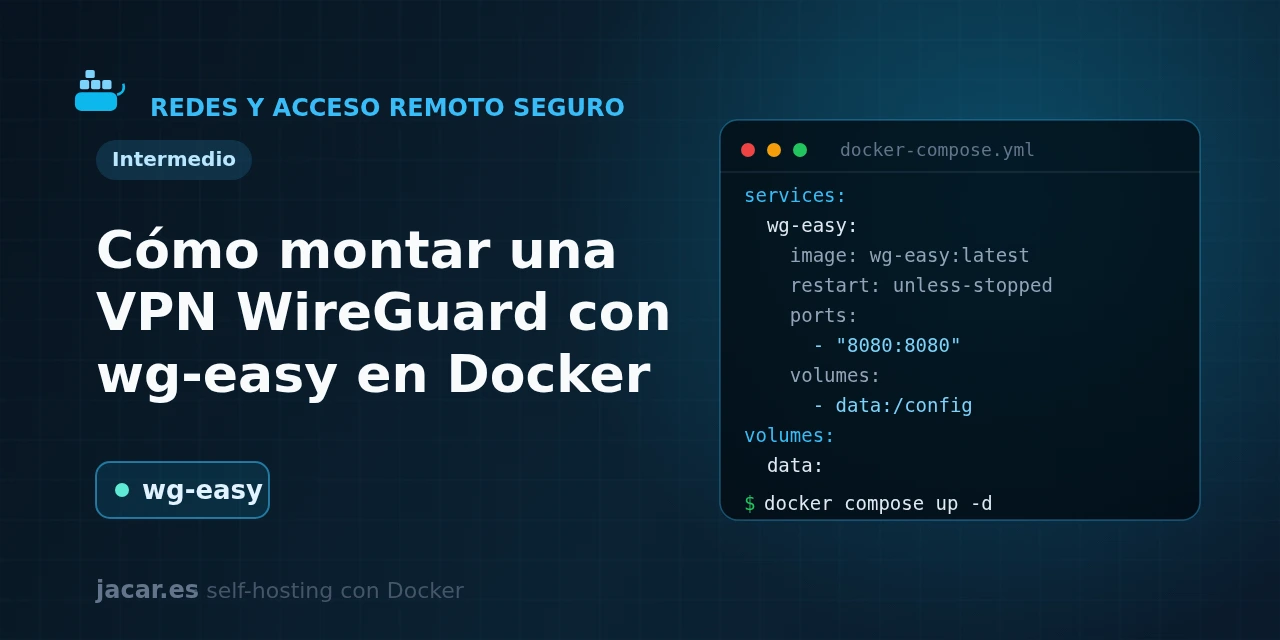
Table of contents
- Key takeaways
- What is WireGuard and what does wg-easy add?
- What does the wg-easy docker-compose.yml look like?
- How do you complete the first-run wizard?
- How do you add clients and scan the QR?
- How do you open the port on the router and firewall?
- Frequently asked questions
- Is it safe to expose wg-easy to the Internet?
- What is the difference between wg-easy v14 and v15?
- Can I use wg-easy to connect two servers, not just phones?
- Conclusion
- Sources
Reaching your home services from your phone, encrypting your traffic on public wifi or joining two servers as if they were in the same room are all jobs for a VPN. WireGuard is today the fastest and safest way to run your own.
The catch is that setting up WireGuard by hand, with its keys and its wg0.conf file, intimidates newcomers. That is what wg-easy is for.
It is a container that brings up the WireGuard server and adds a web panel where you create clients with one click and connect them by scanning a QR code. In this guide you set it up with Docker Compose, complete the version 15 wizard and connect your first device. The same explanation is available in Spanish.
Key takeaways
- wg-easy bundles the WireGuard server and its management interface in a single image; its latest version is v15.3.0, released on 18 May 2026, and it has around 26,400 stars on GitHub under the AGPL-3.0 license.
- v15 is a complete rewrite: almost all of v14’s environment variables (
WG_HOST,PASSWORD,WG_DEFAULT_ADDRESS…) are gone, and configuration now happens in a first-run web wizard and in the admin panel. - It uses two ports: 51820/udp for the WireGuard tunnel and 51821/tcp for the web interface. The official image is
ghcr.io/wg-easy/wg-easy:15; pin that tag, because:lateststill points at the old v14. - The container needs the NET_ADMIN and SYS_MODULE capabilities plus a few packet-forwarding
sysctls; without them the tunnel does not route traffic. - WireGuard has lived in the Linux kernel since version 5.6 (March 2020) and is barely 4,000 lines of code, against the hundreds of thousands in OpenVPN or IPsec.
What is WireGuard and what does wg-easy add?
WireGuard is a modern VPN protocol, designed by Jason A. Donenfeld, that replaces veterans like OpenVPN and IPsec with a fraction of their complexity. It establishes an encrypted tunnel over UDP (default port 51820) using fixed, current cryptography: Curve25519 for key exchange, ChaCha20 to encrypt and Poly1305 to authenticate.
Its main strength is simplicity: it has been integrated into the Linux kernel since version 5.6 and is about 4,000 lines of code. That drastically shrinks the surface you have to audit. Linus Torvalds summed it up on the kernel mailing list by comparing it with the alternatives: "maybe the code isn’t perfect, but I’ve skimmed it, and compared to the horrors that are OpenVPN and IPsec, it’s a work of art".
All that elegance has a price for the newcomer: WireGuard ships no interface. Configuring it means generating key pairs with wg genkey, hand-writing the server’s wg0.conf and one for each client, and keeping the IPs and public keys in sync. It clicks all at once once you get it, but it is a wall when you start.
That is where wg-easy comes in. It is an open-source project that packages the WireGuard server together with a web management interface in a single container. From that web page you create clients with one click, see their connection status and data usage, and download their configuration or show it as a QR code to scan from a phone.
In practice, it turns a sysadmin task into something anyone can set up in ten minutes, which is why it is one of the most popular ways to self-host a VPN. If you are coming from the Docker networking guide, you will see that here the container touches the host network in a special way.
What does the wg-easy docker-compose.yml look like?
First, keep in mind the big 2025 change: wg-easy v15 was a complete rewrite that removed almost all of v14’s environment variables. You no longer set WG_HOST or the password in the compose; instead, the container starts "empty" and guides you through a web wizard the first time. This simplifies the file but surprises anyone following older tutorials. Create a folder for the project and save this docker-compose.yml inside it, taken from the official repository:
services:
  wg-easy:
    image: ghcr.io/wg-easy/wg-easy:15
    container_name: wg-easy
    restart: unless-stopped
    ports:
      - "51820:51820/udp"
      - "51821:51821/tcp"
    environment:
      INSECURE: "true"
    volumes:
      - etc_wireguard:/etc/wireguard
      - /lib/modules:/lib/modules:ro
    cap_add:
      - NET_ADMIN
      - SYS_MODULE
    sysctls:
      - net.ipv4.ip_forward=1
      - net.ipv4.conf.all.src_valid_mark=1

volumes:
  etc_wireguard:
Each block is worth understanding. The image is pinned to ghcr.io/wg-easy/wg-easy:15 because, oddly, the :latest tag still points at the old v14 while the team finishes polishing the new branch; do not trust :latest here. Two ports are published: 51820/udp, over which the WireGuard tunnel travels, and 51821/tcp, which serves the web interface.
The NET_ADMIN and SYS_MODULE capabilities let the container create the tunnel network interface and load the kernel module. The sysctls enable packet forwarding so your clients’ traffic reaches the Internet through the server. The etc_wireguard volume holds the SQLite database with your configuration and clients, so it survives restarts and updates.
The INSECURE: "true" variable is the detail that causes the most headaches. v15 refuses to allow login over plain HTTP unless you explicitly ask; if you reach http://IP:51821 without it, you get a "you can’t log in over an insecure connection" warning. For testing on your local network, enabling it is fine. But as soon as you expose the panel to the Internet, put it behind HTTPS, for example with Traefik, and drop that variable.
Start it and check that it responds:
docker compose up -d
docker compose ps
If this is your first container on the machine, review how to install Docker on Ubuntu 24.04 first so you have the engine and the Compose plugin ready.
How do you complete the first-run wizard?
With the container running, open http://YOUR-SERVER-IP:51821 in the browser. Instead of a login screen, v15 greets you with a setup wizard that only appears the first time. The first step is to create the admin account: you pick a username and a password (with confirmation). These credentials replace the old PASSWORD_HASH you used to put in the compose; they are now stored encrypted in the volume’s SQLite database.
The second step decides whether you start fresh or import a previous configuration. If you are migrating from an old install, here you can upload your wg0.json file; if it is a new install, you move on. Next you set the most important value, the Host: the public address (a domain or a static IP) your clients will connect to from outside.
If you have a dynamic IP at home, use a DDNS name. You also confirm the tunnel port (51820 by default). When you finish, wg-easy generates the server keys and drops you into the panel, ready to go.
From here, administration lives in the web. v15 added features v14 lacked: two-step authentication with TOTP, IPv6 and CIDR notation support, and an API with basic authentication for automation. All of it without touching the compose: the fine settings (the clients’ address range, the DNS servers handed to them, AllowedIPs) are changed from the interface itself, in the admin section.
How do you add clients and scan the QR?
This is the part that makes wg-easy worth it. In the panel, click "New Client", give it a descriptive name (for example "Ana’s phone" or "Work-laptop") and confirm. wg-easy instantly generates that client’s key pair, assigns it an IP within the VPN range and shows it in the list with an enable toggle and its sent/received data statistics.
To connect a phone, install the official WireGuard app, which is on Google Play and the App Store. Tap the QR code icon next to the client in the panel and scan it from the app: the tunnel is configured without typing anything. For a computer, use the download button that gives you that client’s .conf file and import it into the WireGuard desktop app.
Each device must use its own client. Do not share one configuration between two machines, because the keys and IPs are unique.
Once connected, all of the device’s traffic (or only your internal network’s, depending on the AllowedIPs you define) travels encrypted to your server. A common trick is to hand clients your own DNS. Pi-hole is a DNS server that filters ads and trackers for the whole network. If you point your clients’ DNS to it, on top of the VPN you get ad blocking on your phone wherever you are.
If you prefer a mesh where every node sees every other one, instead of a client-server model, take a look at Headscale, which solves a different scenario.
How do you open the port on the router and firewall?
For your clients to reach the server from the Internet, the UDP packet has to cross two barriers. The first is your router. If the server is at home, go into its configuration and create a port-forwarding rule that sends UDP 51820 to the local IP of the machine running wg-easy. Mind one detail: you forward the tunnel port (51820/udp), not the web interface (51821), which must not be exposed to the Internet without protection.
The second barrier is the server’s own firewall. With ufw, the rule is direct:
sudo ufw allow 51820/udpOn a cloud VPS, this rule is equivalent to opening the port in the provider’s security group. It is best not to publish the web panel (51821): reach it over the VPN itself once connected, or put it behind a reverse proxy with HTTPS and its own authentication. Remember that if you expose the web, the INSECURE variable must go and traffic must run over TLS. With 51820/udp open on the router and firewall, your clients can bring the tunnel up from any network.
Frequently asked questions
Is it safe to expose wg-easy to the Internet?
The WireGuard tunnel (port 51820/udp) is meant to be exposed: it does not reply to packets without the correct key, so a scanner does not see it. What you must not expose without protection is the web panel (51821/tcp). Publish only the UDP port on your router, reach the interface over the VPN itself or place it behind a reverse proxy with HTTPS. Never leave the INSECURE variable enabled on a service reachable from the Internet.
What is the difference between wg-easy v14 and v15?
v15 was a complete rewrite, and its most visible difference is that almost all environment variables disappeared. In v14 you configured WG_HOST, the password and the IP range in the compose, whereas in v15 all of that is done in the web wizard and the panel. v15 also adds an SQLite database, two-factor TOTP, IPv6, CIDR notation and an API. Since the :latest tag still serves v14, pin :15 in the image if you want the new one.
Can I use wg-easy to connect two servers, not just phones?
Yes. Its typical case is remote access for personal devices (phone, laptop), but each client you create is an ordinary WireGuard peer. You can install the WireGuard client on another server and import its configuration to join both networks. By adjusting that client’s AllowedIPs in the panel, you decide which subnets travel through the tunnel, which enables simple site-to-site scenarios.
Conclusion
wg-easy turns setting up a WireGuard VPN, which is intimidating by hand, into a ten-minute wizard. A short docker-compose.yml, a web panel and a QR code are enough to get encrypted remote access to your infrastructure. Remember the essentials of version 15.
Pin the :15 tag, keep in mind that the configuration lives in the first-run wizard and not in environment variables, and open to the world only port 51820/udp, never the unprotected panel. The natural next step is to hand your clients a DNS with Pi-hole to carry ad blocking with you. You can also compare this client-server model with the Headscale mesh if every node has to see every other one.
Sources
Source code
Access all the source code for this post on GitHub.
View on GitHub