How to Install SearXNG with Docker
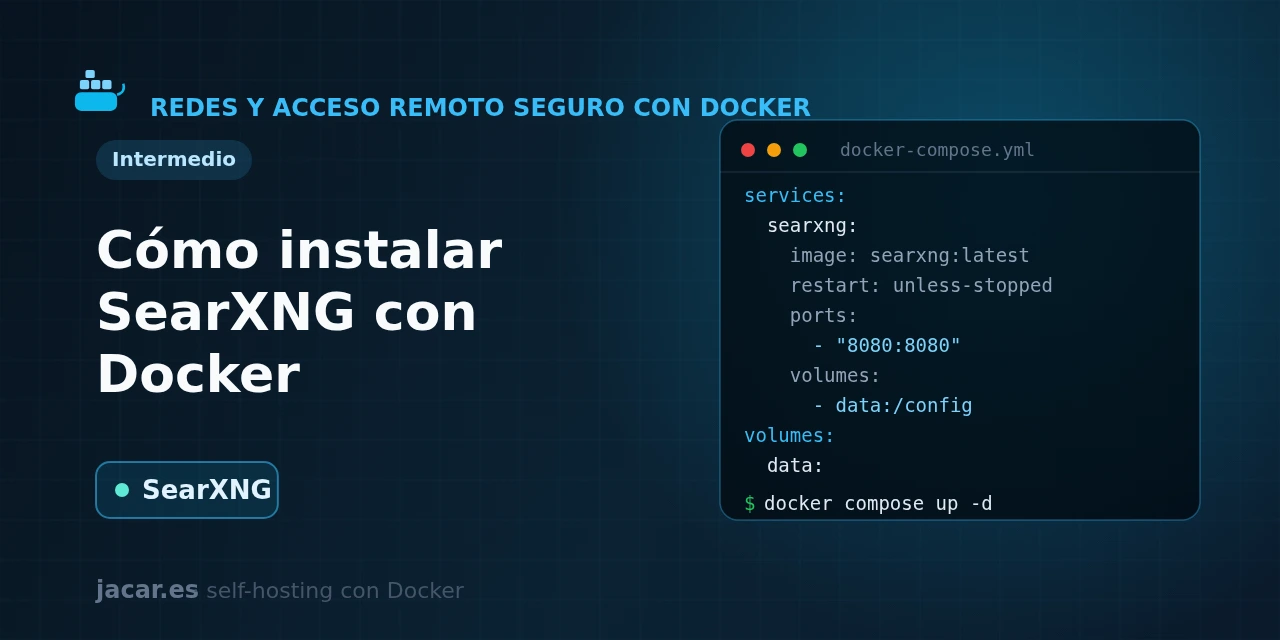
Table of contents
- Key takeaways
- What is SearXNG and why run a private metasearch engine?
- What does the docker-compose.yml with Valkey look like?
- What is the settings.yml file and the secret_key?
- How do you choose engines and the result format?
- How do you publish it behind a reverse proxy with HTTPS?
- Frequently asked questions
- Does SearXNG strictly need Valkey or Redis?
- Why does SearXNG fail to start and complain about the secret_key?
- Can I use my SearXNG instance as an API for other applications?
- Conclusion
- Sources
SearXNG is a free metasearch engine that queries more than 70 search services for you and returns the results without tracking you or storing your history. In this guide you bring it up with a single docker-compose.yml alongside Valkey, generate the mandatory secret_key, tweak the settings.yml file to choose engines and formats, and publish it over HTTPS behind a reverse proxy. The same explanation is available in Spanish.
Key takeaways
- SearXNG is an open-source metasearch engine (GNU AGPLv3 licence), heir to the searx project, that aggregates results from more than 70 search services such as Google, Bing, DuckDuckGo or Wikipedia without profiling the user.
- The project has around 32,000 stars on GitHub, a sign of how established it is in the self-hosting world.
- The container listens on port 8080 and relies on Valkey (the Redis-compatible replacement) for the request limiter and the cache.
- The
secret_keyis mandatory: you generate it withopenssl rand -hex 32, which produces 64 hexadecimal characters (32 bytes) of randomness. - Pin a specific image version, for example
searxng/searxng:2026.7.16-9f9c00819, instead of:latest; SearXNG tags each build with the date plus a short commit hash, so pinning one saves you from unexpected jumps (check the available tags on Docker Hub, see Sources).
What is SearXNG and why run a private metasearch engine?
SearXNG is a metasearch engine: instead of having its own web index, it forwards your query to dozens of external search engines. It collects their answers, merges them and shows you a single list of results.
The difference from using Google directly is privacy. When you search through your SearXNG instance, the target engines see the server’s requests, not yours: no tracking cookies, no advertising profile, no saved history. You own the machine, so nobody else logs what you search for.
The project was born in 2021 as a fork of searx, aiming to modernise the code and add features. It ships under the GNU AGPLv3 licence and queries more than 70 search services, which you can enable or disable one by one. Beyond general web search, it covers categories like images, videos, news, maps, science or code repositories, each with its own engines.
There are two ways to enjoy it: use a public instance the community maintains, or run your own. A self-hosted instance is the sensible choice if you take privacy seriously, because on a public one you depend on the honesty of whoever runs it. With Docker, spinning up your own is a matter of minutes, and it fits naturally into a homelab next to the rest of the networking and secure remote access services you already have.
What does the docker-compose.yml with Valkey look like?
You need a Linux machine with Docker and the Compose plugin; if you do not have them yet, follow the guide to install Docker on Ubuntu 24.04 first. The historical searxng-docker repository was archived in March 2026. The official documentation now generates its own template (a core-config/ folder plus an .env file) from docs.searxng.org.
Even so, for a simple homelab a manual stack with two services works just as well: SearXNG itself and a Valkey database. Valkey is the Redis fork the project adopted after Redis changed its licence, and it acts as the request limiter and cache. Create a folder for the project and save this docker-compose.yml inside it:
services:
  searxng:
    image: searxng/searxng:2026.7.16-9f9c00819
    container_name: searxng
    restart: unless-stopped
    ports:
      - "8080:8080"
    volumes:
      - ./searxng:/etc/searxng:rw
    environment:
      SEARXNG_BASE_URL: "https://search.mydomain.com/"
      SEARXNG_SECRET: "change_this_to_a_long_key"
    cap_drop:
      - ALL
    cap_add:
      - CHOWN
      - SETGID
      - SETUID
    healthcheck:
      test: ["CMD", "wget", "--no-verbose", "--tries=1", "--spider", "http://localhost:8080/healthz"]
      interval: 30s
      timeout: 5s
      retries: 3
    depends_on:
      - valkey

  valkey:
    image: valkey/valkey:9-alpine
    container_name: searxng-valkey
    restart: unless-stopped
    command: valkey-server --save 30 1 --loglevel warning
    volumes:
      - valkey-data:/data
    healthcheck:
      test: ["CMD", "valkey-cli", "ping"]
      interval: 30s
      timeout: 5s
      retries: 5

volumes:
  valkey-data:
Go over the important parts. The searxng service publishes port 8080 and mounts the local ./searxng folder onto /etc/searxng, which is where the configuration will live. The SEARXNG_BASE_URL variable must point to the final public URL (with the trailing slash) so that internal links and pagination work. SEARXNG_SECRET injects the secret key, which you will change for sure.
The cap_drop/cap_add block trims the container’s privileges to the bare minimum, a good security practice. The healthcheck queries the /healthz endpoint, which SearXNG exposes precisely for that. The valkey service stores its state in the named volume valkey-data and answers ping to mark itself healthy.
Since mid-2025 the container has run Granian (the application server that replaced uWSGI) instead of uwsgi, so there is no need to tune worker or thread variables anymore. The official docs advise against touching them by hand, since it raises resource usage and can interfere with the limiter’s bot detection.
Before starting, generate a real secret key and copy its output into SEARXNG_SECRET:
mkdir searxng-docker
cd searxng-docker
mkdir searxng
openssl rand -hex 32
docker compose up -d
docker compose ps
docker compose logs -f searxng
On the first start, if the ./searxng folder is empty, the image generates a default settings.yml inside it. When both containers show as healthy, open http://192.168.1.10:8080 (replace the IP with your server’s) and the search page will already be working.
What is the settings.yml file and the secret_key?
All of SearXNG’s configuration lives in settings.yml, inside the folder you mounted. The most convenient approach is to let the container create its default version on the first start and then edit only what matters. A minimal, sensible settings.yml looks like this:
use_default_settings: true

server:
  secret_key: "paste_here_the_output_of_openssl_rand_hex_32"
  limiter: true
  image_proxy: true

search:
  safe_search: 0
  autocomplete: "duckduckgo"
  formats:
    - html
    - json

valkey:
  url: valkey://valkey:6379/0
The use_default_settings: true line tells SearXNG to start from its base configuration and apply only your changes on top, so you do not have to copy the whole file. The secret_key is the most critical value: it signs the session cookies and the internal requests, and if you leave it with the sample value ultrasecretkey, SearXNG refuses to start. Paste the output of openssl rand -hex 32 there.
The server.limiter: true block turns on the limiter that holds back abusive bots, and it needs Valkey to work; that is why valkey.url points to the valkey container on port 6379. The image_proxy: true makes thumbnails pass through your server instead of being downloaded from the origin, another point in favour of privacy.
Every time you touch settings.yml, restart the container with docker compose restart searxng so it re-reads the configuration. If a YAML error stops the container, docker compose logs searxng points to the exact line.
How do you choose engines and the result format?
Engines are the heart of a metasearch engine: each one queries an external service. In settings.yml you can disable the ones you do not want or change their options inside the engines section. For example, to turn off a specific engine you add a block with its name and disabled: true:
engines:
  - name: wikidata
    disabled: true
  - name: brave
    disabled: false
It is worth reviewing which engines give you good results in your area and which fail. SearXNG flags the slow and broken ones on the /stats page, and that is where you see which ones to disable. In the web interface, each user can also enable or disable engines from Preferences without touching the server, and those preferences are stored in a local cookie.
The result format is also controlled in search.formats. By default SearXNG serves only html; if you add json, as in the example above, you enable an API that returns the results as JSON. That is what other tools use to query your instance programmatically (for example, an AI assistant that needs to search the web). Bear in mind that opening the public API can attract abuse: always combine it with the limiter and, if you expose it, with authentication.
How do you publish it behind a reverse proxy with HTTPS?
Listening on 8080 over HTTP is fine for testing on the local network, but to use SearXNG day to day it is best to put it behind a reverse proxy with TLS. The proxy terminates HTTPS, forwards the requests to the container and lets you serve the engine on a clean domain like search.mydomain.com. Remember that this domain, with the trailing slash, has to match the SEARXNG_BASE_URL you set in the Compose.
You have two paths depending on how you manage your infrastructure. If you prefer a graphical interface and requesting Let’s Encrypt certificates with a click, use Nginx Proxy Manager. You create a proxy host pointing at the searxng container on port 8080 and enable the certificate.
If instead you automate everything as code and discover services by labels, Traefik fits better, where you define the route with labels in the docker-compose.yml itself. In both cases, connect the proxy and SearXNG to the same Docker network and do not publish port 8080 directly to the outside: let only the proxy be the front door.
If Valkey leaves you wanting more and you want to understand the cache piece underneath, read the guide to installing Redis with Docker. It explains the same persistence and password concepts that Valkey inherits from its predecessor.
Frequently asked questions
Does SearXNG strictly need Valkey or Redis?
For the basics, no: SearXNG starts and searches without any database, but the request limiter (server.limiter: true), which protects your instance from bots and abuse, does need Valkey. Without Valkey you would have to set limiter: false, leaving the engine more exposed. Since Valkey is lightweight and ships in the same docker-compose.yml, the reasonable thing is to always include it. Valkey is the Redis fork the project adopted after the licence change, and it speaks the same protocol, so an existing Redis install works too.
Why does SearXNG fail to start and complain about the secret_key?
It is the most common stumble. SearXNG refuses to start if the secret_key is still the sample value ultrasecretkey or is empty, because a predictable key would compromise session security. The fix is to generate a real key with openssl rand -hex 32 and place it in the SEARXNG_SECRET variable of the Compose or in server.secret_key inside settings.yml. After changing it, restart the container and check docker compose logs searxng to confirm the warning is gone.
Can I use my SearXNG instance as an API for other applications?
Yes. If you add json to search.formats in settings.yml, SearXNG exposes an API that returns the results in that format, ideal for a script, a dashboard or an AI assistant to search the web through your instance. The trade-off is abuse: an open API invites third parties to exploit it, so always keep the limiter on and do not publish the port without a proxy in front. If you really open it to the Internet, protect it with basic authentication or an access list on the reverse proxy.
Conclusion
With a single docker-compose.yml, its Valkey container and a well-tuned settings.yml you have your own private metasearch engine: you query dozens of services at once without anyone logging your searches. Remember the three rules that make the difference: generate a real secret_key with openssl rand -hex 32, pin the image version instead of using :latest, and do not expose port 8080 without a reverse proxy with HTTPS in front. From here, publish it with Nginx Proxy Manager or Traefik and you will have a web search that answers to you alone.
Sources: [1] Official SearXNG Docker installation documentation[1], [2] SearXNG repository on GitHub[2], [3] SearXNG image on Docker Hub[3].
Sources
Source code
Access all the source code for this post on GitHub.
View on GitHub