How to Install Home Assistant with Docker
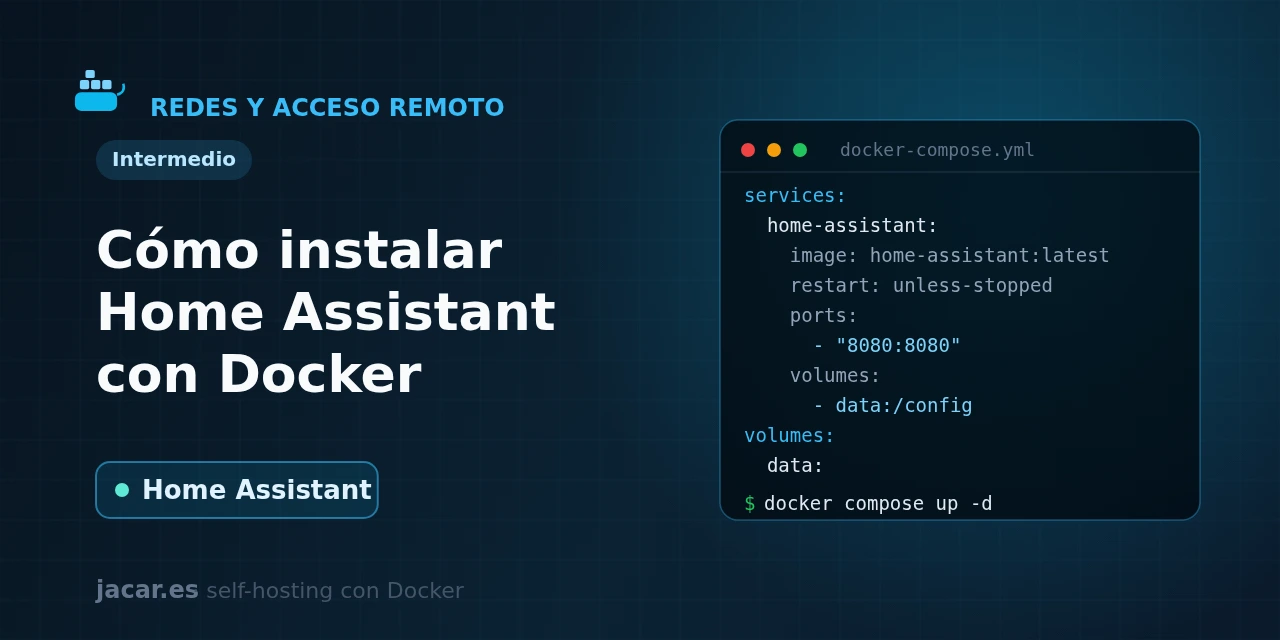
Table of contents
- Key takeaways
- What is Home Assistant Container?
- What does the docker-compose.yml in host network mode look like?
- What does the first boot and onboarding look like?
- How does it integrate and discover devices?
- How do you back up your configuration?
- Frequently asked questions
- Can I use add-ons with Home Assistant Container?
- Why is network_mode: host recommended instead of mapping port 8123?
- Do I need an external database like PostgreSQL or MariaDB?
- Conclusion
- Sources
Home Assistant is the brain of a connected home that works without the cloud: it controls lights, plugs, sensors and thermostats from your own server, and your data never leaves the house. The lightest way to run it if you already use Docker is the so-called Home Assistant Container: a single container with the full platform.
In this guide you bring it up with Docker Compose in host network mode, do the first boot and onboarding, integrate devices and set up backups. You will also see clearly what you give up by choosing this route over Home Assistant OS. The same explanation is available in Spanish.
Key takeaways
- Home Assistant is a local home-automation platform, open source under the Apache-2.0 licence, written in Python and with around 89,300 stars on GitHub since its first release in 2013.
- A new version ships every month with the
YEAR.MONTH.patchformat; the latest stable at the time of writing is 2026.7.2. The official image isghcr.io/home-assistant/home-assistant. - Home Assistant Container is the Docker install: it does not include the Supervisor or the add-on store, so services like Zigbee2MQTT or ESPHome run as separate containers.
- It needs Docker Engine 23.0.0 or later (Docker Desktop does not work for this method) and
network_mode: hostis recommended so mDNS device discovery works on your local network. - The web interface listens on port 8123; all configuration lives in the
/configfolder, which is the only thing you need to back up.
What is Home Assistant Container?
Home Assistant is a home-automation platform that runs on your own hardware. Its documentation sums up the idea like this: "Home Assistant runs on your own hardware, so your smart home keeps working even when the internet is down and your data stays at home with you." It gathers hundreds of device brands (lights, plugs, cameras, sensors, speakers) under one dashboard and lets you build automations without depending on each vendor’s cloud.
The install method you pick changes what you get, and the difference matters. Home Assistant OS is a complete operating system you install on a mini PC or a Raspberry Pi, and it ships the Supervisor and the add-on store. It is the method the project recommends by default.
Home Assistant Container is the opposite: a single Docker container with the app, meant for anyone who already has a Docker server and prefers to manage everything with docker compose. The trade-off is clear and worth understanding before you start: the official documentation warns that "Home Assistant Container installations don’t have access to apps".
That means you will not have the one-click installer for add-ons like Zigbee2MQTT, ESPHome, the Mosquitto MQTT broker or a Thread border router. All of that is still possible, but you stand it up yourself as separate containers alongside Home Assistant. In exchange you get full control over versions, volumes and resources, and it fits naturally into a homelab you already orchestrate with Compose. If you are starting from scratch, begin with the guide on how to install Docker on Ubuntu 24.04.
What does the docker-compose.yml in host network mode look like?
Home Assistant needs no external database to get started: it stores its state in a SQLite database inside the config folder, so one service and one volume are enough. Create the project folder with its config subdirectory and move into it:
mkdir -p homeassistant/config && cd homeassistantSave this as docker-compose.yml inside that homeassistant folder (at the same level as config). It pins version 2026.7.2 instead of :latest, because a floating tag can change version on a simple restart and leave you with no control over what you run:
services:
  homeassistant:
    container_name: homeassistant
    image: ghcr.io/home-assistant/home-assistant:2026.7.2
    restart: unless-stopped
    privileged: true
    network_mode: host
    environment:
      TZ: Europe/Madrid
    volumes:
      - ./config:/config
      - /run/dbus:/run/dbus:ro
      - /etc/localtime:/etc/localtime:ro
The key to this setup is network_mode: host, which connects the container straight to the server’s network without Docker’s bridge layer. Home Assistant needs it because device discovery runs over mDNS and broadcast (Chromecast, HomeKit, printers, bulbs), and bridge mode blocks that traffic. If you want to review the differences, see the guide on Docker networks: bridge, host and custom. The privileged: true and the /run/dbus mount give hardware access, which you will need if you plug in a Zigbee or Z-Wave USB adapter or the machine’s Bluetooth.
The ./config:/config volume is the heart of the system: it holds configuration.yaml, the database, the secrets and everything else. It is a bind mount to a host folder, so your configuration survives any recreation of the container; if you want to grasp this distinction, review volumes and bind mounts in Docker.
What does the first boot and onboarding look like?
Start the service and follow the logs while it loads for the first time, which can take a couple of minutes to generate the initial configuration:
docker compose up -d
docker compose logs -f homeassistant
When the logs show it has started, open http://SERVER-IP:8123 in the browser. You will see the onboarding wizard: create your administrator account (this account is yours and local, not a cloud account), name your home and set the location, time zone and units. Home Assistant uses the location to compute sunrise and sunset, which are common triggers in automations.
Once the wizard finishes, host mode means Home Assistant has already detected devices and services on your network. It lists them so you can add them with a couple of clicks.
If you later want to expose it on the Internet with a domain and HTTPS, put it behind a reverse proxy like Traefik. It is a container that routes incoming HTTP traffic and manages TLS certificates for you, and the steps are in how to install Traefik with Docker Compose. Since the Home Assistant container uses the host’s network, point the proxy at SERVER-IP:8123 and add the http: section to configuration.yaml with the proxy’s IP or subnet in trusted_proxies:
http:
  use_x_forwarded_for: true
  trusted_proxies:
    - 172.20.0.0/16
How does it integrate and discover devices?
In Home Assistant, each brand or protocol connects through an integration. Go to Settings > Devices & services. The page has two areas: the devices already discovered on their own, waiting for your confirmation, and the button to add an integration manually by searching for its name. Automatic discovery is the big advantage of host mode: without it, most of these devices would not appear.
For radio protocols you need hardware and, here, a caveat specific to the Container method. A Zigbee or Z-Wave USB adapter connects with the native ZHA integration or with Z-Wave JS. Since you have no one-click add-on, you run the Z-Wave JS server as another container and link it by its network address. The documentation says it plainly: "Some integrations, such as Thread and Z-Wave, are controlled by apps. There is no out-of-the-box support for these on Container installations." To pass the USB adapter into the container, add a devices: block to your docker-compose.yml with the real device path (check it first with ls /dev/serial/by-id/ on the host):
    devices:
      - /dev/ttyUSB0:/dev/ttyUSB0
When an automation needs to reach you away from home, Home Assistant has its own mobile app with push notifications. You can also route alerts to your own server such as ntfy through a simple HTTP call from an automation.
How do you back up your configuration?
Everything that matters lives in the /config folder, so backing it up is backing up your whole install. The simplest, dependency-free way is to stop the container and copy the folder:
docker compose stop homeassistant
tar czf ha-config-$(date +%F).tar.gz config
docker compose start homeassistant
Since version 2025.1, Home Assistant ships a completely overhauled built-in backup system that also works on the Container install: it encrypts backups with AES-128 by default and can schedule them automatically. Under Settings > System > Backups you can create encrypted backups, schedule them and download the emergency key. It generates a .tar file inside /config/backups that you can download or send to a network share. Schedule a weekly backup and keep at least one off the server.
Updating is just as simple, which is why it pays to always have a recent backup before doing it. Pull the new image and recreate the container, then clean up the old images:
docker compose pull
docker compose up -d
docker image prune -f
To jump to a new major version safely, change the pinned version number in the docker-compose.yml instead of using :latest. Read the release notes first in case of breaking changes, and keep the backup handy in case you need to roll back.
Frequently asked questions
Can I use add-ons with Home Assistant Container?
Not directly: add-ons are a Supervisor feature, which only exists in Home Assistant OS and the Supervised install. The Container install has no such one-click store. Popular add-ons like Mosquitto, Zigbee2MQTT, ESPHome and Node-RED are themselves Docker images, so you run them as separate containers on the same server and connect them to Home Assistant. You gain control in exchange for configuring each one by hand.
Why is network_mode: host recommended instead of mapping port 8123?
Because device discovery in Home Assistant runs over mDNS and broadcast on the local network, and that traffic does not cross the bridge network Docker creates by default. With host mode, the container shares the server’s network stack and sees the network just as the host itself would, so Chromecast, HomeKit, printers or bulbs show up on their own. The side effect is that you do not need the ports: key, because 8123 is already exposed on the host’s IP.
Do I need an external database like PostgreSQL or MariaDB?
Not to get started. Home Assistant stores its history in a SQLite database inside /config, and that works perfectly for a home install. Moving to MariaDB or PostgreSQL, relational engines that handle concurrent writes better than SQLite, pays off only when you record huge numbers of entities and it starts to grow or slow the history panel. In that case you stand up the database as another container and point the recorder integration at it in configuration.yaml:
recorder:
  db_url: postgresql://ha:password@db-container-ip/homeassistant
Conclusion
Home Assistant Container is the ideal route to full local home automation if you already run a Docker server. With a single docker-compose.yml in host mode you stand up the platform, do the onboarding on port 8123 and start integrating devices the system discovers on your network. In exchange for giving up the Supervisor and the add-on store, you gain full control over versions and resources, and you slot Home Assistant into the rest of your homelab.
The next step is to schedule backups of the /config folder and, if you are going to expose it, put it behind a reverse proxy with HTTPS. If instead you want the simplest experience with one-click add-ons, consider installing Home Assistant OS on a dedicated machine.
Sources: [1] Home Assistant official documentation: Linux install[1], [2] Home Assistant: comparison of installation methods[2], [3] Home Assistant: common tasks on Container[3], [4] Official home-assistant/core repository on GitHub[4], [5] homeassistant/home-assistant image on Docker Hub[5].
Sources
Source code
Access all the source code for this post on GitHub.
View on GitHub