How to Install Pi-hole with Docker
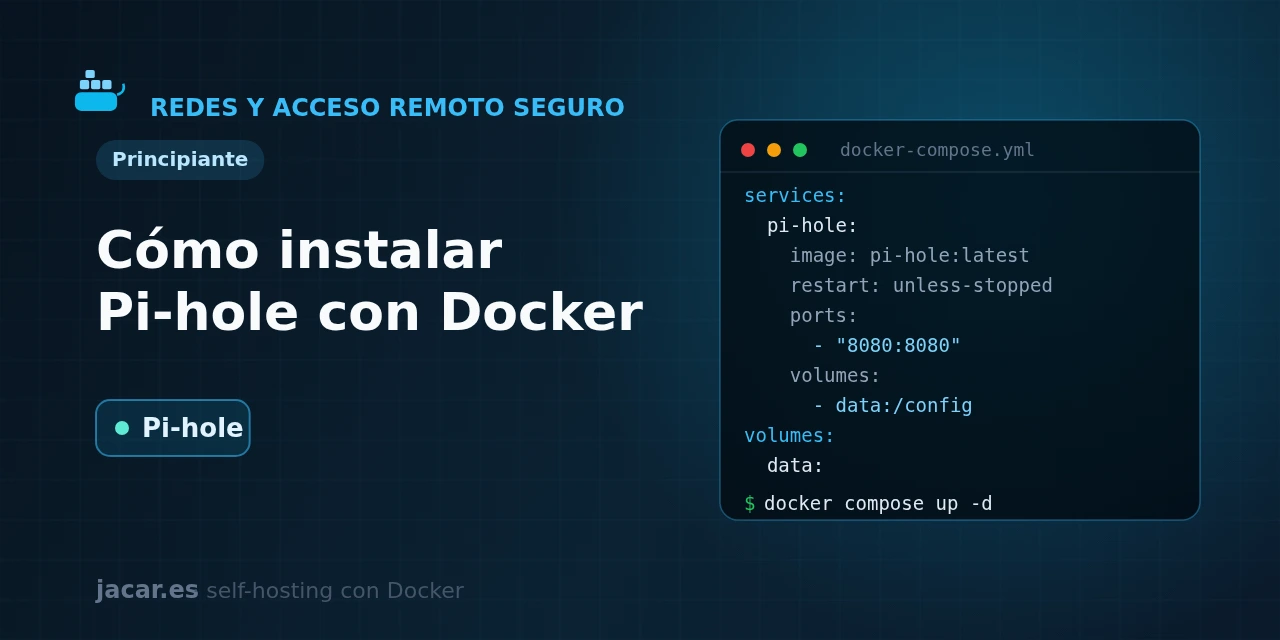
Table of contents
- Key takeaways
- What is Pi-hole and how does it block at the DNS layer?
- What does the docker-compose.yml for Pi-hole look like?
- Why does port 53 fail and how do you fix it?
- How do you point your router at Pi-hole?
- How do you manage blocklists and statistics?
- Frequently asked questions
- Why should I not use the Pi-hole latest tag?
- Do I lose the configuration and statistics if I delete the container?
- Can I change the panel password from the interface?
- Conclusion
- Sources
Pi-hole turns your server into an ad and tracker filter for the whole network. Instead of installing a blocker on every device, you block at the DNS layer in a single place, and with Docker you bring it up from one file.
In this guide you install Pi-hole with its version 6 docker-compose.yml and understand why it is now configured with FTLCONF_ variables. You also fix the classic port 53 clash with systemd-resolved, point your router at it to protect every device at once, and review blocklists and the dashboard statistics. The same explanation is available in Spanish.
Key takeaways
- Pi-hole is an open-source ad-blocking DNS server (EUPL licence), created by Jacob Salmela in 2014; it has become the go-to tool for filtering ads and telemetry across an entire home network.
- Pi-hole v6, released on 18 February 2025, was an architecture change: it merged the old
lighttpdand PHP stack into a singlepihole-FTLbinary with an embedded web server, which shrinks the footprint and speeds up the panel. - The most recent stable release is FTL v6.7, Web v6.6 and Core v6.4.3, from July 2026; the official
pihole/piholeimage is date-tagged in theYYYY.MM.patchformat. - It serves DNS on port 53 (TCP and UDP) and publishes the admin panel on port 80 (path
/admin), with optional HTTPS on 443. - Configuration changed completely: variables carry the
FTLCONF_prefix and map to thepihole.tomlkeys; any option set through an environment variable becomes read-only in the interface.
What is Pi-hole and how does it block at the DNS layer?
Pi-hole is a DNS server that sits between your devices and the Internet. When one of them asks for the address of an advertising or tracking domain, it answers with a null address instead of the real one. The result is that the ad never gets downloaded: it does not block the slot where it would appear, but the network request itself. Because filtering happens at the DNS layer, it protects your phone, smart TV, console and laptop at the same time, without installing anything on each one.
The difference from a browser extension is exactly that coverage. A browser blocker only works inside that browser and on that device. Pi-hole works for the whole network and also against the traffic that apps and appliances generate on their own, which is precisely where most telemetry leaks.
In exchange, DNS blocking is coarser-grained: it blocks or allows a whole domain. So it does not remove ads served from the same domain as the content, and sometimes you need to add exceptions.
Pi-hole keeps the list of domains it must block (the so-called blocklists) and resolves every other name by querying an upstream DNS server that you choose. It also logs each query so it can show you statistics. All of that, from version 6, is done by a single process.
What does the docker-compose.yml for Pi-hole look like?
In version 6 the file is shorter than in previous ones because there is no separate web server and one volume is enough. This docker-compose.yml brings up Pi-hole, sets the panel password with the new variable and persists the configuration in a named volume:
services:
  pihole:
    image: pihole/pihole:2026.07.1
    container_name: pihole
    hostname: pihole
    restart: unless-stopped
    ports:
      - "53:53/tcp"
      - "53:53/udp"
      - "80:80/tcp"
      - "443:443/tcp"
    environment:
      TZ: "Europe/Madrid"
      FTLCONF_webserver_api_password: "change-this-password"
      FTLCONF_dns_listeningMode: "ALL"
      FTLCONF_dns_upstreams: "1.1.1.1;9.9.9.9"
    volumes:
      - pihole_data:/etc/pihole
    cap_add:
      - SYS_NICE

volumes:
  pihole_data:
Each piece is worth understanding. The image is pinned to a specific version, pihole/pihole:2026.07.1, rather than to the moving :latest tag, so recreating the container does not change your version without warning. The FTLCONF_webserver_api_password variable replaces the old v5 WEBPASSWORD and sets the panel password; if you leave it empty, Pi-hole generates a random one and writes it to the logs.
FTLCONF_dns_listeningMode: "ALL" is needed on Docker’s default bridge network, because requests arrive with the gateway’s address and Pi-hole would otherwise drop them. With FTLCONF_dns_upstreams you choose whom Pi-hole asks for the domains it does not block (Cloudflare and Quad9 in the example). The single /etc/pihole volume keeps pihole.toml, the query database and the lists: in v6 you no longer need the second /etc/dnsmasq.d volume from earlier versions.
The SYS_NICE capability is optional and only improves process priority; NET_ADMIN is needed only if you plan to use Pi-hole as a DHCP server.
Start the stack and follow the boot in the logs:
docker compose up -d
docker compose ps
docker compose logs -f pihole
Open http://localhost:80/admin (or your server’s IP) and log in with the password you set. The panel is the new one, served directly by pihole-FTL.
If you would rather publish it with a domain and HTTPS, put it behind a reverse proxy such as Traefik. That server receives all HTTP/HTTPS traffic on the host and forwards it to the right container based on the domain, and it also handles TLS certificates. Bear in mind that only the web panel is routed, not the DNS port 53, which must stay exposed on the machine. To review how containers talk to each other and when to publish each port, the guide on Docker networking helps.
Why does port 53 fail and how do you fix it?
The most common error at startup is that the container cannot bind port 53 because another process already holds it. On Ubuntu, modern Debian and Fedora, that process is systemd-resolved by default, the system’s local resolver, which keeps a small caching DNS listening on 127.0.0.53:53. Because Pi-hole needs port 53 to act as a DNS server, you have to free that port on the host.
The recommended fix is to disable only the systemd-resolved listener, without turning off the whole service. Create an override file and restart the service:
sudo mkdir -p /etc/systemd/resolved.conf.d
printf '[Resolve]\nDNSStubListener=no\n' | sudo tee /etc/systemd/resolved.conf.d/no-stub.conf
sudo systemctl restart systemd-resolved
With DNSStubListener=no the system stops listening on port 53, but it still resolves names for the machine itself through /etc/resolv.conf, so you do not lose connectivity. After the restart, bring Pi-hole back up with docker compose up -d and the port 53 bind will stop failing. If your server does not use systemd-resolved, check which process holds the port with sudo ss -tulpn | grep :53 and free it before starting.
How do you point your router at Pi-hole?
Having Pi-hole running is not enough: devices will only use it if you tell them it is their DNS server. The cleanest way, and the one that protects the whole network at once, is to configure it in the router, not on each device. In the router’s network or DHCP settings, find the DNS servers field and replace whatever is there with the static IP of your Pi-hole server (for example 192.168.1.10). From then on, every device that gets an IP by DHCP inherits that DNS and its queries go through the filter.
Two conditions matter. The first is that the Pi-hole server has a static IP on your local network (via DHCP reservation or a static address): if its IP changes, devices are left unable to resolve names. The second is to keep a sensible fallback DNS.
If you set a second public DNS as a backup, devices can alternate between the two and sneak through unfiltered queries. For real blocking, Pi-hole should be the only DNS advertised. If your router does not let you change the DNS it hands out by DHCP, the alternative is to enable Pi-hole’s own DHCP server and disable the router’s. Remember to add NET_ADMIN and port 67/udp.
Would you rather stay protected away from home too? Combine Pi-hole with a WireGuard VPN via wg-easy: when you connect from your phone through the VPN, traffic exits through your network and uses the same Pi-hole filter wherever you are.
How do you manage blocklists and statistics?
Pi-hole does not block by magic: it consults lists of advertising and tracking domains that are downloaded and updated. Freshly installed it ships with a default list, the StevenBlack list, and from the lists section of the panel you can add any you want by pasting their URL.
The container includes a scheduled task (cron) that refreshes those lists periodically, so blocking stays current without you doing anything. The more lists you add, the more domains you block, but the risk of false positives also rises. Be sensible and keep the allowlist handy to permit a specific domain when something stops working.
The panel is also a dashboard of your network. It shows the percentage of blocked queries, the total DNS requests of the day, the domains and clients that query the most and a timeline of activity. Those statistics are useful beyond advertising: they reveal which device in the house talks the most to external servers, something that tends to surprise you the first time you look.
As the Pi-hole team put it when introducing version 6, the new architecture integrates a REST API and an embedded web server "directly into the pihole-FTL binary". That same panel and that data are now available over an API to automate queries or integrate them into another dashboard.
If you are torn between Pi-hole and its most direct alternative, compare it with AdGuard Home, another self-hosted blocking DNS. They cover the same gap, and the deciding factors are which interface and which encrypted-DNS options you prefer.
Frequently asked questions
Why should I not use the Pi-hole latest tag?
Because pihole/pihole:latest always points to the newest published release, so recreating the container (for example after a docker compose pull) can jump to a major version with configuration changes without you deciding it. On a network service as central as DNS that is risky. Pin a specific date tag, such as pihole/pihole:2026.07.1, read the release notes before moving up and upgrade by recreating the container when it suits you.
Do I lose the configuration and statistics if I delete the container?
No, as long as you use the named volume from this guide. The container is ephemeral, but the pihole_data volume mounted at /etc/pihole keeps pihole.toml, the query database and your lists, and survives docker compose down. When you recreate the service, everything is back in place. You would only lose it with docker compose down -v, which also removes volumes, so avoid that option unless you want to start from scratch.
Can I change the panel password from the interface?
In v6, if you set FTLCONF_webserver_api_password in the docker-compose.yml, that option becomes read-only in the panel and the password is managed from the file: change it there and recreate the container. If you would rather manage it from the interface, leave the variable out of the Compose file and use the docker exec -it pihole pihole setpassword command to set it inside the container.
Conclusion
With a single docker-compose.yml you have a persistent Pi-hole that filters ads and trackers for your whole network at the DNS layer. It comes with the embedded panel of version 6 and all the configuration in FTLCONF_ variables.
The full path is: bring up the container, free port 53 from systemd-resolved, point the router at the server’s static IP and tune the blocklists from the panel. From there, every device in the house is protected without installing anything on it. If you want to compare interfaces, look at AdGuard Home too; and to take the filter away from home, add a WireGuard VPN.
Sources: [1] Official Pi-hole documentation for Docker[1], [2] Official docker-pi-hole image on GitHub[2], [3] Pi-hole v6 announcement on the official blog[3], [4] Official pihole/pihole image on Docker Hub[4].