How to Install Vaultwarden with Docker
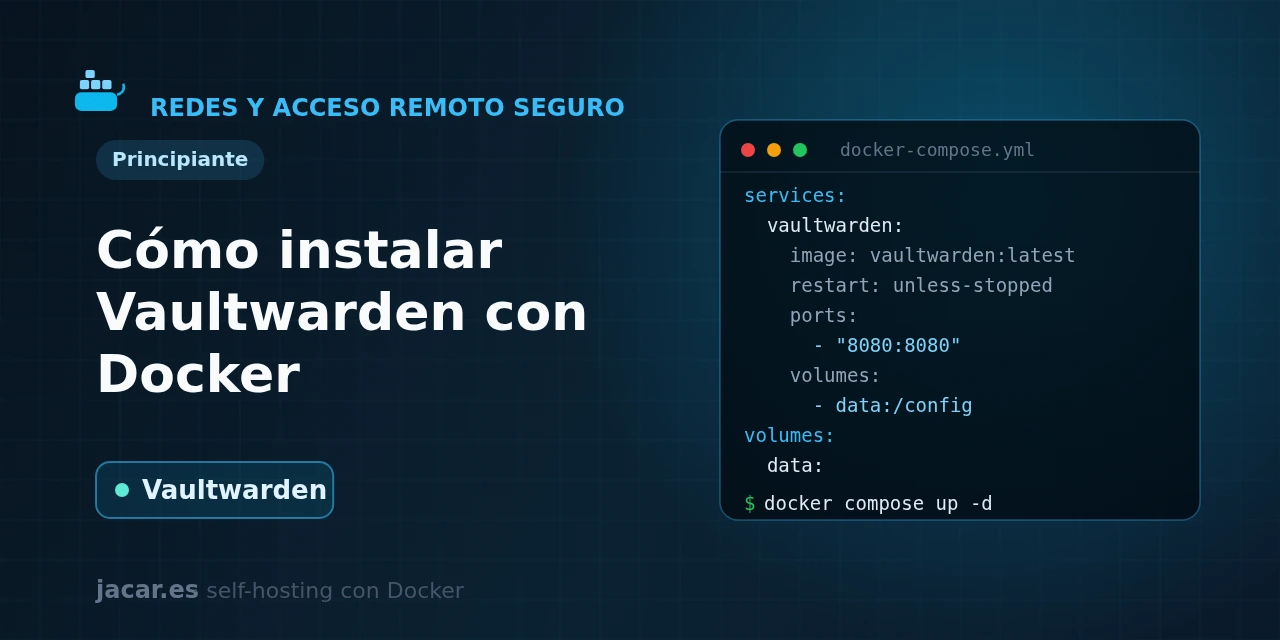
Table of contents
- Key takeaways
- What is Vaultwarden and how does it differ from Bitwarden?
- What does the Vaultwarden docker-compose.yml look like?
- Why is publishing it over HTTPS behind a proxy mandatory?
- How do I protect the /admin panel and close registration?
- How do I back up the vault?
- Frequently asked questions
- Can I use the official Bitwarden apps with Vaultwarden?
- Does Vaultwarden need an external database?
- Is it safe to expose Vaultwarden to the internet?
- Conclusion
- Sources
Handing all your passwords to someone else’s service is hard to let go of. Running the official Bitwarden on your own server takes a stack of containers and a fair amount of RAM. Vaultwarden solves both: it is a server compatible with the Bitwarden apps, written in Rust, that fits in the most modest corner of a VPS.
In this guide you bring it up with Docker Compose and publish it over HTTPS behind a reverse proxy, a requirement that is not optional. You then protect the admin panel and close off registration so nobody else can create an account. The same explanation is available in Spanish.
Key takeaways
- Vaultwarden is an unofficial but Bitwarden-compatible password server, written in Rust and released under the AGPL-3.0 license; its repository has around 63,800 GitHub stars.
- The latest stable server version is v1.36.0 (May 2026), which bundles web vault 2026.4.1; it ships as the
vaultwarden/serverimage and listens on port 80 inside the container. - HTTPS is mandatory: the browser web vault only works over a secure connection because it relies on the Web Crypto API. That is why Vaultwarden is always published behind a reverse proxy with TLS, never over plain HTTP.
- It is extremely lightweight: at idle it hovers around 10 MB of RAM, versus the stack of containers and roughly 2 GB the official self-hosted Bitwarden asks for.
- The
/adminpanel is enabled with theADMIN_TOKENvariable (an Argon2 hash is better than plain text), andSIGNUPS_ALLOWED=falsecloses registration once you have your account.
What is Vaultwarden and how does it differ from Bitwarden?
Vaultwarden is a reimplementation of the Bitwarden server written in Rust, maintained by Daniel García and formerly known as bitwarden_rs. It is not the official product, but it speaks the same API protocol.
The Bitwarden apps and extensions (Android, iOS, desktop, browser and command line) connect to it unchanged. They point at your server’s URL instead of the Bitwarden cloud. You keep your passwords, secure notes, cards and TOTP codes on your own infrastructure, encrypted end to end.
The big difference is weight. The official Bitwarden image is designed for large deployments and starts a stack of containers (database, identity, API, icons and more) that consumes on the order of 2 GB of RAM. Vaultwarden reduces all of that to a single Rust binary that, at idle, barely hovers around 10 MB of memory and stores data in a simple SQLite file. That frugality is why it fits on a Raspberry Pi or the cheapest VPS, and why it dominates self-hosted password managers.
In exchange, Vaultwarden implements on its own features that are paid in Bitwarden: organizations for sharing passwords, collections, attachments, the Send feature and five second factors (TOTP app, email, FIDO2 WebAuthn, YubiKey and Duo). It is a community project with a single main maintainer, so it is worth following its release notes and keeping backups, something you would do with any password vault anyway.
What does the Vaultwarden docker-compose.yml look like?
Vaultwarden deploys with a single service. Create a folder for the project and save this docker-compose.yml inside it. It pins version 1.36.0 instead of :latest, because a floating tag can jump versions on a restart and surprise you. It persists everything in a named volume mounted at /data, and publishes the port only on the local 127.0.0.1 interface: what should reach Vaultwarden from outside is the reverse proxy, not the internet directly:
services:
  vaultwarden:
    image: vaultwarden/server:1.36.0
    container_name: vaultwarden
    restart: unless-stopped
    environment:
      DOMAIN: "https://vault.yourdomain.com"
      SIGNUPS_ALLOWED: "true"
      ADMIN_TOKEN: "paste-your-argon2-hash-here"
      TZ: "Europe/Madrid"
    volumes:
      - vaultwarden_data:/data
    ports:
      - "127.0.0.1:8080:80"

volumes:
  vaultwarden_data:
Start it and follow the first-boot logs:
docker compose up -d
docker compose logs -f vaultwarden
The DOMAIN variable must point at the final public URL with https://, because live notifications, attachments and the WebAuthn second factor depend on it. Since version 1.29, those WebSocket notifications travel over the same port 80, so you no longer need to expose the old port 3012.
As all these keys are sensitive, manage them as secrets and do not leave them in clear text in a compose you push to a repository. The guide on environment variables and secrets in Docker explains how to do it with a .env file or Docker secrets. If you are starting from scratch, review how to install Docker on Ubuntu 24.04 first.
Why is publishing it over HTTPS behind a proxy mandatory?
This is the point that trips up beginners most, so it is worth stating plainly: the Vaultwarden web vault only works over HTTPS. It is not a security recommendation, it is a technical requirement. The web client encrypts and decrypts your vault in the browser with the Web Crypto API, and browsers only expose that API in secure contexts (HTTPS or localhost).
If you try to open Vaultwarden over http:// on an IP or a domain, you will see the interface but login will fail. That is why the container is never published over plain HTTP: it always sits behind a reverse proxy that terminates TLS.
The most convenient way in this series is to delegate it to a reverse proxy. With Traefik, you add the router labels to the service so it obtains a Let’s Encrypt certificate automatically and routes vault.yourdomain.com to the container’s port 80:
    labels:
      - "traefik.enable=true"
      - "traefik.http.routers.vaultwarden.rule=Host(`vault.yourdomain.com`)"
      - "traefik.http.routers.vaultwarden.entrypoints=websecure"
      - "traefik.http.routers.vaultwarden.tls.certresolver=letsencrypt"
      - "traefik.http.services.vaultwarden.loadbalancer.server.port=80"
If you prefer a graphical interface to manage certificates, Nginx Proxy Manager does the same from the browser. You create a proxy host pointing at vaultwarden:80 on the Docker network, enable SSL with Let’s Encrypt and tick the WebSockets box so notifications work. Whatever the proxy, the result is the same: clients always talk over https://vault.yourdomain.com and the container is never exposed directly.
How do I protect the /admin panel and close registration?
Vaultwarden includes an admin panel at the /admin path where you can see users, invite people, review the configuration and manage organizations. That panel is disabled until you define the ADMIN_TOKEN variable. Instead of putting a password in plain text (which would be readable in your compose and in the process memory), the recommended approach is to store an Argon2 hash. Generate one with the image itself and paste the result into ADMIN_TOKEN:
docker run --rm -it vaultwarden/server:1.36.0 /vaultwarden hashThe resulting hash uses the PHC format ($argon2id$v=19$...) and contains $ characters. Docker Compose treats $ as the start of a variable, so when you paste it into ADMIN_TOKEN inside docker-compose.yml you must double every one ($$argon2id$$v=19$$...). Otherwise Vaultwarden starts with an empty or different token than the one you generated and the /admin panel rejects your password.
Registration deserves the same attention. In the compose above, SIGNUPS_ALLOWED is "true" so you can create your first account from the registration screen. As soon as you have it, change it to "false" and restart (docker compose up -d) so nobody else can register on your server.
From then on, if you need to add more people, you do it by inviting them from the /admin panel. If you expose Vaultwarden to the internet, this is not optional: a password server with open registration is an invitation for anyone to create accounts on it.
With the token in place, go to https://vault.yourdomain.com/admin, enter the token and review the settings section: there you confirm the DOMAIN, decide whether to enable email sending (for invitations and login alerts) and adjust organization policies. All those changes are saved to a config.json file inside /data, so they are part of your backups too.
How do I back up the vault?
All of Vaultwarden’s information lives in the /data volume, so backing up that volume backs up your entire vault. Inside you will find the main db.sqlite3 file (users and encrypted passwords), the attachments/ folder with attachments, sends/ with temporary sends, the panel’s config.json and the rsa_key* keys that sign session tokens. If you lose those keys, every user will have to log in again, so include them in the backup.
The safest way to copy the SQLite database live is to use its own backup command, which produces a consistent file even while Vaultwarden is writing:
docker exec vaultwarden
  sqlite3 /data/db.sqlite3 ".backup '/data/backup.sqlite3'"
Then you copy backup.sqlite3 and the rest of /data to an external destination. This is the ideal place to chain the series. Automate that encrypted copy, push the volume to an S3 bucket or another server with a dedicated backup tool, and schedule a test restore now and then. Restoring is as simple as stopping the container, replacing the contents of /data with your copy and bringing it back up; you recover users, organizations and attachments exactly as they were.
Frequently asked questions
Can I use the official Bitwarden apps with Vaultwarden?
Yes, and that is precisely the point: the Bitwarden desktop, mobile, browser extension and CLI apps connect to Vaultwarden with no modification. On the login screen, in the self-hosted server options, you enter your instance’s URL (https://vault.yourdomain.com). From there it works just like the official cloud. Vaultwarden implements the same API, so sync, autofill and shared vaults behave as you expect.
Does Vaultwarden need an external database?
Not to start. By default it stores everything in a SQLite file inside /data, which is more than enough for personal, family or small-team use and requires no additional container. If your user count grows or you want to separate the storage, it supports PostgreSQL or MariaDB by setting the DATABASE_URL variable with the connection string to the database container. For the vast majority of installations, SQLite is the simplest option and the one that needs the least maintenance.
Is it safe to expose Vaultwarden to the internet?
It is, if you take three precautions: publish it over HTTPS behind the reverse proxy, close registration with SIGNUPS_ALLOWED=false once you have your account, and protect the panel with a strong ADMIN_TOKEN in Argon2 format. As extra layers, enable the second factor on your account and keep the image updated to the latest stable version. Consider restricting access with a VPN if you do not need to reach it from any network. With that, a self-hosted password server is as secure as the care you put into its configuration.
Conclusion
Vaultwarden is the lightest and most direct way to have your own Bitwarden. One container, one volume and a few minutes are enough to stop depending on someone else’s cloud without giving up the official apps. The key point, and the one that causes the most trouble, is that the web vault requires HTTPS.
Always publish it behind a reverse proxy with TLS such as Traefik or Nginx Proxy Manager. Close registration, protect the /admin panel with an Argon2 hash and keep the /data volume in your backup routine: with those four precautions you will have your own password manager, reliable and under your control.
Sources
Source code
Access all the source code for this post on GitHub.
View on GitHub