How to Run Headscale with Docker
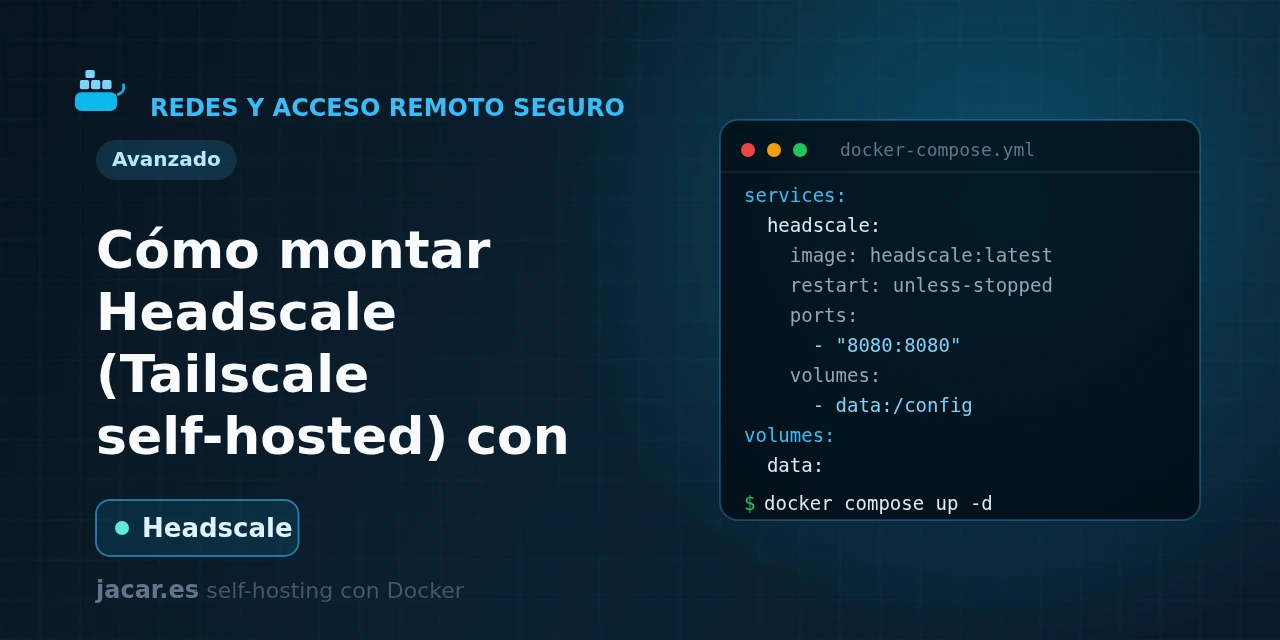
Table of contents
- Key takeaways
- What is Headscale and how does it relate to Tailscale?
- What does the Headscale docker-compose.yml look like?
- What do you need to configure in config.yaml?
- How do you register nodes and create pre-authenticated keys?
- How do you add a web panel with headscale-ui?
- Frequently asked questions
- Do I need the Tailscale client, or does Headscale ship its own?
- Can I migrate from the Tailscale cloud to Headscale without reinstalling?
- Is Headscale suitable for a large enterprise?
- Conclusion
- Sources
Tailscale has made mesh VPNs mainstream: instead of a central server that all traffic flows through, every device talks directly to the others over WireGuard. The trick is that Tailscale needs a coordination server in the cloud (the "control server") that knows which nodes exist and hands out their keys. Headscale reimplements that server so you can host it yourself, with no Tailscale cloud accounts and none of its plan limits.
In this guide you bring it up with Docker Compose, prepare the config.yaml file, register your first node and, if you want, add a web panel. The same explanation is available in Spanish.
Key takeaways
- Headscale is the Tailscale control server rewritten as free, self-hosted software. Its stable version is 0.29.2, released on 1 July 2026, and it has around 41,800 stars on GitHub under the BSD-3-Clause license.
- It replaces only the control plane (coordination and keys); the tunnels are still peer-to-peer WireGuard between your devices, which install the official Tailscale client pointed at your server.
- The container listens on port 8080 (API and registration), exposes metrics on 9090 and gRPC on 50443. It hands out addresses from the 100.64.0.0/10 range (IPv4) and
fd7a:115c:a1e0::/48(IPv6). - All configuration lives in
config.yamland the state in a SQLite database inside/var/lib/headscale; pin the image toheadscale/headscale:0.29.2and never to:latest. - Headscale ships no GUI out of the box: administration is via the command line, but you can add a third-party panel such as headscale-ui (around 2,700 stars) running on the same machine.
What is Headscale and how does it relate to Tailscale?
Tailscale is a mesh VPN built on WireGuard: you install its client on every device and they all see each other as if on the same local network. You open no ports and set up no tunnels by hand.
To orchestrate that mesh, Tailscale uses a coordination server (the control plane) hosted in its cloud. That server knows the list of nodes, hands out addresses and distributes the public keys so each pair can open its direct tunnel. Data traffic does not pass through it; only coordination does.
That control plane is Tailscale’s only proprietary piece, and that is where Headscale fits. The project describes itself as "an open source, self-hosted implementation of the Tailscale control server". In practice, Headscale takes the place of that cloud server: your devices still use the official Tailscale client, but registered against your own Headscale instead of against login.tailscale.com.
You gain control and privacy, and you shed the limits of Tailscale’s free plan. Since its April 2026 pricing overhaul, that plan allows up to 6 users. Personal devices are no longer capped, though tagged resources (servers, subnet routes) are still limited to 50.
The cost is that you take on the administration: there is no official web console, access policies (ACLs) are edited by hand, and you are the one who maintains and backs up the server. That is why Headscale fits the self-hoster who already runs other services. If you are coming from the classic client-server model of WireGuard with wg-easy, Headscale solves the opposite case: a mesh in which every node connects directly to the others.
What does the Headscale docker-compose.yml look like?
Headscale ships as an official image on Docker Hub and starts with the serve subcommand. It needs two things mounted from the host: a read-only configuration folder with your config.yaml, and a data folder where it keeps the SQLite database and the keys. Create a directory for the project and save this docker-compose.yml inside it, adapted from the official example:
services:
  headscale:
    image: headscale/headscale:0.29.2
    container_name: headscale
    restart: unless-stopped
    command: serve
    read_only: true
    tmpfs:
      - /var/run/headscale
    ports:
      - "127.0.0.1:8080:8080"
      - "127.0.0.1:9090:9090"
    volumes:
      - ./config:/etc/headscale:ro
      - ./lib:/var/lib/headscale
    healthcheck:
      test: ["CMD", "headscale", "health"]
      interval: 30s
      timeout: 5s
      retries: 3

volumes:
  headscale_data:
Each block is worth understanding. The image is pinned to headscale/headscale:0.29.2, a real, recent version; avoid :latest, because a database schema update between versions can break your startup without warning. The serve subcommand is what brings the server up; without it, the container does nothing.
The ports are published bound to 127.0.0.1 on purpose: 8080 serves the API and registration, 9090 the Prometheus metrics, and neither should be exposed directly to the Internet. Instead, you reach Headscale through a reverse proxy with HTTPS, as we will see.
The two volumes are the key to persistence. ./config mounts your config.yaml read-only (:ro), so the container cannot alter it. ./lib holds db.sqlite and the server’s private keys, so they survive restarts and updates.
The read_only: true and tmpfs settings harden the container: the filesystem is immutable except for the volumes and a temporary area in memory. The healthcheck uses the binary itself (headscale health) so Docker knows when the service is healthy. If this is your first container on the machine, review how to install Docker on Ubuntu 24.04 first so you have the engine and the Compose plugin ready.
What do you need to configure in config.yaml?
Before starting you need the config.yaml, because without it Headscale refuses to serve. The easiest path is to start from the official example and change only the essentials. Create the folders and download it:
mkdir -p config lib
curl -o config/config.yaml https://raw.githubusercontent.com/juanfont/headscale/v0.29.2/config-example.yaml
Open config/config.yaml and adjust these values; the rest of the defaults are fine to start with:
server_url: https://vpn.mydomain.com
listen_addr: 0.0.0.0:8080
metrics_listen_addr: 127.0.0.1:9090
grpc_listen_addr: 127.0.0.1:50443

prefixes:
  v4: 100.64.0.0/10
  v6: fd7a:115c:a1e0::/48
  allocation: sequential

database:
  type: sqlite
  sqlite:
    path: /var/lib/headscale/db.sqlite

dns:
  magic_dns: true
  base_domain: ts.mydomain.com
The most important value is server_url: it is the public address your nodes will reach the server at, and it must match the domain your reverse proxy serves over HTTPS. listen_addr goes to 0.0.0.0:8080 so Docker can map the port inside the container. The prefixes define which ranges the mesh IPs are handed out from: 100.64.0.0/10 is the reserved CGNAT space that Tailscale itself also uses, so it will not clash with your home network. Setting base_domain (the MagicDNS internal domain) to the same full name as server_url fails, which is why a different subdomain (ts.mydomain.com) is used here.
With the file ready, bring the service up and check the logs:
docker compose up -d
docker compose logs -f headscale
Behind it you should put a reverse proxy that terminates TLS and forwards to the local 8080. For that, follow how to install Traefik with Docker Compose and publish the server_url with a Let’s Encrypt certificate.
How do you register nodes and create pre-authenticated keys?
Headscale organizes devices by users (formerly called "namespaces"). The first step is to create a user, and from version 0.29 each user has a numeric ID that you will see when you list them:
docker compose exec headscale headscale users create javier
docker compose exec headscale headscale users list
There are two ways to enroll a node. The interactive one is the usual choice for your personal machines. On the client machine, with the Tailscale client already installed, you run:
tailscale up --login-server https://vpn.mydomain.comThe client opens a page with instructions and shows an authentication ID. Copy that auth-id and approve it on the server, associating it with your user:
docker compose exec headscale headscale auth register --user javier --auth-id AUTH_IDThe second route is pre-authenticated keys, meant to automate enrollment (servers, containers, deployments) without manual intervention. You generate them by giving the user’s ID, and you can make them reusable and time-limited:
docker compose exec headscale headscale preauthkeys create --user 1 --reusable --expiration 24hWith that key, the node registers on its own, without going through the browser:
tailscale up --login-server https://vpn.mydomain.com --authkey YOUR_KEYFrom here, each node gets an IP from the 100.64.0.0/10 range and sees the others by name thanks to MagicDNS. Since Headscale only coordinates, the tunnels open directly between peers whenever the network allows it; when two nodes are behind strict NATs and cannot see each other, traffic falls back to a DERP relay. If you want to understand why a connection is sometimes direct and sometimes goes through a relay, it helps to be clear on the network types in Docker and how NAT works.
How do you add a web panel with headscale-ui?
Headscale is administered from the command line, but if you prefer a graphical interface to see the nodes, their IPs and their status, the most used community add-on is headscale-ui. It runs as a separate container and talks to Headscale through an API key. First generate that key on the server:
docker compose exec headscale headscale apikeys create --expiration 90dThen add the service to your docker-compose.yml. headscale-ui only publishes a rolling latest tag, so here it is the only practical option; pin the image digest if you want strict reproducibility:
  headscale-ui:
    image: ghcr.io/gurucomputing/headscale-ui:latest
    container_name: headscale-ui
    restart: unless-stopped
    ports:
      - "127.0.0.1:9443:8443"
The important detail is that headscale-ui must be served at the /web path under the same domain as Headscale to avoid CORS problems. That is, your reverse proxy routes https://vpn.mydomain.com/ to Headscale’s 8080 and https://vpn.mydomain.com/web to headscale-ui. On first entry, the interface will ask for the API key you generated. From there you manage users and nodes from the browser, although advanced tasks (ACLs, advertised routes) are still more comfortable via the CLI.
Frequently asked questions
Do I need the Tailscale client, or does Headscale ship its own?
You need the official Tailscale client on each device. Headscale only replaces the coordination server, not the node software: the WireGuard tunnel magic, peer discovery and DERP fallback are still provided by the Tailscale client. The only thing that changes is that you start it with tailscale up --login-server pointed at your Headscale server instead of at the Tailscale cloud.
Can I migrate from the Tailscale cloud to Headscale without reinstalling?
There is no automatic migration from a Tailscale tailnet to Headscale: they are different control planes, with their own keys and their own state. What you can do is reuse the same devices: run tailscale logout on each node and register it again against your Headscale. The original tailnet’s data (ACLs, users) is not imported, so you will have to rebuild that configuration on your server.
Is Headscale suitable for a large enterprise?
Headscale is meant, according to its own maintainers, for self-hosters and small to medium teams, not for large corporate deployments. It works well for networks of dozens or a few hundred nodes, but it lacks the support guarantees, high availability and governance features of Tailscale’s commercial offering. For a homelab, a technical team or a small business that wants full control and zero license cost, it fits perfectly; for large-scale critical infrastructure, weigh the paid product.
Conclusion
Headscale gives you back the piece Tailscale keeps in its cloud: the control server. With a short docker-compose.yml, a config.yaml with four of your own values and a couple of commands to create users and register nodes, you have a private WireGuard mesh. It has no plan limits and it is under your control.
Remember the essentials: pin the image to 0.29.2 instead of :latest, always serve 8080 behind HTTPS with a reverse proxy, and use pre-authenticated keys to automate server enrollment. The natural next step is to secure access with Traefik and, if you want the simplest client-server model for a few devices, to compare Headscale with WireGuard and wg-easy.
Sources
Source code
Access all the source code for this post on GitHub.
View on GitHub