How to Install Heimdall with Docker
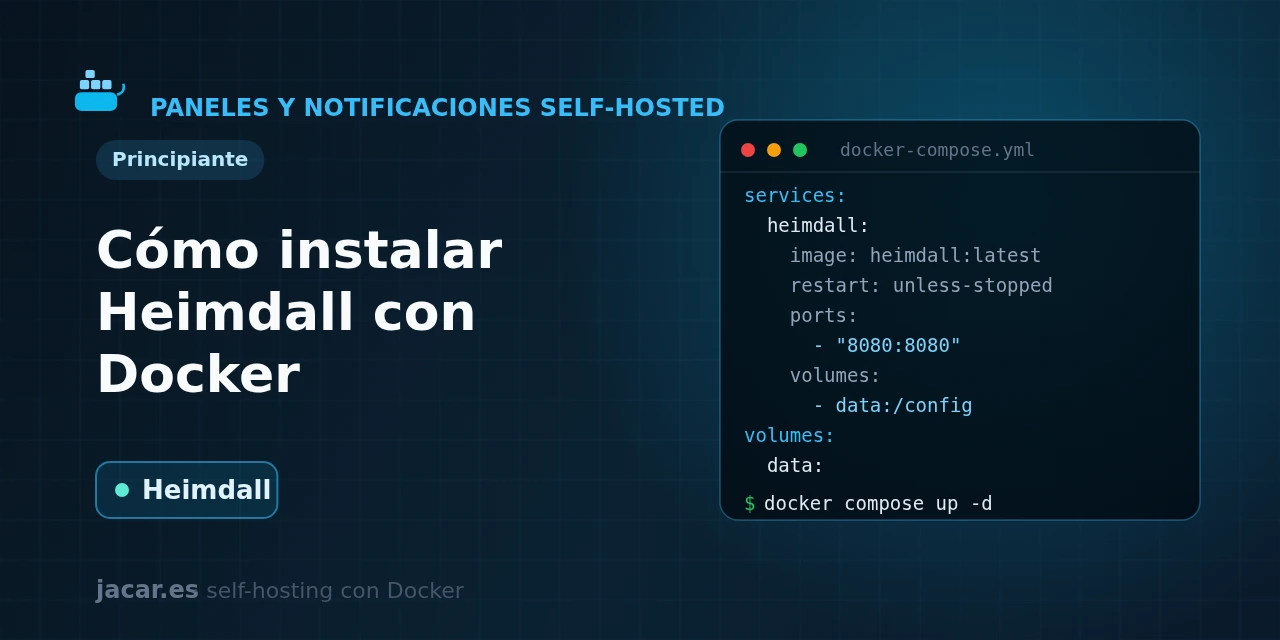
Table of contents
- Key takeaways
- What is Heimdall and what is it for?
- What does the Heimdall docker-compose.yml look like?
- How do you add applications and enhanced apps?
- How do you publish it with a reverse proxy?
- How does Heimdall differ from Homer?
- Frequently asked questions
- Does Heimdall need a separate database?
- How do I protect Heimdall if it has no login?
- Why does my enhanced app show no data?
- Conclusion
- Sources
Heimdall turns one browser tab into your server’s front page: a dashboard with all your services one click away. In this guide you bring it up with a single docker-compose.yml using the LinuxServer image, add your first applications (including the enhanced apps that show live status), publish it over HTTPS behind a reverse proxy and compare it with Homer to know when to pick each one. The same explanation is available in Spanish.
Key takeaways
- Heimdall is an open-source application dashboard (MIT licence) maintained by the LinuxServer.io group, whose images have more than 150 million pulls on Docker Hub between them.
- It is written in PHP (8.4 or newer) with the Laravel 13 framework and stores its configuration in a SQLite database inside the
/configvolume, so you do not need a separate database container. - The recommended setup uses the
lscr.io/linuxserver/heimdallimage; the current stable version is 2.8.1, released on 9 July 2026. - It offers three link types: generic links, foundation apps (around 468 templates with automatic icon and colour) and enhanced apps (around 117) that query the service’s API to show its status.
- Pin a specific image version (for example
2.8.1) instead of:latest; that way you decide when you move up a version and avoid surprises on container restart.
What is Heimdall and what is it for?
Heimdall is an application dashboard designed to gather, on a single tidy and good-looking page, the links to every service scattered around your server or your local network. The idea is simple: instead of remembering ports and IPs like 192.168.1.10:8096, you open Heimdall and click each application’s icon. Many people use it as their browser home page, with a built-in search bar that points to Google, Bing or DuckDuckGo.
It is developed and maintained by the LinuxServer.io group, well known in the self-hosting world for its polished container images. Heimdall is built on PHP 8.4 or newer and Laravel 13, and its philosophy is the opposite of a Swiss-army knife: it prioritises simplicity and good design over piling on features. All its information lives on your server, inside a SQLite database that is created on its own in the /config volume, with no dependency on someone else’s cloud.
If you are coming from other guides in this series, it fits naturally as the front page of your homelab, alongside the services we have already set up with Docker. It is a more visual, web-interface alternative to file-driven panels like Homepage.
What does the Heimdall docker-compose.yml look like?
Before writing the Compose file you need a Linux machine with Docker and the Compose plugin installed; if you do not have them yet, follow the guide to install Docker on Ubuntu 24.04 first. Heimdall is one of the simplest installs in the whole series, because it is a single container with no external database. Create a folder for the project and save this docker-compose.yml inside it:
services:
  heimdall:
    image: lscr.io/linuxserver/heimdall:2.8.1
    container_name: heimdall
    restart: unless-stopped
    environment:
      PUID: 1000
      PGID: 1000
      TZ: Europe/Madrid
      ALLOW_INTERNAL_REQUESTS: "false"
    volumes:
      - heimdall_config:/config
    ports:
      - "8090:80"
    healthcheck:
      test: ["CMD-SHELL", "curl -f http://localhost:80/ || exit 1"]
      interval: 30s
      timeout: 5s
      retries: 5

volumes:
  heimdall_config:
Look over a couple of important details. PUID and PGID set the user and group the container writes to the volume with; on most installs the first Linux user is 1000:1000, and you can check it with the id command. The container serves on port 80 (and 443 for HTTPS), but since the host’s port 80 is usually taken, here we publish it on 8090. The ALLOW_INTERNAL_REQUESTS variable controls whether Heimdall may reach private IP addresses: leave it at false for safety and set it to true only when you use enhanced apps against services on your local network. All the configuration persists in the heimdall_config volume, mounted at /config.
With the file ready, start the stack in the background and watch the container log:
docker compose up -d
docker compose ps
docker compose logs -f heimdall
When the container status shows as healthy, open http://192.168.1.10:8090 in the browser (change the IP to your server’s). You will see the empty Heimdall front page, ready for your first application. There is no default username or password: access is open, so do not expose the port directly to the Internet without protecting it, which we solve below with the reverse proxy.
How do you add applications and enhanced apps?
Heimdall distinguishes three ways to add a link, from least to most intelligent. Understanding the difference is the key to getting the most out of it:
- Generic applications: a plain link you give a name, colour and icon to by hand. It works for any website or service.
- Foundation apps: ready-made templates for well-known services, with their official icon and colour. Heimdall ships around 468, so as you type the name (for example
PortainerorNextcloud) they fill in on their own. - Enhanced apps: foundation apps to which you also give an API URL and a key. With that, Heimdall queries the service and shows live information on the tile itself: free space, download count, system status, and so on. There are around 117 available.
To create the first one, click the Application list button in the sidebar and then Add. Type the service name: if it exists as a foundation app, Heimdall offers you the icon and colour automatically. Fill in the URL (for example http://192.168.1.10:9000 for Portainer) and save. If the service supports enhanced access, turn on the Enable option, choose the type and paste the API key that service generates; from then on the tile will show up-to-date data. Remember that for enhanced apps to reach services on your internal network you must set ALLOW_INTERNAL_REQUESTS to true.
How do you publish it with a reverse proxy?
Serving Heimdall over plain HTTP on the local network is fine to start with, but since it has no login of its own, you should never expose its port directly to the Internet. The right way to take it outside is to place it behind a reverse proxy that handles the TLS certificate and, if you want, an authentication layer. You have two options widely used in this series: Nginx Proxy Manager (a web interface that simplifies configuring Nginx as a reverse proxy and requesting certificates), with which you create the proxy and request the Let’s Encrypt certificate in a couple of clicks, or Traefik, configured through labels in the Compose file itself.
If you use Traefik, remove the ports section from the heimdall service, connect it to the proxy network and add these labels:
    labels:
      - "traefik.enable=true"
      - "traefik.http.routers.heimdall.rule=Host(`home.mydomain.com`)"
      - "traefik.http.routers.heimdall.entrypoints=websecure"
      - "traefik.http.routers.heimdall.tls.certresolver=le"
      - "traefik.http.services.heimdall.loadbalancer.server.port=80"
Since Heimdall asks for no password, it is worth adding a basic authentication at the proxy (or an SSO in front) so that not just anyone can see your list of services. With the certificate in place, your dashboard will be reachable at https://home.mydomain.com with a padlock and no odd ports on show.
How does Heimdall differ from Homer?
Heimdall and Homer solve the same problem (a dashboard of shortcuts), but from opposite philosophies. Homer is a fully static dashboard: a config.yml that Homer turns into HTML and JavaScript, with no server process behind it, under the Apache 2.0 licence. It is extremely light and boots in the blink of an eye, but every change means editing the YAML file by hand and it shows no live status.
Heimdall, by contrast, is a dynamic PHP and Laravel application with a web editor: you add and order the tiles from the browser, without touching files, and it stores everything in SQLite. In return it uses a little more memory and boots slightly slower. The rule of thumb: pick Homer if you want the lightest possible dashboard and do not mind editing YAML; pick Heimdall if you prefer to configure it with the mouse and want enhanced apps with real-time status. If you want something in between with drag and drop, take a look at Dashy.
Frequently asked questions
Does Heimdall need a separate database?
No. Unlike other applications in the series, Heimdall does not require a MariaDB or PostgreSQL container: it uses a SQLite database that is created on its own inside the /config volume. That is why the docker-compose.yml defines a single service. To take a full backup you only need to back up that volume, which also stores the icons you have uploaded.
How do I protect Heimdall if it has no login?
Heimdall includes no users or passwords: whoever reaches its URL sees the dashboard. That is why you must not expose its port directly to the Internet. The solution is to place it behind a reverse proxy like Nginx Proxy Manager with HTTPS and add a basic authentication or an SSO in front. On a local network with no Internet exposure, open access is usually acceptable.
Why does my enhanced app show no data?
It is almost always down to the ALLOW_INTERNAL_REQUESTS variable. Enhanced apps make a request from the Heimdall container towards the service’s API; if that service is on a private IP (your local network), Heimdall blocks the request for safety unless you set ALLOW_INTERNAL_REQUESTS: "true". Check as well that the API URL and key are correct and that the service is reachable from the container.
Conclusion
With a single docker-compose.yml you have your server’s front page: an elegant dashboard that gathers all your services, with automatic icons and live status for those that support it. The key is pinning the image version, adjusting PUID/PGID and deciding the ALLOW_INTERNAL_REQUESTS variable carefully. The logical next step is to take the dashboard to the Internet securely behind Nginx Proxy Manager or Traefik, and to compare it with alternatives like Homepage or Dashy to keep the one that best fits your homelab.
Sources
Source code
Access all the source code for this post on GitHub.
View on GitHub