How to Install AdGuard Home with Docker
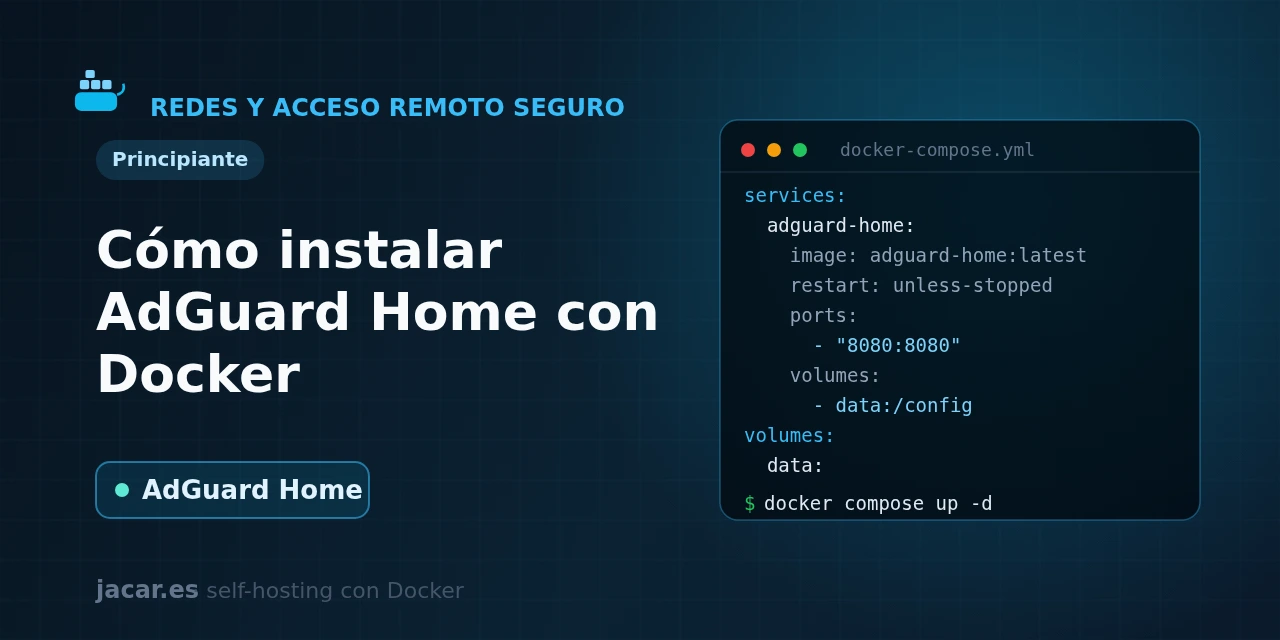
Table of contents
- Key takeaways
- What is AdGuard Home and how does it block ads via DNS?
- What does the AdGuard Home docker-compose.yml look like?
- How do you free port 53 taken by systemd-resolved?
- What does the initial setup wizard do?
- How do you turn on encrypted DNS (DoH, DoT) and DNS rewrites?
- AdGuard Home or Pi-hole: which should you choose?
- Frequently asked questions
- Can I use AdGuard Home without changing my router's DNS?
- What happens with AdGuard Home if the container goes down?
- Does AdGuard Home block YouTube ads?
- Conclusion
- Sources
Ads and trackers do not live in the browser alone: they are also on your phone, on your TV and in every app that connects to the Internet. AdGuard Home blocks them at the root because it acts as the DNS server for your whole network. When a device asks for an ad network’s domain, AdGuard Home replies that it does not exist and the ad never loads.
In this guide you bring up AdGuard Home with Docker Compose and fix the classic port 53 conflict on Ubuntu. Then you walk through the initial setup wizard, turn on encrypted DNS and DNS rewrites, and compare it with Pi-hole to decide which one suits you. The same explanation is available in Spanish.
Key takeaways
- AdGuard Home is a free, open-source DNS server under the GPL-3.0 license that blocks ads and trackers network-wide; its core is written in Go and the web UI in TypeScript, with around 35,500 stars on GitHub.
- It deploys as a single container: the official
adguard/adguardhomeimage has over 100 million pulls on Docker Hub, and the latest stable version is v0.107.78, released on 13 July 2026. - The DNS service listens on port 53 (TCP and UDP); the initial wizard opens on port 3000 only the first time, and after setup the dashboard stays on port 80.
- On Ubuntu and Debian, port 53 is taken by
systemd-resolved, so you must free it before starting the container or the DNS server will not come up. - Unlike Pi-hole, AdGuard Home is a single Go binary that already ships encrypted DNS (DoH, DoT and DoQ), DNS rewrites, parental control and a DHCP server built in, without depending on dnsmasq or a separate web server.
What is AdGuard Home and how does it block ads via DNS?
AdGuard Home is, in the words of its official repository, "network-wide software for blocking ads and tracking." It is not a browser extension or a program you install on every machine. It is a DNS server you place on your network and point all your devices to.
DNS is the phone book of the Internet, the system that translates a name like example.com into the server’s IP address. AdGuard Home sits in the middle of that lookup and keeps lists of advertising and tracking domains. When a device asks for one of them, it answers with an empty address instead of the real one. The result is that the ad, tracking pixel or telemetry domain never gets downloaded.
The big advantage of blocking via DNS is that it protects your whole network at once. That covers the laptop, the phone, the tablet, the smart TV and the connected appliances, with nothing installed on each one. All it takes is for the router to hand out AdGuard Home’s IP as the DNS server.
It is the same principle behind Pi-hole, its best-known alternative. Against it, AdGuard Home bundles into a single binary features that Pi-hole needs extra pieces or plugins for: encrypted DNS, a modern statistics dashboard, parental control, safe browsing and DNS rewrites.
What does the AdGuard Home docker-compose.yml look like?
AdGuard Home needs no external database: it keeps all its configuration in a YAML file and its statistics in two volumes. Create a folder for the project and save this docker-compose.yml inside it. It pins version v0.107.78 instead of :latest, because a floating tag can change version on a simple restart and leave you with no control over what you run:
services:
  adguardhome:
    image: adguard/adguardhome:v0.107.78
    container_name: adguardhome
    restart: unless-stopped
    volumes:
      - adguard_work:/opt/adguardhome/work
      - adguard_conf:/opt/adguardhome/conf
    ports:
      - "53:53/tcp"
      - "53:53/udp"
      - "3000:3000/tcp"
      - "80:80/tcp"
      - "443:443/tcp"
      - "853:853/tcp"

volumes:
  adguard_work:
  adguard_conf:
The two volumes are the key to persistence: /opt/adguardhome/conf holds the AdGuardHome.yaml file with all the configuration, and /opt/adguardhome/work stores the statistics, the query log and the downloaded block lists. As for the ports: 53 is DNS (the essential one), 3000 is the first-run wizard and 80 is the dashboard once configured. Ports 443 and 853 are only needed if you are going to offer encrypted DNS (DoH and DoT), which we cover below. If you do not plan to use encrypted DNS or the DHCP server, you can drop the 443 and 853 lines to reduce the exposed surface.
The official image does not ship a built-in Docker healthcheck: earlier versions had one, but the AdGuard Home team removed it in v0.107.34 because it produced false positives depending on your dns.bind_hosts configuration. To monitor it from outside, AdGuard Home reserves the special domain healthcheck.adguardhome.test, which returns a NODATA response when the DNS server is healthy. You can query it from an external monitor or build your own custom healthcheck. Before starting, however, you need to fix a common port 53 conflict.
How do you free port 53 taken by systemd-resolved?
On modern Ubuntu and Debian, the systemd-resolved service already listens on port 53 to manage the system’s DNS. If you start the container as is, Docker will fail with an error like address already in use. The fix is to disable only systemd-resolved‘s local listener, without breaking name resolution on the server itself. Edit (or create) a drop-in for /etc/systemd/resolved.conf, add these two lines and restart the service:
sudo mkdir -p /etc/systemd/resolved.conf.d
echo -e "[Resolve]nDNSStubListener=no" | sudo tee /etc/systemd/resolved.conf.d/adguard.conf
sudo rm -f /etc/resolv.conf
sudo ln -s /run/systemd/resolve/resolv.conf /etc/resolv.conf
sudo systemctl restart systemd-resolved
With DNSStubListener=no you free port 53, and with the symbolic link the system keeps resolving names through systemd-resolved via its internal socket. Check that the port is free with sudo ss -tulpn | grep :53 (it should return nothing) and start the container:
mkdir -p adguardhome && cd adguardhome
docker compose up -d
docker compose ps
docker compose logs -f adguardhome
If the container keeps restarting, it is almost always because port 53 is still taken; check the ss output again. If you need to review installing the engine, see the guide on how to install Docker on Ubuntu 24.04. If you want to understand why the container publishes its ports on the host, the guide on Docker networking: bridge, host and custom networks will help.
What does the initial setup wizard do?
With the container running, open http://SERVER-IP:3000 in the browser. The first time, a three-step wizard appears.
In the first step you choose the interfaces and ports: leave the admin panel on port 80 and the DNS server on 53. In the second you create the admin user with its password. The third shows you how to configure your devices, and once the wizard finishes port 3000 stops being used: from then on you enter the panel at http://SERVER-IP (port 80).
Inside the panel you get a dashboard with the percentage of blocked queries, statistics by domain and by client, and the query log in real time. Under Settings → Blocklists you can add extra lists; AdGuard Home comes with its own base filter list, but you can add other well-known ones to widen coverage. The final and most important step is to tell your network to use AdGuard Home: in your router‘s DNS settings, replace the DNS server with the IP of the machine running the container. That way, every device that connects via DHCP will receive AdGuard Home as its resolver with nothing to configure on it.
How do you turn on encrypted DNS (DoH, DoT) and DNS rewrites?
By default, DNS queries travel in plain text over port 53, so your ISP can see them. AdGuard Home can also act as an encrypted DNS server for your own devices: DNS over HTTPS (DoH, port 443), DNS over TLS (DoT, port 853) and DNS over QUIC (DoQ, port 853/UDP).
To enable it you need a valid TLS certificate for your domain. The usual approach is to put it behind a reverse proxy that manages certificates, such as Nginx Proxy Manager for the panel. For the encrypted DNS traffic, also open ports 443 and 853, already included in the docker-compose.yml. Under Settings → Encryption settings you upload the certificate and key and enable whichever protocols you want.
Beyond encryption, a handy feature is DNS rewrites. They let you answer with a specific IP for the domains you decide, without running a separate DNS server. It is ideal for giving nice names to your internal services: you can make nas.mydomain.local point to your server’s IP, or have all subdomains of *.home.mydomain.com resolve to your reverse proxy’s IP. They are configured under Filters → DNS rewrites and save you from editing the hosts file on every machine.
AdGuard Home or Pi-hole: which should you choose?
Both block ads via DNS and both run beautifully in a container, so the choice comes down to the details. AdGuard Home is a single Go binary: the DNS server, the web panel and the statistics all live in the same image, and the whole configuration sits in one YAML file. Pi-hole, by contrast, combines pihole-FTL (its DNS engine, a fork of dnsmasq), lighttpd (the web server) and PHP (the panel) inside the container.
That architectural difference explains why AdGuard Home ships out of the box things that Pi-hole needs extra steps for. From its own interface you get encrypted DNS (DoH, DoT, DoQ), parental control, safe browsing, per-client lists and DNS rewrites.
Pi-hole, for its part, has a huge community, more years of mileage and a broad ecosystem of lists and extensions. If you come from Pi-hole and feel comfortable with it, there is no urgency to switch.
If you are starting from scratch and want encrypted DNS and a modern interface with nothing extra to install, AdGuard Home is the more complete option. Since both use port 53, they cannot coexist on the same machine without adjustments: pick one. You can read the equivalent guide on how to install Pi-hole with Docker to compare installing the two in detail.
Frequently asked questions
Can I use AdGuard Home without changing my router’s DNS?
Yes, but you lose the biggest advantage. If you cannot touch the router, configure AdGuard Home as the DNS manually on each device you want to protect (in the network settings of the phone, laptop or TV). Blocking will work just the same, but only on the machines you set up by hand. The ideal is to change it once on the router so that every device connecting via DHCP inherits AdGuard Home automatically, with no per-device configuration.
What happens with AdGuard Home if the container goes down?
Your network is left without DNS and stops resolving names, which looks like no Internet. That is why it is wise to keep restart: unless-stopped in the docker-compose.yml, so Docker brings the container back up after a failure or a server reboot. As a safety net, configure a secondary DNS server on your router, for example 1.1.1.1 or 9.9.9.9. If AdGuard Home does not answer, devices fall back to the secondary and you keep browsing, though without ad blocking while the outage lasts.
Does AdGuard Home block YouTube ads?
Partly and with limits. DNS-based blocking works at the domain level, and YouTube serves its ads from the same domains as the videos, so it cannot tell them apart without breaking playback. AdGuard Home does a good job blocking trackers and advertising on most websites and apps, but the ads embedded in YouTube’s own stream slip past it. For those you need client-side solutions, such as a browser blocker.
Conclusion
AdGuard Home is the most complete way to block ads and trackers across your whole network from a single container. With a one-service docker-compose.yml, two volumes and port 53 freed from systemd-resolved, you stand up a DNS server with a statistics dashboard, encrypted DNS and DNS rewrites in a matter of minutes. The decisive step is pointing your router’s DNS at the container’s IP: from there, every device in your home browses ad-free with nothing installed. If you are torn between this tool and its classic alternative, compare the install with Pi-hole before you decide.
Sources
Source code
Access all the source code for this post on GitHub.
View on GitHub