How to Install Grafana with Docker
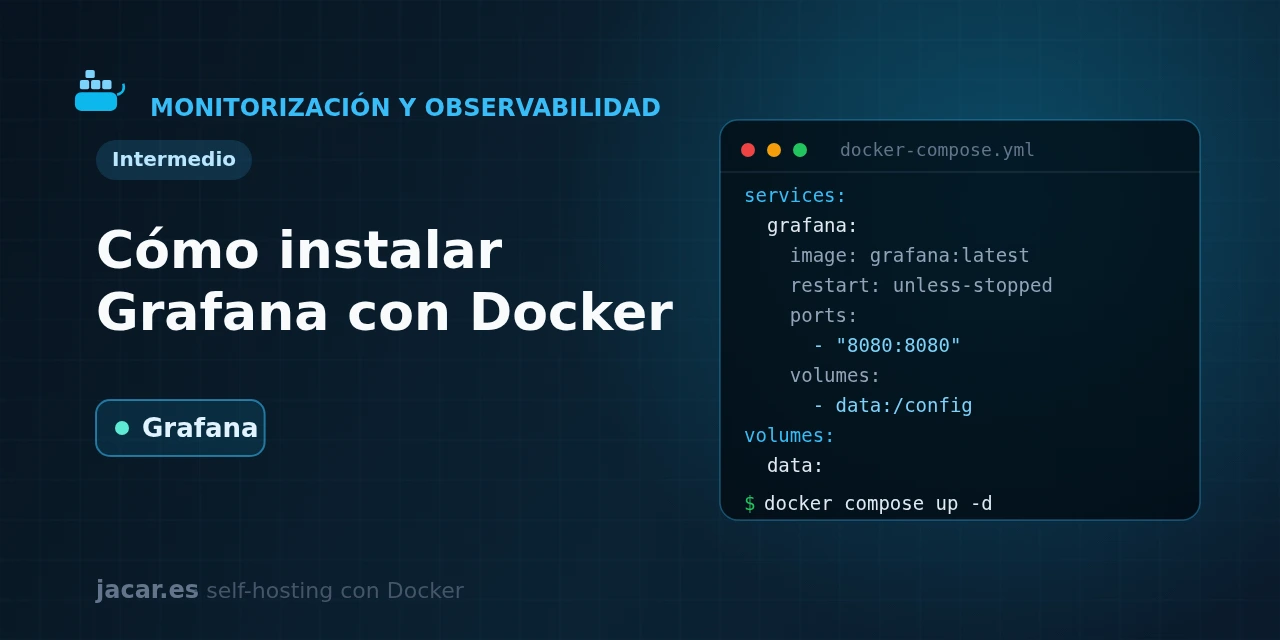
Table of contents
- Key takeaways
- What is Grafana and what is it for?
- What does the docker-compose.yml for Grafana look like?
- How do you add Prometheus as a data source?
- How do you import a dashboard by its ID?
- How do you publish Grafana with Traefik and authentication?
- Frequently asked questions
- Why does Grafana ask me to change the password on login?
- Does Grafana keep my dashboards if I delete the container?
- Do I use the grafana or the grafana-oss image?
- Conclusion
- Sources
Grafana turns loose numbers into dashboards you can read at a glance, and with Docker you have it running in a few minutes. In this guide you bring up Grafana with a single docker-compose.yml file and persist its data in a volume. You then add Prometheus as a data source (with automatic provisioning), import a ready-made dashboard by its identifier and leave it ready to publish over HTTPS behind a reverse proxy. The same explanation is available in Spanish.
Key takeaways
- Grafana is the most popular open-source visualisation tool for self-hosted infrastructure: it connects to Prometheus, Loki, InfluxDB, PostgreSQL and dozens more sources without keeping a copy of the data.
- The most recent stable version is Grafana 13.1.0, released on 1 July 2026; use the
grafana/grafanaimage, becausegrafana/grafana-ossstopped being updated from 12.4.0 onwards. - The web UI and the API listen on port 3000, and all configuration (dashboards, data sources, users) is stored in
/var/lib/grafana, which you must mount in a volume so it persists. - The default credentials are admin / admin and Grafana forces you to change them on first login; better still, set the startup password with the
GF_SECURITY_ADMIN_PASSWORDvariable. - The container runs as the user with UID 472, a detail that matters when you use bind mounts instead of named volumes.
What is Grafana and what is it for?
Grafana is an open-source platform to query, visualise and alert on time-series data and other sources, from SQL databases to log engines. It started in 2014 as a fork of Kibana focused on metrics and today it is the standard visualisation layer of self-hosted observability. Its core idea is that Grafana does not store the data. It connects to an external data source (Prometheus for metrics, Loki for logs, InfluxDB, Elasticsearch, PostgreSQL or MySQL, among others) and draws the results in interactive panels.
A Grafana dashboard is a set of panels, and each panel runs a query against a data source and renders it as a line chart, a gauge, a table or a heatmap. On top of those same queries you can define unified alerts that notify you by email, Telegram or a notification service when a value crosses a threshold.
In a typical homelab stack, Grafana is the visible face: Prometheus collects the metrics, Grafana charts them. That is why this guide keeps the two in the same docker-compose.yml, and why it assumes you already have a Prometheus listening (if not, start with it).
What does the docker-compose.yml for Grafana look like?
The minimal deployment fits in one file. Pin a specific image version, store the data in a named volume, pass the admin password through a variable and publish port 3000 only on the machine itself:
services:
  grafana:
    image: grafana/grafana:13.1.0
    restart: unless-stopped
    environment:
      - GF_SECURITY_ADMIN_USER=admin
      - GF_SECURITY_ADMIN_PASSWORD=${GRAFANA_ADMIN_PASSWORD:?set GRAFANA_ADMIN_PASSWORD in .env}
      - GF_USERS_ALLOW_SIGN_UP=false
    volumes:
      - grafana_data:/var/lib/grafana
      - ./provisioning:/etc/grafana/provisioning:ro
    ports:
      - "127.0.0.1:3000:3000"
    healthcheck:
      test: ["CMD-SHELL", "wget -q --spider http://localhost:3000/api/health || exit 1"]
      interval: 15s
      timeout: 5s
      retries: 5

volumes:
  grafana_data:
Four choices are worth pausing on. The named volume grafana_data is mounted at /var/lib/grafana, where Grafana keeps its SQLite database with the dashboards, data sources and users. If you would rather understand the difference between a named volume and a bind mount, we explain it in the guide on Docker volumes and bind mounts.
The password is read from the GRAFANA_ADMIN_PASSWORD variable in your .env file. The ${VAR:?message} syntax makes Compose refuse to start if that variable is missing, instead of leaving the default admin password. The GF_USERS_ALLOW_SIGN_UP=false option closes new-user registration. And by publishing the port as 127.0.0.1:3000:3000 you keep the UI reachable only from the machine itself, because later we will expose it to the Internet through a proxy with HTTPS.
Save an .env file next to the Compose with the password and start the stack:
echo "GRAFANA_ADMIN_PASSWORD=a-long-and-unique-password" > .env
docker compose up -d
docker compose ps
docker compose logs -f grafana
Open http://127.0.0.1:3000 in the browser and log in with admin and the password you set in .env. If you would rather use Docker secrets instead of environment variables for the password, review how they are handled in the guide on environment variables and secrets in Docker.
How do you add Prometheus as a data source?
You can add the source by hand from the UI (Connections > Data sources > Add data source > Prometheus). The elegant way is to provision it with a file, so Grafana creates it on its own at startup and you do not depend on clicks. That is the reason for the second volume in the Compose: we mount a ./provisioning folder at /etc/grafana/provisioning, which Grafana reads on boot.
Create the file provisioning/datasources/prometheus.yml with this content:
apiVersion: 1

datasources:
  - name: Prometheus
    type: prometheus
    access: proxy
    url: http://prometheus:9090
    isDefault: true
The key is the url: it points to http://prometheus:9090 using the service name, not an IP. Inside the Docker Compose network, the internal DNS resolves prometheus to the container’s IP, so Grafana and Prometheus must share the same network (the easiest is to have them in the same docker-compose.yml). The access: proxy mode makes it the Grafana server, and not your browser, that queries Prometheus, so port 9090 does not need to be published externally.
Recreate the stack so Grafana reads the provisioning and you will see the source already created under Connections > Data sources:
docker compose up -d --force-recreate grafanaIn the same way you can provision Loki to centralize the logs: add another block of type loki pointing to http://loki:3100, and you will have metrics and logs in the same Grafana.
How do you import a dashboard by its ID?
You do not need to build the panels from scratch. The community publishes thousands of dashboards in the official grafana.com catalogue, each with a numeric identifier. The most famous one for servers is Node Exporter Full, with ID 1860, which shows the machine’s CPU, memory, disk and network on a single screen.
To import it, go in the UI to Dashboards > New > Import, type 1860 in the identifier field, click Load, choose your Prometheus data source in the dropdown and confirm. In seconds you have dozens of panels working, as long as Prometheus is already collecting metrics from a Node Exporter and a cAdvisor.
You can also automate the import with provisioning: leave the dashboards’ JSON files in a folder plus a config file that Grafana reads at startup. This is what is known as dashboards as code, ideal so that your configuration lives in a repository and is rebuilt identically on any server.
How do you publish Grafana with Traefik and authentication?
While you work locally, the 127.0.0.1:3000 port is enough. To reach Grafana from outside with a domain and HTTPS, the right approach is to put a reverse proxy in front instead of opening port 3000 in the firewall. The full process, with automatic Let’s Encrypt certificates, is in the guide on how to install Traefik with Docker Compose.
With Traefik on the same network, you add a few labels to the Grafana service and tell Grafana its public URL so links and login work:
    environment:
      - GF_SERVER_ROOT_URL=https://grafana.mydomain.com
    labels:
      - "traefik.enable=true"
      - "traefik.http.routers.grafana.rule=Host(`grafana.mydomain.com`)"
      - "traefik.http.routers.grafana.entrypoints=websecure"
      - "traefik.http.routers.grafana.tls.certresolver=letsencrypt"
      - "traefik.http.services.grafana.loadbalancer.server.port=3000"
Grafana already ships its own login, so you do not need an extra authentication layer as with services that lack one. It is still worth hardening it. Use a long admin password and keep GF_USERS_ALLOW_SIGN_UP=false so nobody registers on their own. If you expose the panel to the Internet, consider enabling two-step authentication or delegating login to an OAuth provider.
The GF_SERVER_ROOT_URL variable is important: without it, some redirects and shared links would point to localhost:3000 instead of your domain.
Frequently asked questions
Why does Grafana ask me to change the password on login?
Because the factory credentials are admin / admin and Grafana forces you to change them on first login for security. If you defined GF_SECURITY_ADMIN_PASSWORD in the Compose, you log in directly with that password and will not see the prompt. Keep in mind that this variable only sets the password the first time the database is created. If you later change it in the file, it will not apply over an existing /var/lib/grafana; you would have to reset it with grafana-cli admin reset-admin-password.
Does Grafana keep my dashboards if I delete the container?
Yes, as long as you use a named volume like in this guide. The container is ephemeral, but the grafana_data volume, mounted at /var/lib/grafana, survives docker compose down and is mounted again when you recreate the service. You would only lose the manually created dashboards if you run docker compose down -v, which also removes volumes. To avoid depending on that volume, define sources and panels through provisioning, so the configuration lives in versioned files and is rebuilt identically on any machine.
Do I use the grafana or the grafana-oss image?
Use grafana/grafana. For years two images coexisted: grafana/grafana, with the Enterprise features bundled but disabled without a licence, and grafana/grafana-oss, strictly open source. From Grafana 12.4.0 onwards, the grafana/grafana-oss repository on Docker Hub stopped receiving updates, so the recommended and maintained option is grafana/grafana. In both cases, do not use the :latest tag in production: pin a specific version such as grafana/grafana:13.1.0 and decide when to upgrade yourself.
Conclusion
With a docker-compose.yml, a volume and a provisioning file you have a persistent Grafana listening on port 3000, with Prometheus already connected as a data source and a professional dashboard imported by its identifier. It is the last piece of your observability. Feed Grafana with Prometheus for the metrics, add Loki for the logs and publish it over HTTPS behind Traefik when you want to see it from outside. From here, every new service in your infrastructure fits in one more panel of your dashboard.
Sources: [1] Official Grafana documentation[1], [2] Official grafana/grafana image on Docker Hub[2], [3] Grafana repository and releases on GitHub[3], [4] Grafana release cycle (endoflife.date)[4].