How to Install ntfy with Docker
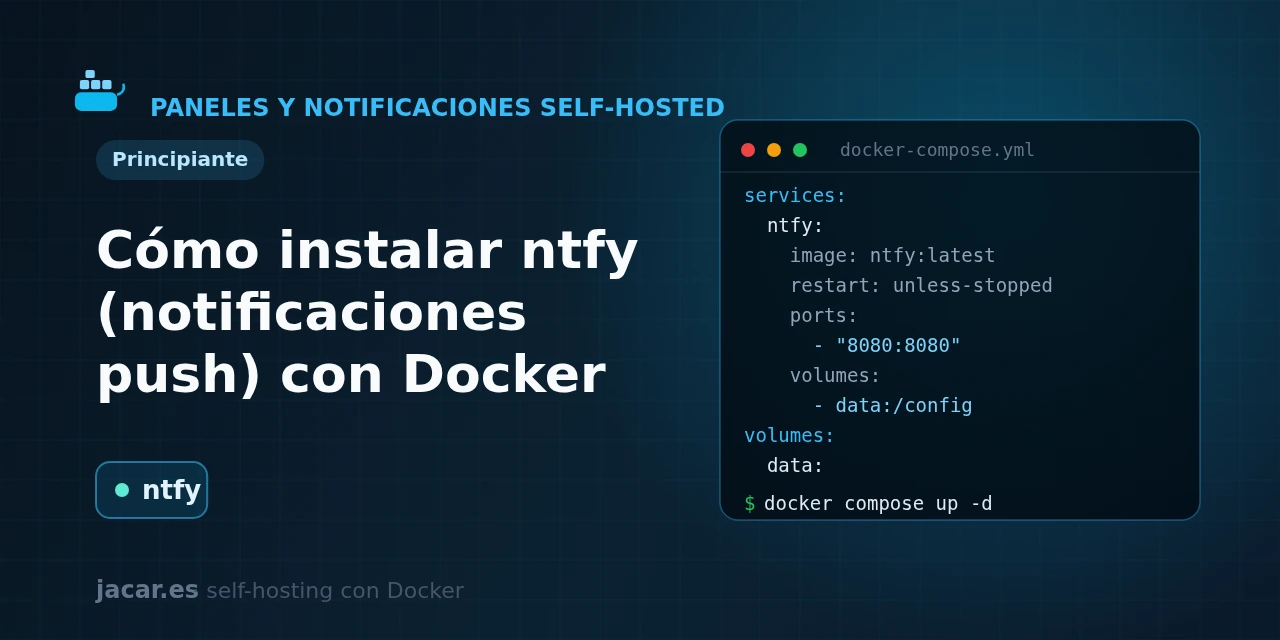
Table of contents
- Key takeaways
- What is ntfy and what is it for?
- What does the ntfy server docker-compose.yml look like?
- How do you publish and subscribe to topics?
- How do you send notifications from scripts and other services?
- How do you protect ntfy with authentication and access control?
- Frequently asked questions
- Do I need a database for ntfy?
- Do push notifications work on iPhone with a self-hosted server?
- Is it safe to leave ntfy exposed to the Internet?
- Conclusion
- Sources
When you run your own servers, sooner or later you want to be told things: that a backup finished, that a disk is filling up or that a container went down. ntfy solves exactly that: it is an HTTP-based push notification service that sends those alerts to your phone or desktop with a simple curl request, with no accounts and no third-party services. In this guide you run your own ntfy server with Docker Compose, learn to publish and subscribe to topics, fire alerts from your scripts and other services, and protect it with authentication. The same explanation is available in Spanish.
Key takeaways
- ntfy (pronounced "notify") is a free, open-source HTTP-based push notification service, dual-licensed under Apache-2.0 and GPLv2, with around 31,900 stars on GitHub.
- It is written in Go, ships as a single binary, and its official
binwiederhier/ntfyimage bundles both the server and the command-line client. - The server listens on port 80 inside the container, serving both the API and the web app there; the latest stable version is v2.26.0, released on 9 July 2026.
- Publishing an alert is as simple as a
PUTorPOSTrequest to a topic:curl -d "message" https://your-ntfy/mytopic. You can add a title, a priority (5 levels, frommintourgent), emoji tags and even action buttons. - By default anyone can read from and write to any topic; with
auth-default-access: deny-alland thentfy user addcommand you close the server and grant access only to whom you choose.
What is ntfy and what is it for?
ntfy is an HTTP-based pub-sub (publish and subscribe) notification service. Its official repository defines it as "a simple HTTP-based pub-sub notification service." The idea is as simple as it is powerful. There are topics, channels identified by a name: you publish messages to a topic with an HTTP request, and any device subscribed to that topic gets the alert instantly.
What makes ntfy special is that publishing needs no library or SDK: a plain curl from a backup script, a cron job, a GitHub Action or any program that can make an HTTP request will do. To receive the alerts you have the web app (served by the server itself), the official Android and iOS apps, or the command-line client. The public ntfy.sh service is free, but by self-hosting you control your data, avoid usage limits and can lock down topic access.
Compared with alternatives like Gotify, ntfy stands out for its signup-free model and the richness of its messages: priorities, emoji tags, attachments, click links and action buttons. It is the natural piece for getting your whole homelab’s alerts on your phone, from Watchtower update reports to alerts from a monitor like Beszel.
What does the ntfy server docker-compose.yml look like?
Let us bring up the server. ntfy needs no external database: it stores cached messages in a SQLite file and the user list in another, so a single service and two volumes are enough. Create a folder for the project and save this docker-compose.yml inside it. It pins version v2.26.0 instead of :latest, because a floating tag can change version on a simple restart and leave you with no control over what you run:
services:
  ntfy:
    image: binwiederhier/ntfy:v2.26.0
    container_name: ntfy
    command: serve
    restart: unless-stopped
    environment:
      TZ: Europe/Madrid
      NTFY_BASE_URL: https://ntfy.yourdomain.com
      NTFY_LISTEN_HTTP: ":80"
      NTFY_BEHIND_PROXY: "true"
      NTFY_CACHE_FILE: /var/cache/ntfy/cache.db
      NTFY_CACHE_DURATION: "12h"
      NTFY_ATTACHMENT_CACHE_DIR: /var/cache/ntfy/attachments
      NTFY_AUTH_FILE: /var/lib/ntfy/user.db
      NTFY_AUTH_DEFAULT_ACCESS: deny-all
    volumes:
      - ntfy_cache:/var/cache/ntfy
      - ntfy_lib:/var/lib/ntfy
    ports:
      - "80:80"
    healthcheck:
      test: ["CMD-SHELL", "wget -q --tries=1 http://localhost:80/v1/health -O - | grep -Eo '\"healthy\"\\s*:\\s*true' || exit 1"]
      interval: 60s
      timeout: 10s
      retries: 3
      start_period: 40s

volumes:
  ntfy_cache:
  ntfy_lib:
Each NTFY_* variable maps to a key in the server.yml config file, so you can configure the whole server without mounting any file. The most important key is NTFY_BASE_URL: it must be the exact public URL through which ntfy is reached, because attachments, click links, e-mail and web notifications all depend on it. The healthcheck polls the /v1/health endpoint, which returns {"healthy":true} once the server is ready.
Start the service and check that it responds:
mkdir -p ntfy && cd ntfy
docker compose up -d
docker compose ps
docker compose logs -f ntfy
The server listens on port 80, the HTTP standard, so it collides with whatever else is already bound there. The recommended setup is to put it behind a reverse proxy with HTTPS, such as Traefik, as explained in the guide on how to install Traefik with Docker Compose. Traefik routes incoming traffic to each container and can issue TLS certificates automatically.
In that case leave NTFY_BEHIND_PROXY as "true" so ntfy honours the client’s real IP. If you only want to test it on your local network, change NTFY_BASE_URL to http://SERVER-IP and set NTFY_BEHIND_PROXY to "false". If you need to review installing the engine, see the guide on how to install Docker on Ubuntu 24.04.
How do you publish and subscribe to topics?
With the server running, open https://ntfy.yourdomain.com in the browser: you will see the ntfy web app. There you can subscribe to a topic by typing its name; from then on the tab will receive any message published to it. A topic is not created in advance: it exists the moment someone publishes or subscribes, and its name acts as its identifier. Choose long, hard-to-guess names if you leave the server open.
Publishing a message is a normal HTTP request. From any machine, send text to the topic with curl:
curl -d "The backup has finished" https://ntfy.yourdomain.com/serverThat alert will appear instantly on every device subscribed to the server topic. Messages accept metadata through HTTP headers: Title for the title, Priority for urgency (from min to urgent, five levels in total), Tags for emojis and icons, and Click to open a URL when the notification is tapped:
curl \
  -H "Title: Disk almost full" \
  -H "Priority: urgent" \
  -H "Tags: warning,floppy_disk" \
  -d "Only 2 GB left on /var" \
  https://ntfy.yourdomain.com/alerts
To receive alerts on your phone, install the official ntfy app (available on Google Play, F-Droid and the App Store), add your server’s URL and subscribe to the topics you care about. On the desktop the web app itself does the job. From the terminal you can subscribe with the included client: ntfy subscribe alerts shows messages live, and you can even run a command for each alert received.
How do you send notifications from scripts and other services?
This is where ntfy shines in a homelab. Since publishing is a simple HTTP request, you can wire it into almost anything. In a shell script, add a line at the end to notify you when a long task finishes:
restic backup /data && curl -d "Nightly backup OK" https://ntfy.yourdomain.com/serverSelf-hosting services that speak the Shoutrrr notification protocol have native ntfy support with a URL like ntfy://user:pass@ntfy.yourdomain.com/mytopic. With it, tools like Watchtower or Beszel can route their alerts straight to your server without writing a single line of code. There are also integrations for alerting systems like Prometheus Alertmanager or Grafana, and plugins for Home Assistant.
Priority and tags become key as soon as the volume of alerts grows: reserve urgent for what demands immediate attention (an outage, a full disk) and low or min for background noise (a routine successful backup). That way, on the phone, critical alerts sound and vibrate while informational ones arrive silently.
How do you protect ntfy with authentication and access control?
By default, an ntfy server is open: anyone who knows the URL can read from and publish to any topic. For a server reachable from the Internet that will not do, which is why the docker-compose.yml already set NTFY_AUTH_DEFAULT_ACCESS: deny-all. With that option, nobody can read or write unless you grant explicit permission. The access system rests on two roles: admin, with full access to all topics, and user, whose access is defined topic by topic through an access control list (ACL).
Users are managed with the ntfy client inside the container itself. Create an administrator and a regular user, and grant the latter read-write permission on a specific topic:
docker compose exec ntfy ntfy user add --role=admin phil
docker compose exec ntfy ntfy user add alerts
docker compose exec ntfy ntfy access alerts server rw
docker compose exec ntfy ntfy user list
From then on, publishing requires authentication. You can use username and password with curl -u alerts:thepassword or, better, create an access token with ntfy token add alerts and send it in the Authorization: Bearer <token> header. A token is safer because you can revoke it without changing the password and limit it to a specific client. If you want a topic to stay publicly readable but writable only by you, combine it with rules for the special everyone user, for example ntfy access everyone announcements ro.
Frequently asked questions
Do I need a database for ntfy?
No. Unlike other self-hosting tools, ntfy depends on neither PostgreSQL nor MariaDB: it stores the message cache in a SQLite file (cache.db) and users and permissions in another (user.db). That is why this guide’s docker-compose.yml has a single service and two named volumes. The cache keeps messages for 12 hours by default, long enough for a device that was offline to catch up on what it missed once it reconnects.
Do push notifications work on iPhone with a self-hosted server?
Yes, with one caveat. Apple only allows instant push through its own servers, and the ntfy App Store app is registered against ntfy.sh. To receive instant alerts from your own server on iOS, set upstream-base-url: https://ntfy.sh on the server: it then forwards an empty alert through ntfy.sh to "wake" the app, which immediately downloads the real message from your server. On Android none of this is needed and notifications arrive directly.
Is it safe to leave ntfy exposed to the Internet?
Only if you enable access control. A server with auth-default-access: deny-all and users with a password or token is safe to expose, always behind HTTPS through a reverse proxy. If you leave it open, anyone who guesses a topic name could read your alerts or spam you, so at a minimum use long, random topic names. For home use, you can choose not to expose it and reach it only over a VPN.
Conclusion
ntfy is the fastest and most flexible way to have your own push notifications in your homelab. With a single docker-compose.yml, no external database, you stand up a server that receives alerts from any script, cron job or service with a simple HTTP request. It delivers them instantly to your phone or desktop with a title, priority and tags.
The natural next step is to lock it down with auth-default-access: deny-all and tokens, put it behind a proxy with HTTPS, and route your other tools’ alerts to it. If you prefer a model with a dashboard and token-registered apps, compare ntfy with Gotify before you decide.
Sources: [1] ntfy official documentation: installation[1], [2] ntfy documentation: publishing messages[2], [3] ntfy documentation: access control[3], [4] ntfy official repository on GitHub[4], [5] binwiederhier/ntfy image on Docker Hub[5], [6] Shoutrrr documentation: ntfy service[6].
Sources
Source code
Access all the source code for this post on GitHub.
View on GitHub