How to Install Paperless-ngx with Docker
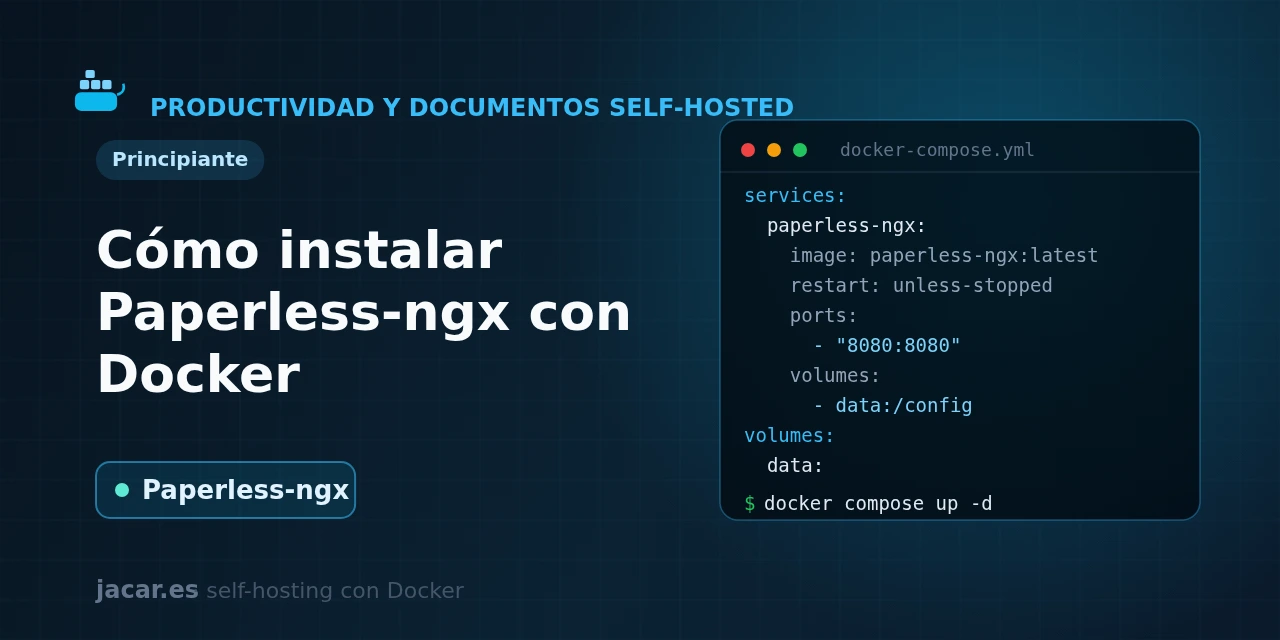
Table of contents
- Key takeaways
- What is Paperless-ngx and what is it for?
- What requirements and architecture does it need?
- The docker-compose.yml with PostgreSQL and Valkey
- How do I do the first boot and create the user?
- How are documents consumed and how does automatic tagging work?
- How do I take backups?
- Frequently asked questions
- Do I really need Gotenberg and Tika?
- Why does it use Valkey instead of Redis?
- Can I use SQLite instead of PostgreSQL?
- Conclusion
- Sources
Updated: 2026-09-15
Paperless-ngx turns that mountain of paper and PDFs into a searchable digital archive, and with Docker it installs in a few minutes.
In this guide you bring up the application alongside a PostgreSQL database, the relational database engine that stores the metadata and search index. It comes with a Valkey task queue and the Gotenberg and Tika services, all from a single docker-compose.yml file. You will learn how to start it, create your user, consume documents with OCR and automatic tagging, and take backups. The same explanation is available in Spanish.
Key takeaways
- Paperless-ngx is an open-source document manager that scans, indexes and archives your documents with full-text search thanks to OCR.
- The recommended setup uses five containers: the application, a PostgreSQL database, a Valkey task queue, and Gotenberg plus Tika to read Office documents.
- Everything you drop into the
consumefolder is processed on its own: it is OCR’d, archived and tagged according to your rules. - Pin a specific image version (for example
ghcr.io/paperless-ngx/paperless-ngx:2.20) instead of:latest; that way you decide when you update. - The data lives in volumes that you administer and never leaves your server; backups are taken with the built-in
document_exportertool.
What is Paperless-ngx and what is it for?
Paperless-ngx is an open-source, community-maintained document management system (DMS). Its goal: get rid of the drawer full of paper. You scan an invoice, a contract or a letter and drop it into Paperless-ngx. The program applies OCR (optical character recognition), archives it and makes it ready to find by typing any word that appears in it.
The project has a history of hand-offs: there was the original paperless, then paperless-ng. When that stopped being maintained, a group from the community picked up the baton in 2022 and created paperless-ngx, the living, active version today, with over 43,000 stars on its GitHub repository. In practice it works as your own digital archive: it replaces commercial document-management services, but with the documents stored on your server, in volumes that you control, with nobody analysing them.
Its core combines three ideas: an OCR engine that extracts the text from every page and a full-text search index. The third is a system of tags, document types and correspondents that can classify what arrives on its own. If you come from this series and already understand Docker volumes and bind mounts, the data persistence here will feel familiar.
What requirements and architecture does it need?
You need a Linux machine with Docker and the Compose plugin installed. If you do not have them yet, start with the guide to install Docker on Ubuntu 24.04. 2 GB of RAM and a couple of cores are enough for personal use, though OCR of large documents appreciates a little more memory.
Unlike a single-container application, Paperless-ngx relies on four pieces worth knowing:
- The application (
webserver): the web interface and the worker that processes documents. It listens on port 8000. - The database (PostgreSQL): stores the metadata, tags and index. It is the recommended option over SQLite.
- The task queue (Valkey, a derivative of Redis): Paperless-ngx processes documents in the background with Celery, and Valkey is the broker that hands out that work.
- Gotenberg and Tika: two optional but highly recommended services. Gotenberg converts Office documents (Word, Excel, LibreOffice) to PDF and Tika extracts their text, so Paperless-ngx understands more than just PDFs and images.
OCR is performed internally by OCRmyPDF, which in turn relies on the Tesseract engine. The language is chosen with the PAPERLESS_OCR_LANGUAGE variable, using Tesseract’s codes (spa for Spanish, eng for English, and you can combine more than one).
The docker-compose.yml with PostgreSQL and Valkey
Create a folder for the project (for example paperless/) and save this docker-compose.yml inside it. Before starting, replace the sample passwords and generate your own PAPERLESS_SECRET_KEY:
services:
  broker:
    image: docker.io/valkey/valkey:9-alpine
    restart: unless-stopped
    volumes:
      - redisdata:/data
    healthcheck:
      test: ["CMD", "valkey-cli", "ping"]
      interval: 30s
      timeout: 5s
      retries: 5

  db:
    image: docker.io/library/postgres:18
    restart: unless-stopped
    volumes:
      - pgdata:/var/lib/postgresql
    environment:
      POSTGRES_DB: paperless
      POSTGRES_USER: paperless
      POSTGRES_PASSWORD: change_this_db_key
    healthcheck:
      test: ["CMD-SHELL", "pg_isready -U paperless"]
      interval: 30s
      timeout: 5s
      retries: 5

  gotenberg:
    image: docker.io/gotenberg/gotenberg:8.34
    restart: unless-stopped
    command:
      - "gotenberg"
      - "--chromium-disable-javascript=true"
      - "--chromium-allow-list=file:///tmp/.*"

  tika:
    image: docker.io/apache/tika:3.3.1.0
    restart: unless-stopped

  webserver:
    image: ghcr.io/paperless-ngx/paperless-ngx:2.20
    restart: unless-stopped
    depends_on:
      db:
        condition: service_healthy
      broker:
        condition: service_healthy
      gotenberg:
        condition: service_started
      tika:
        condition: service_started
    ports:
      - "8000:8000"
    volumes:
      - data:/usr/src/paperless/data
      - media:/usr/src/paperless/media
      - ./export:/usr/src/paperless/export
      - ./consume:/usr/src/paperless/consume
    environment:
      PAPERLESS_REDIS: redis://broker:6379
      PAPERLESS_DBENGINE: postgresql
      PAPERLESS_DBHOST: db
      PAPERLESS_DBNAME: paperless
      PAPERLESS_DBUSER: paperless
      PAPERLESS_DBPASS: change_this_db_key
      PAPERLESS_SECRET_KEY: change_this_long_secret_key
      PAPERLESS_URL: https://archive.mydomain.com
      PAPERLESS_TIME_ZONE: Europe/Madrid
      PAPERLESS_OCR_LANGUAGE: eng
      PAPERLESS_TIKA_ENABLED: 1
      PAPERLESS_TIKA_GOTENBERG_ENDPOINT: http://gotenberg:3000
      PAPERLESS_TIKA_ENDPOINT: http://tika:9998
      PAPERLESS_ADMIN_USER: admin
      PAPERLESS_ADMIN_PASSWORD: change_this_admin_key

volumes:
  redisdata:
  pgdata:
  data:
  media:
Notice a couple of details. The application does not start until the database and the queue pass their healthcheck, thanks to depends_on with the service_healthy condition. The container’s port 8000 is published on the host’s port 8000, so the interface will be at http://localhost:8000. The export and consume folders are bind mounts to your disk (you will see them next to the docker-compose.yml), while the data and the original files live in the named volumes data and media.
Generate the secret key with this command and paste it into PAPERLESS_SECRET_KEY:
python3 -c "import secrets; print(secrets.token_urlsafe(64))"With the file ready, start the stack in the background and follow the boot log:
docker compose up -d
docker compose ps
docker compose logs -f webserver
How do I do the first boot and create the user?
The first time, the application applies the database migrations and prepares the index, so the boot takes a little longer than usual. Because we defined PAPERLESS_ADMIN_USER and PAPERLESS_ADMIN_PASSWORD in the Compose file, Paperless-ngx creates the superuser automatically; when the log stops moving, open http://localhost:8000 and sign in with those credentials.
If you prefer not to leave the password in the file, remove those two variables and create the user by hand once with the interactive command:
docker compose run --rm webserver createsuperuserOnce inside you will see an empty dashboard. Before uploading anything, go to Settings and review the interface language and the time zone; OCR is already set to English through the PAPERLESS_OCR_LANGUAGE: eng variable.
How are documents consumed and how does automatic tagging work?
Here is the magic of Paperless-ngx: the consume folder. Anything you copy into the ./consume bind mount is detected and processed on its own. Try dragging a scanned PDF:
cp ~/invoices/invoice-january.pdf ./consume/
docker compose logs -f webserver
The log will show how it applies OCR, extracts the text, generates a thumbnail and archives the document; within a few seconds it will appear in the interface, already searchable by its content. If your consume folder is on a network share (NFS or SMB) where filesystem notifications do not work, enable periodic polling by adding PAPERLESS_CONSUMER_POLLING: 30 (in seconds) to the webserver environment.
Automatic tagging relies on two mechanisms. The first is matching rules: you define a tag (for example, "Bank") and tell it to be assigned when the text contains a certain word, a regular expression or a fuzzy match. The second is the Auto algorithm, a classifier that learns from your corrections: the more you tag by hand, the better it predicts the tags, document type and correspondent of the next ones. The same applies to document types (invoice, contract, payslip) and to correspondents (who sent it).
How do I take backups?
The recommended way to back up Paperless-ngx is the built-in exporter, document_exporter, which dumps all documents and their metadata to the export folder:
docker compose exec webserver document_exporter ../exportThat command creates a self-contained copy in ./export (the original files, the text and a JSON manifest) that you can restore into any new installation with document_importer. It is the most portable option because it does not depend on the PostgreSQL version.
As a low-level alternative, you can back up the data and media volumes directly along with a database dump using pg_dump. Whichever method you choose, automate the backup and store it off the server; later in this series we will do it with Duplicati. To update Paperless-ngx, change the image tag to the new version and recreate the containers:
docker compose pull
docker compose up -d
Frequently asked questions
Do I really need Gotenberg and Tika?
They are not essential, but they are well worth it. Without them, Paperless-ngx processes PDFs and images normally. With them, it also understands Office documents (Word, Excel, LibreOffice): Gotenberg converts them to PDF and Tika extracts their text for the search index. If you only plan to archive scanned PDFs, you can omit both services and remove the three PAPERLESS_TIKA_* variables.
Why does it use Valkey instead of Redis?
Valkey is a derivative of Redis created by the community and the Linux Foundation in 2024, compatible with its protocol. Paperless-ngx uses it as the broker for the Celery task queue, which processes documents in the background. The connection variable is still called PAPERLESS_REDIS for compatibility, even though it points to the Valkey container.
Can I use SQLite instead of PostgreSQL?
Yes, Paperless-ngx starts with SQLite if you do not define a database, but it is only recommended for testing or small installations. For an archive that will grow over the years, PostgreSQL offers better search performance and greater robustness. Switching from SQLite to PostgreSQL later is not immediate, so it is better to start with PostgreSQL from the outset.
Conclusion
With a single docker-compose.yml you have a complete document manager: OCR, full-text search and automatic tagging, with the documents stored in volumes that never leave your server. The logical next step is to expose it to the Internet securely behind Traefik, a reverse proxy that manages TLS certificates and routes HTTPS traffic to each container. After that, fine-tune your tag rules and schedule the periodic backup with document_exporter. From there, every piece of paper that comes through your door will end up scanned, searchable and archived without you having to sort it by hand.
Sources: [1] Official Paperless-ngx documentation[1], [2] Paperless-ngx repository on GitHub[2], [3] Gotenberg documentation[3].
Sources
Source code
Access all the source code for this post on GitHub.
View on GitHub