How to install Pocket ID and get passkey SSO on your homelab
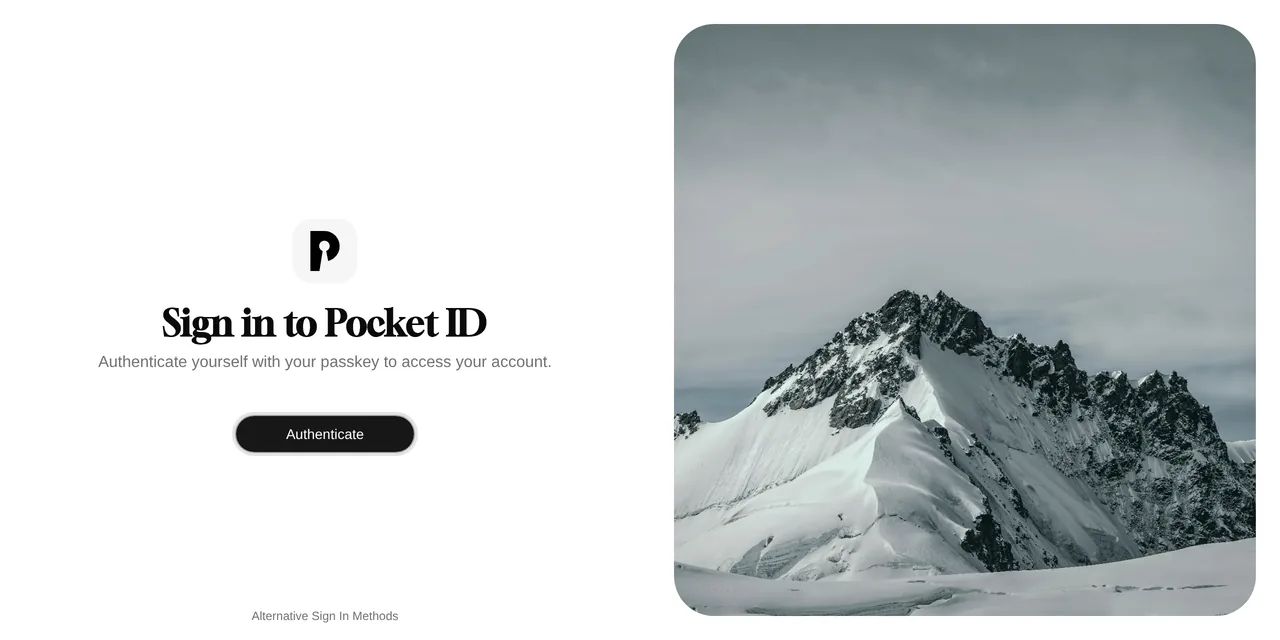
Table of contents
- Key takeaways
- What an OIDC provider does, and why passkey-only changes the maths
- Why Pocket ID will not really work without HTTPS
- Installing Pocket ID with Docker Compose
- Creating the first administrator and registering a passkey
- Wiring a real application as an OIDC client
- Syncing users from LDAP and splitting access by group
- What happens if you lose the device holding the passkey
- When Pocket ID is the wrong tool
- Frequently asked questions
- Can I install Pocket ID without a domain and a certificate?
- What happens if I change the Pocket ID domain after installing it?
- Do I need PostgreSQL to run Pocket ID properly?
- Conclusion
- Sources
You run eight services at home and eight different passwords, or worse, the same one eight times. Pocket ID takes the short route out: an identity provider that speaks OpenID Connect and accepts nothing but passkeys, with no password database to protect. This article covers the real Docker Compose install, why HTTPS is not optional, how the first application gets wired in, and what happens the day you lose your phone. Everything below was run against version 2.14.0.
Key takeaways
- Pocket ID is an OpenID Connect and OAuth 2.0 provider written in Go, SQLite by default and PostgreSQL optional; the image we tested weighs 28.8 MB.
- It accepts no passwords. The one normal sign-in method is a passkey, and the fallback is a single-use code issued by an administrator.
- HTTPS is a browser requirement rather than a project preference: WebAuthn needs a secure context and binds each credential to the domain.
- The first administrator is created at
/setup, a route that stays open until the first account exists and returns 404 right after. - The OpenID Foundation certified Pocket ID v2.10.0 on 7 July 2026 across three profiles, which most self-hosted alternatives cannot claim.
What an OIDC provider does, and why passkey-only changes the maths
An OpenID Connect provider is where your users’ identities live. Your applications stop owning accounts.
When somebody signs in to Grafana or Immich, the app sends them to the provider. The provider works out who they are and returns a signed token with the identifier, the email and the groups. The application trusts that signature and gets on with it. One account created, one account revoked, one place to do it.
What makes Pocket ID different is that this provider stores no passwords. None. A passkey is a key pair: the private half never leaves your phone, your laptop or your hardware key, and the server only keeps the public half.
If somebody steals the Pocket ID database they get nothing replayable, because there is no user secret in there to steal. Phishing stops working too. As MDN puts it, "An attacker who creates a fake login website can’t login as the user because the signature changes with the origin of the website".
The project authors are candid about why they wrote another provider when Keycloak already exists: "There are other self-hosted OIDC providers like Keycloak or ORY Hydra but they are often too complex for simple use cases".
Why Pocket ID will not really work without HTTPS
Skip this step and you get the baffling error message afterwards. The installation documentation says it plainly: "Pocket ID requires a secure context, meaning it must be served over HTTPS. This is necessary because Pocket ID uses the WebAuthn API".
The restriction comes from the browser, not from Pocket ID. The W3C WebAuthn specification defines the relying party identifier, the RP ID, as the domain a credential was registered for, and adds a line worth reading slowly: "A public key credential can only be used for authentication with the same entity (as identified by RP ID) it was registered with". The RP ID comes from the origin’s effective domain and the scheme has to be https, with a single exception: host localhost over http.
That is why you can deploy Pocket ID on your own machine with APP_URL=http://localhost:1411 and register a genuine passkey to try it out. It is also why the moment you give it a domain name you need a certificate.
Three practical consequences follow for your reverse proxy:
- The certificate has to be one the browser accepts. A self-signed certificate the system does not trust will serve the page, but passkey registration fails.
- The domain in
APP_URLis baked into every credential. Move Pocket ID fromid.mydomain.comtosso.mydomain.comtomorrow and the registered passkeys stop working there, so everybody starts over. Pick the name once and leave it alone. - If the proxy terminates TLS, tell Pocket ID to trust it with
TRUST_PROXY, or the audit log and the rate limiter will see the proxy’s IP address instead of the user’s. The default isfalseand it accepts a list of addresses or CIDR ranges.
If that layer is not in place yet, the quick path is to put Traefik in front with Docker Compose and let it handle the certificates.
Installing Pocket ID with Docker Compose
The project publishes both the compose file and the env file, so installing is a matter of downloading them and adjusting two variables. These are the real steps:
- Download the
docker-compose.ymland the.env.examplefrom the repository and rename the second one to.env. - Edit
APP_URLso it holds the full public address,https://included. - Copy the output of
openssl rand -base64 32intoENCRYPTION_KEY. - Configure
TRUST_PROXYif you are going to serve the service behind a reverse proxy. - Start the container with
docker compose up -dand check the log.
The project’s compose file is exactly this:
services:
  pocket-id:
    image: pocketid/pocket-id:v2 # or ghcr.io/pocket-id/pocket-id:v2
    restart: unless-stopped
    env_file: .env
    ports:
      - 1411:1411
    volumes:
      - "./data:/app/data"
    # Optional healthcheck
    healthcheck:
      test: [ "CMD", "/app/pocket-id", "healthcheck" ]
      interval: 1m30s
      timeout: 5s
      retries: 2
      start_period: 10s
And the minimal env file, with the variables the documentation flags as worth reviewing:
APP_URL=https://id.mydomain.com
ENCRYPTION_KEY=  # openssl rand -base64 32
TRUST_PROXY=false
MAXMIND_LICENSE_KEY=
PUID=1000
PGID=1000
ENCRYPTION_KEY encrypts sensitive data, token signing keys included, and needs at least 16 bytes. If you would rather keep it out of the environment, ENCRYPTION_KEY_FILE points at a mounted file and works with Docker secrets. Watch one detail the documentation calls out: the file is treated as binary, so a trailing line break becomes part of the key.
Of the remaining variables, few matter on day one. PORT is 1411, HOST listens on 0.0.0.0, DB_CONNECTION_STRING points at data/pocket-id.db, and swapping it for a postgres://user:password@server:5432/pocketid string is all it takes to move to PostgreSQL. AUDIT_LOG_RETENTION_DAYS keeps 90 days of audit history and SESSION_DURATION holds a session for 60 minutes.
In the run we did for this article the container reached a healthy state in about nine seconds, with AppConfig actor created app=pocket-id version=2.14.0 in the log, and the data directory sat at 3.9 MB from a cold start. At that point /.well-known/openid-configuration answers and, since version 2.14.0, so does /.well-known/oauth-authorization-server.
Creating the first administrator and registering a passkey
With the service up, the first account is created by visiting https://your-domain/setup. There is no default user and no initial password: you fill in a username and email, and the resulting account is an administrator.
It is worth understanding how that door closes, because it is not a single-use link the way other projects do it. Pocket ID checks whether the users table is empty: while it is, /setup answers and anyone who reaches it can claim the installation. We confirmed it with two back-to-back calls: before creating anything the route answered 204; half a second after registering the administrator, 404.
So publish Pocket ID and go create the account yourself before you tell anyone the domain. Leave the service exposed without an administrator for an afternoon and the first passer-by owns your identity provider.
Immediately after, the interface asks you to register a passkey. Register two right there: the device you use daily, plus a backup, whether a hardware key or a password manager on another machine.
Wiring a real application as an OIDC client
The Pocket ID documentation ships 96 concrete integration guides, from Immich and Grafana through Proxmox, Gitea and Vaultwarden. Take Beszel, the lightweight monitor we already covered here, because the flow is representative.
In Pocket ID you create a new OIDC client with whatever name you like and set the callback URL to https://your-beszel/api/oauth2-redirect. Saving it gives you the client ID, the client secret and the three addresses the application needs: authorization, token and userinfo. You also need to enable Emails Verified in the application configuration, because Beszel refuses to create users if the provider does not return a verified email and fails with a fairly cryptic "email": "cannot be blank".
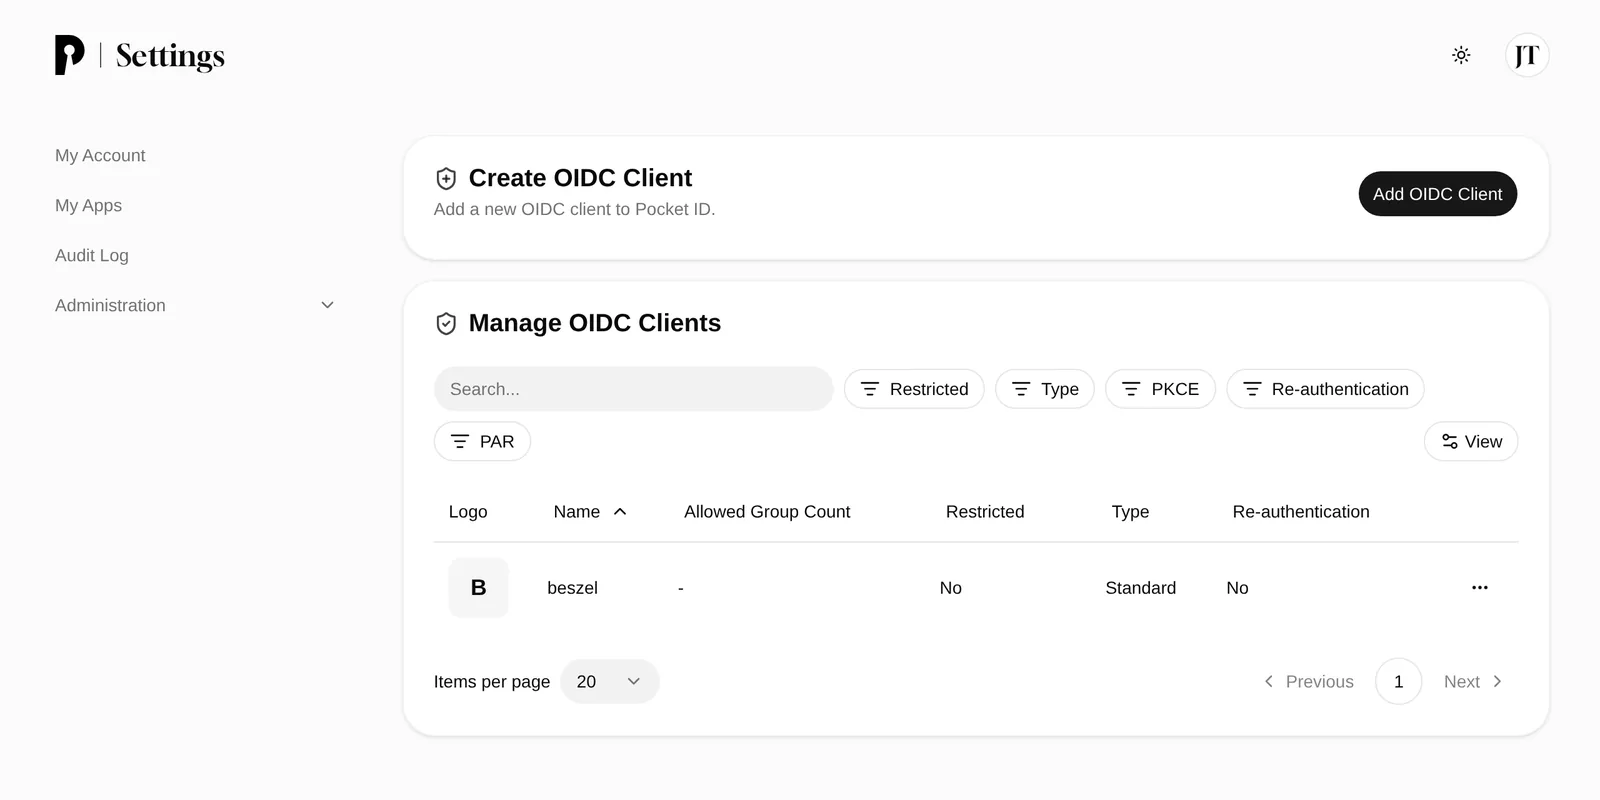
On the Beszel side, the PocketBase superuser area lets you edit the users collection and add an oidc provider with those same values, leaving PKCE enabled. After that, DISABLE_PASSWORD_AUTH=true removes the classic form and USER_CREATION=true lets new users create themselves on first sign-in.
A freshly created client on our instance came out with a 60-minute access token and a 43,200-minute refresh token, which is thirty days. We also found a discrepancy worth knowing about: the interface form marks new clients as group-restricted, while a client created through the API arrives with isGroupRestricted set to false, meaning no restriction at all. Check the Restricted column after creating a client instead of assuming the value.
Syncing users from LDAP and splitting access by group
If you already run a directory, Pocket ID consumes it rather than duplicating it. It works with lldap, OpenLDAP and Active Directory, and it syncs at service startup and every hour once the option is enabled from the web interface. Users and groups arriving from the directory become read-only inside Pocket ID, which is the sensible behaviour when the source of truth lives elsewhere.
Configuration happens either in the interface or through environment variables, with the usual fields: an ldaps:// address with its port, a bind DN, a search base, user and group filters, and the attribute mapping. The one people forget is the admin group name, because it decides who gets to touch the configuration. If you start with LDAP already enabled, you need at least one user inside that group first.
Groups do one more useful job: each OIDC client can be restricted to one or more groups, so the token is only issued to members. That is how the admin panel ends up visible to two people while the photo server is visible to the whole family, on one provider.
What happens if you lose the device holding the passkey
Everyone asks this first, and it has a concrete answer. An administrator generates a single-use access code, and that code works both for signing in once and for registering a new passkey. In the interface it lives in the users tab, in the three-dot menu. From the server:
docker compose exec pocket-id /app/pocket-id one-time-access-token <user name or email>
The command prints an address like https://your-domain/lc/XraXjQDPwdSc and states that the code is valid for one hour. The documentation insists on sending it only to the person it belongs to and keeping the expiry short, and it is right: for that hour, the code is the account.
There are two other ways out. The first is signing in from another device via QR code, meant for when you are on a computer that does not hold your passkey. The request expires after five minutes and the approval screen shows the location and device. The second is a code by email, which requires SMTP and which the documentation flags with an explicit warning: whoever reaches the mailbox reaches the account.
That leaves the extreme case, a sole administrator who loses their only device. There is no trick here: nobody can issue you a code because you were the only one who could. Which is why it pays to register two passkeys and create a second administrator account before the system starts to matter.
When Pocket ID is the wrong tool
Pocket ID is deliberately small. It does not speak SAML, it does not act as an LDAP server, it has no authentication flow engine or conditional policies, and it offers no password fallback.
If you need any of that, Authentik covers that ground at the cost of dragging in Python, PostgreSQL, Redis and a worker process. Authelia plays a different game altogether, the one of proxy-delegated authentication. We compare all three in detail in Pocket ID versus Authelia and Authentik.
In exchange, the deal Pocket ID offers is hard to beat for a house or a small team. It is a 28.8 MB container, one port, one env file, and OpenID Foundation certification across three profiles since 7 July 2026. With 9,057 GitHub stars and a two-clause BSD licence, it is not a weekend experiment either.
Frequently asked questions
Can I install Pocket ID without a domain and a certificate?
Only for testing, and only on http://localhost. That is the exception the WebAuthn specification allows. As soon as you reach it by IP address or by a domain name without a valid certificate, passkey registration fails in the browser before it ever reaches the server.
What happens if I change the Pocket ID domain after installing it?
Passkeys already registered stop working on the new domain, because they are bound to the relying party identifier derived from the old one. Every user has to register their credential again, so plan the move with access codes ready.
Do I need PostgreSQL to run Pocket ID properly?
Not for a homelab. It defaults to SQLite at data/pocket-id.db and handles dozens of users comfortably. PostgreSQL makes sense if you already run a consolidated server or want more than one replica. Change DB_CONNECTION_STRING.
Conclusion
Installing Pocket ID is one container, one port and two environment variables, and in under ten minutes you have a certified identity provider sitting in front of your services. Two things are worth settling first. One is the final domain, because it binds every passkey registered afterwards. The other is the recovery plan, because a system without passwords is also a system without the safety net we are used to.
With those two settled, you can start switching off login forms around the house. The Spanish version of this article is at Cómo instalar Pocket ID con passkeys.
Sources: [1] Pocket ID, official installation guide[1], [2] pocket-id/pocket-id, project repository[2], [3] W3C, Web Authentication Level 3[3], [4] MDN, Web Authentication API[4], [5] OpenID Foundation, certified providers[5].
Sources
Source code
Access all the source code for this post on GitHub.
View on GitHub