
Learning path Beginner
Self-hosting with Docker: from zero to production
The guided path to build your own infrastructure with Docker: install the engine, master networking, volumes, secrets, healthchecks and resource limits, then add a dashboard, a reverse proxy, SSO and a security layer.
- 30 resources
- 17 views
- ~241 min
- 20 guides + 10 labs
This learning path teaches you to build and run your own self-hosting infrastructure with Docker, from installing the engine to a production-ready stack with a reverse proxy, SSO and WAF protection. It’s built for anyone who wants to stop depending on third-party services and host their own applications on a server or VPS.
What you’ll be able to do
By the end you’ll know how to deploy and isolate services in containers, connect multiple containers through Docker networks, persist data with volumes, manage secrets without exposing them in code, and protect your stacks with healthchecks, resource limits and automatic updates. The level is beginner: no prior container experience is required, though basic Linux command-line skills help.
How the path builds
The route starts with installing Docker on Ubuntu 24.04 and the fundamentals of bridge and custom networks. From there it adds volumes and bind mounts so data survives container restarts, environment variables and secrets in Docker Compose, and healthchecks with restart policies for more reliable services. With that foundation in place you install Portainer to manage containers from a visual dashboard, set up a private image registry, and put Traefik in front of your services as a reverse proxy with automatic certificates. The final steps close the loop with Coolify as a deployment platform, Authentik for single sign-on and CrowdSec as a community firewall that blocks malicious IPs in real time.
It’s 30 steps that, followed in order, take you from a freshly installed server to an infrastructure with a dashboard, proxy, SSO and active security, the same stack thousands of homelabs and small production projects run on.

How to Install Docker on Ubuntu 24.04
To install Docker on Ubuntu 24.04 LTS, add Docker's official repository instead of using Ubuntu's packages, then install Docker Engine: the dockerd daemon, the command-line client, and the Compose and Buildx plugins. The repository line needs a GPG key stored under /etc/apt/keyrings, because apt-key add is retired on 24.04, and it carries the noble codename from /etc/os-release.
Docker networking: bridge, host and custom networks
Docker ships six network drivers: bridge, host, none, overlay, macvlan and ipvlan. The default bridge network connects containers by IP but without name resolution. A user-defined bridge adds an internal DNS server so services find each other by name, and it is the recommended choice for almost any deployment.

Docker Networking (Bridge and Custom)
Docker attaches every container to a default bridge network, but that network only works by IP: it resolves no names. Create a user-defined network with docker network create and Docker turns on an internal DNS server, so containers reach each other by name and stay isolated from every other network.
Docker Volumes and Bind Mounts: Persisting Data
A container loses its data the moment you delete it, unless you store that data outside. Docker gives you two ways: named volumes, which it manages itself under /var/lib/docker/volumes, and bind mounts, which link a host folder. Here you will see when to use each, how to mount them in Compose and how to back them up.

How Data Persists in Docker with Volumes and Bind Mounts
A container is ephemeral, but its data doesn't have to be. A Docker volume lives outside the container, managed by Docker itself, while a bind mount uses a host path directly. In this lab we create a named volume, write data from one container, remove that container entirely, and read the same data back from a brand-new one.

Docker Volume Backup and Restore
A Docker volume stores data outside the container, in a location Docker itself manages. To back it up, a throwaway alpine container mounts the volume and a host folder, then packs the data into a .tar.gz with tar. Restoring reverses the process: extract that file into a fresh volume and confirm the data comes back intact.

How to Build a Multi-Container App with Docker Compose
Docker Compose describes a multi-container application in a single YAML file: which services to run, how they talk to each other over the network, and which data persists in named volumes. In this lab you define an Nginx web service and a Redis cache, connect them by service name, and confirm it all works with curl.
Environment Variables and Secrets in Docker Compose
Docker Compose gives you three ways to pass configuration into a container: the environment key, the env_file attribute and the .env file for interpolation. For sensitive data, do not use environment variables; Docker Compose secrets are mounted as read-only files under /run/secrets/, away from logs and the process environment.

Managing Secrets in Docker (without baking them into the image)
Docker secrets management means never leaving tokens or passwords in a Dockerfile's ARG, ENV, or COPY, because they get baked into the image forever. This lab demonstrates the real leak with docker history and fixes it with a BuildKit --secret, a read-only file mount, a scoped env-file, and Compose's native secrets.
Healthchecks and Restart Policies in Docker Compose
A healthcheck is a command Docker runs periodically inside the container to decide whether the service is healthy; its state moves from starting to healthy or unhealthy. Combined with a restart policy (no, always, on-failure or unless-stopped) and with depends_on and the service_healthy condition, it stops an application from starting before its database.

Docker Healthchecks and Restart Policies
A HEALTHCHECK tells Docker how to check whether a container is truly working, not just still running; docker inspect and docker ps surface that state as healthy or unhealthy. Restart policies decide what happens when the process fails: no, on-failure, always, or unless-stopped, and Compose can wait for a service to turn healthy before starting the next one.
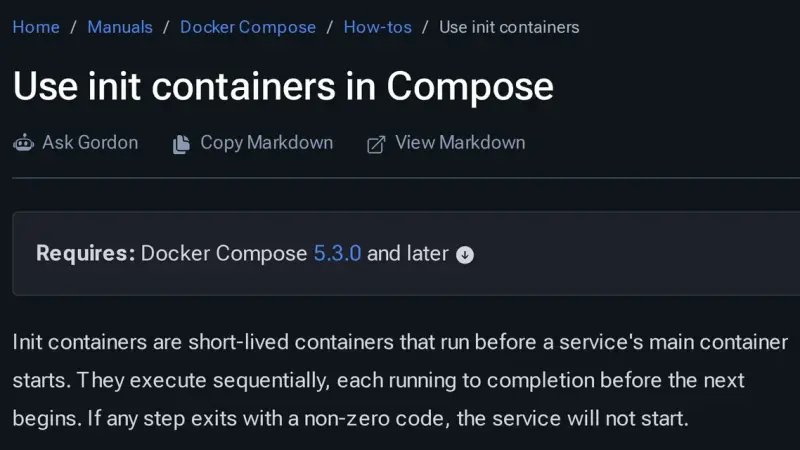
How to use init containers in Docker Compose with pre_start
Docker Compose 5.3.0, released on 2 July 2026, adds init containers through the pre_start key: steps that run in ephemeral containers, in order, before the service starts. Use them for migrations, volume permissions and generated configuration. Compose 2.40.3 rejects the whole file, and every step must be idempotent because it runs again.
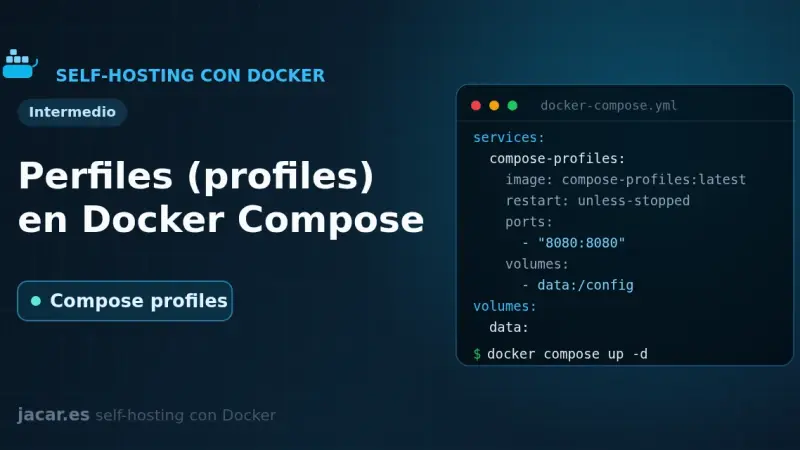
Profiles in Docker Compose
Docker Compose profiles tag services so they only start when you enable their profile with --profile or COMPOSE_PROFILES. Services without a profile always run; tagged ones stay idle until you ask for them. That lets a single file hold the core stack, debugging tools and optional extras without duplicate compose files.
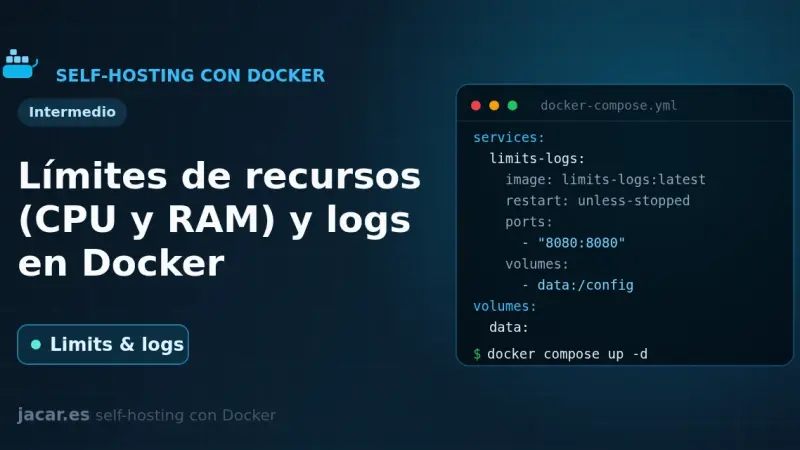
Resource Limits (CPU and RAM) and Logging in Docker
By default Docker limits neither the CPU nor the RAM of a container: a single one can exhaust the whole server. In Compose you bound them with deploy.resources.limits (cpus, memory) or the mem_limit and cpus shortcuts, and you control logs with the local driver, which rotates at 20 MB and 5 files by default.

How to install Portainer with Docker Compose v2
You install Portainer with Docker Compose by writing a single compose.yaml file and running two commands. Portainer CE 2.40 STS supports Docker Compose v2 natively, enables HTTPS on port 9443 out of the box, and manages Docker Engine, Swarm, Kubernetes and ACI from one panel. It runs on Ubuntu 24.04 or Debian 13.
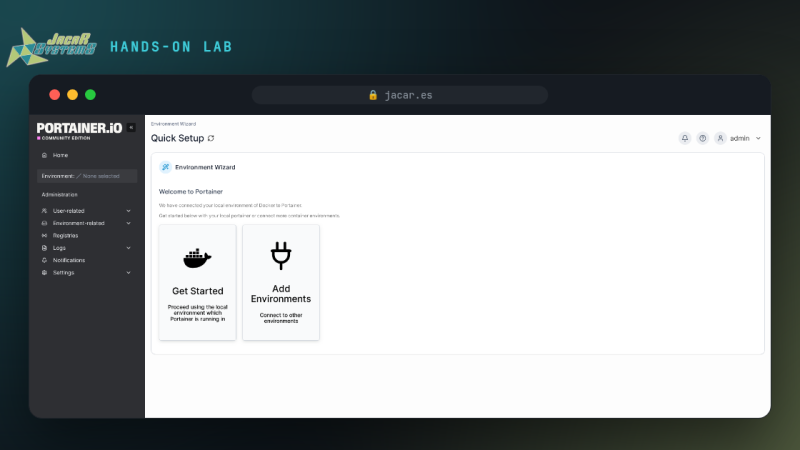
Install Portainer with Docker Compose v2
Install Portainer on Docker step by step: a persistent volume, the container serving the UI on port 9443, and verified web access. Every step is checked.
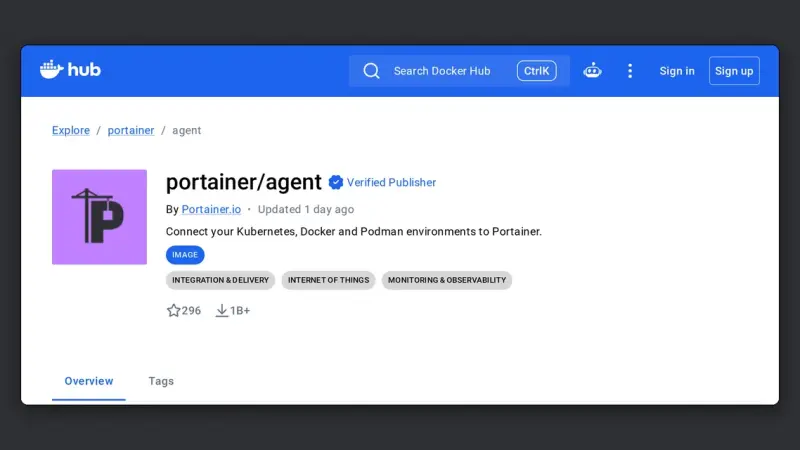
Portainer Agent: managing a second Docker host from one console
The Portainer Agent is a container you deploy on each remote machine, exposing port 9001 over TLS. The Portainer server connects to it and manages that host as one more environment, without exposing the Docker socket to the network or maintaining permanent SSH tunnels.
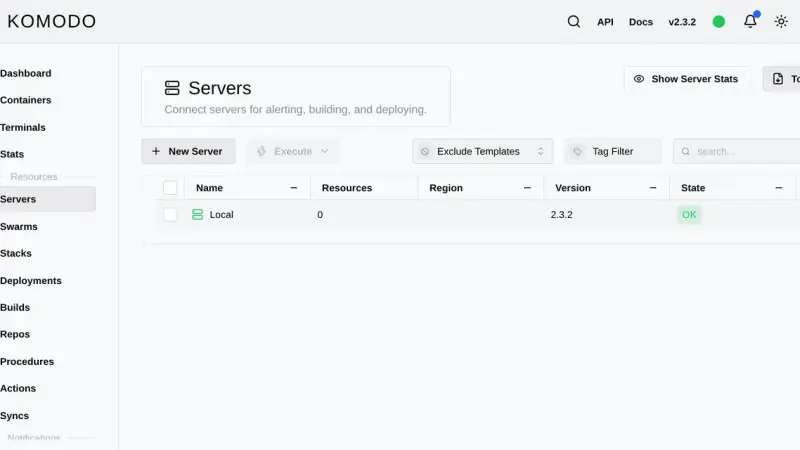
How to install Komodo with Docker and manage several hosts
Komodo is a Rust web application that manages containers, compose stacks and image builds across as many servers as you want. You install it with an official compose file that starts MongoDB, the Core server on port 9120 and the Periphery agent, then add each extra machine with an onboarding key.

Komodo vs Portainer vs Dockge: which Docker manager to choose in 2026
Dockge edits your compose files and leaves them untouched on disk; Portainer is the mature all-round console, with roles and GitOps reserved for Business Edition, free up to three nodes; Komodo deploys from Git across several servers with nothing held back for paying users, at the cost of a database and one agent per machine.

Multi-Stage Docker Builds: Smaller, More Secure Images
A multi-stage Docker build chains several FROM stages inside one Dockerfile: one compiles with the full toolchain, and the final, minimal stage (Alpine, scratch or distroless) copies only the resulting binary with COPY --from=build. The production image ends up far smaller, with a much smaller attack surface.
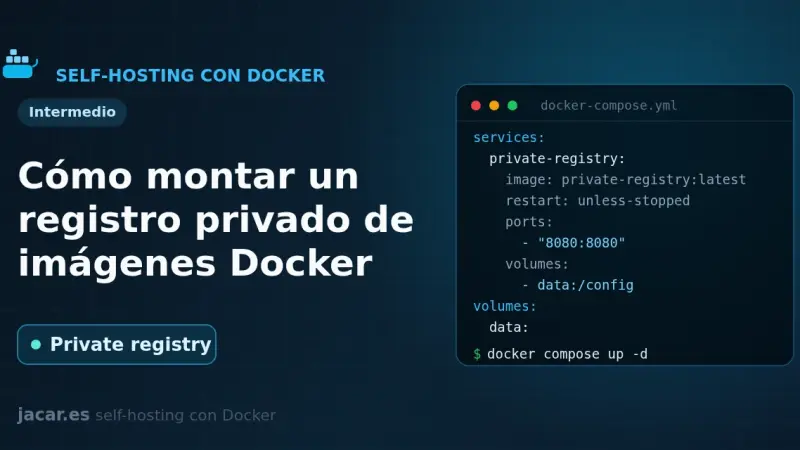
How to Run a Private Docker Image Registry
A private Docker registry is your own image store: the official registry image listens on port 5000, keeps layers in a volume and, with htpasswd authentication in bcrypt format and HTTPS behind a reverse proxy, lets you push and pull images without depending on Docker Hub or its pull-rate limits.

How to Run a Private, Self-Hosted Docker Registry
A private Docker registry stores and serves your own container images without depending on Docker Hub. In this lab you run registry:3 with TLS, signed by your own CA that the client trusts, and htpasswd authentication: an anonymous push fails and, after docker login, you push and pull back an alpine image over HTTPS.

How to Install Traefik with Docker Compose
Traefik is a reverse proxy that automatically discovers Docker containers through labels and renews TLS certificates via Let's Encrypt without manual work. To install it with Docker Compose, define its static configuration in traefik.yml, generate basic-auth credentials for the dashboard, and start the container connected to a dedicated Docker network.

Traefik Reverse Proxy with Docker
Traefik with Docker is a reverse proxy that reads the Docker socket and turns each container's labels into automatic routing rules. In this lab you bring it up alongside two backends and use curl to prove each hostname reaches the right container, without editing a single routes file.
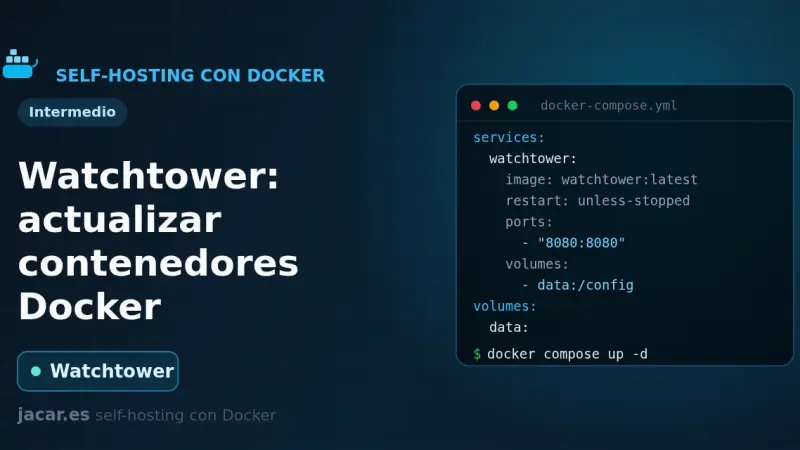
Watchtower: Automatically Update Docker Containers
Watchtower is a container that watches your Docker registries, detects when a newer image is available, pulls it and recreates your container with the same options. You configure it with a small docker-compose.yml, it polls every 24 hours by default, and you can restrict it with labels or keep it in notify-only mode.

How to install Coolify on Docker (2026 step-by-step guide)
Coolify is a self-hosted deployment platform that runs on top of Docker: it manages Git applications, databases, and SSL certificates from its own web panel. It installs with an official script that brings up Docker and the Coolify containers in 2 to 5 minutes on Ubuntu 24.04 or Debian 13, with no additional manual steps.

How to Install Authentik for Self-Hosted SSO
An Authentik Docker Compose install now needs only three containers: PostgreSQL, the server and the worker, since Redis stopped being mandatory in version 2025.10. Once running, it acts as your identity provider for single sign-on over OAuth2, OIDC, SAML and LDAP, and a reverse proxy such as Traefik can delegate authentication to it through forward auth.

How to install Pocket ID and get passkey SSO on your homelab
Pocket ID is an OpenID Connect provider that accepts passkeys and nothing else, so it stores no passwords at all. You deploy it with one container, one port and one env file, it demands HTTPS because WebAuthn needs a secure context, and it puts your self-hosted apps behind single sign-on.
Pocket ID vs Authelia vs Authentik: which SSO to pick for your homelab
Authelia protects applications from the reverse proxy, Pocket ID is a certified OIDC provider that only accepts passkeys, and Authentik adds SAML, LDAP, SCIM and RADIUS in exchange for PostgreSQL, Redis and 2 GB of RAM. Picking homelab SSO means deciding which of those three mechanisms you need.

How to Install CrowdSec as a Community WAF
CrowdSec 1.8.1 replaces fail2ban by separating detection (agent plus LAPI) from blocking (bouncers). Install the agent with the official script on Debian or Ubuntu and review the acquisition the installer generates. Then add the Traefik or firewall bouncer, the AppSec WAF with its two collections and, optionally, Cloudflare Turnstile captcha.