How to Install Syncthing with Docker
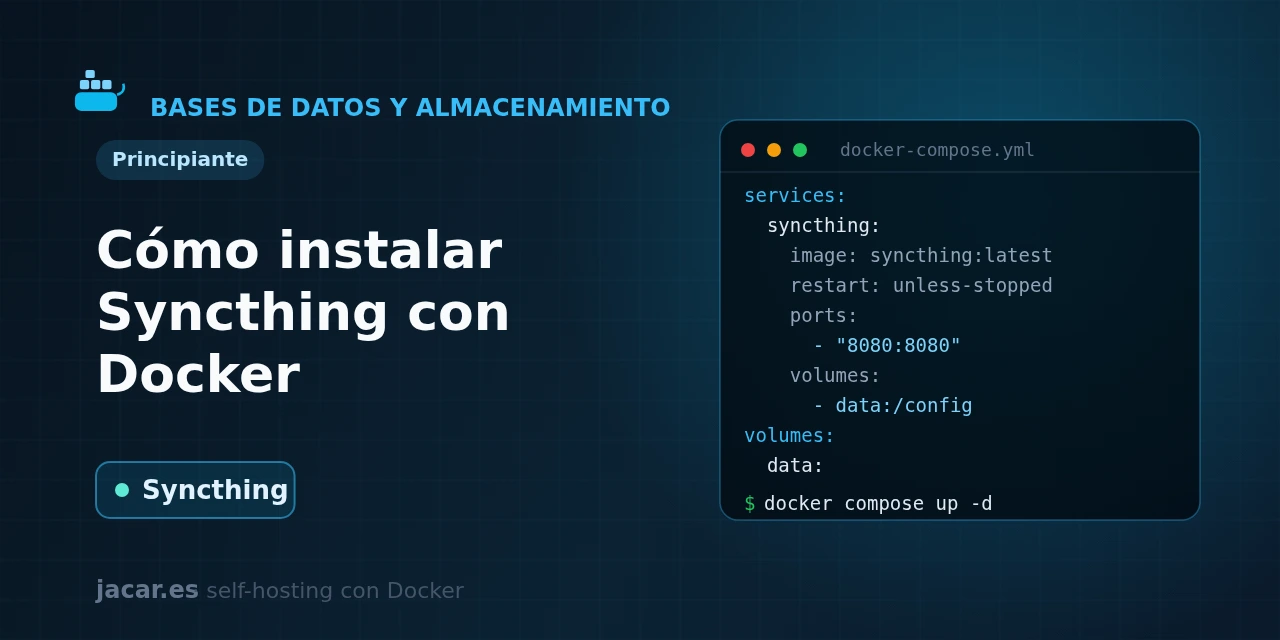
Table of contents
- Key takeaways
- What is Syncthing and what is P2P synchronisation?
- The Syncthing docker-compose.yml with PUID/PGID
- Why use host networking and not bridge mode?
- How do you pair devices and share a folder?
- What ports does Syncthing need and what are they for?
- Syncthing versus the traditional cloud
- Frequently asked questions
- Does Syncthing upload my files to any cloud server?
- Why can't my devices see each other on the same network?
- Can I use Syncthing as a backup?
- Conclusion
- Sources
Syncthing keeps your folders in sync across computers, phones and servers without a single byte passing through anyone’s cloud, and with Docker you have it running in a couple of minutes. In this guide you bring up Syncthing from a single docker-compose.yml file, understand why host networking matters, set permissions with PUID/PGID, pair two devices and learn which ports it needs to discover peers and sync. At the end we compare this peer-to-peer model with the traditional cloud. The same explanation is available in Spanish.
Key takeaways
- Syncthing is a free continuous peer-to-peer (P2P) file synchronisation tool: every shared folder is kept identical across all paired devices, with no central server storing your data.
- All traffic is TLS-encrypted through the Block Exchange Protocol, and each device is identified by a cryptographic ID (a 56-character base32 string), so no one connects without your permission.
- With Docker a single service is enough; state and configuration live in the volume mounted at
/var/syncthing, and the container runs as user1000:1000, adjustable withPUID/PGID. - Use
network_mode: host: in bridge mode Docker hides local IPs and breaks discovery on the local area network (LAN), forcing sync over a relay, which is much slower. - Pin a specific image version (for example
syncthing/syncthing:2.1.2) instead of:latest, so you decide when you move to a new major version.
What is Syncthing and what is P2P synchronisation?
Syncthing is an open-source file synchronisation program (MPL-2.0 license) created by Jakob Borg in 2013. Its purpose fits in one line and is hard to match: keep one or more folders identical across all your devices, in real time, without relying on an external provider. Unlike Dropbox or Google Drive, there is no central server here holding a master copy of your files: devices talk directly to each other.
That peer-to-peer (P2P) model has three practical consequences. The first is privacy: your data only exists on your own machines, and traffic between them is end-to-end encrypted with TLS through the Block Exchange Protocol (BEP). The second is trust: each device has a unique cryptographic identifier, a 56-character base32 string derived from its certificate, and two devices sync only if both have added each other. The third is cost: you pay no storage fee, because the storage is the disk you already own.
To find each other, devices use local discovery (a broadcast on the LAN) and, if they are on different networks, global discovery servers and a relay pool that the project itself runs. Those servers act only as a directory and as an encrypted bridge when there is no direct connection; they never see the contents of your files. If you keep important data in your folders, pair it with a backup strategy using Duplicati, because syncing is not the same as a backup: if you delete a file, the deletion propagates.
The Syncthing docker-compose.yml with PUID/PGID
Create a folder for the project, move into it and save this docker-compose.yml inside it:
mkdir syncthing && cd syncthingThe official image keeps its configuration and databases in /var/syncthing, so that is the only directory you must persist, plus the folders you want to sync:
services:
  syncthing:
    image: syncthing/syncthing:2.1.2
    container_name: syncthing
    hostname: my-server
    restart: unless-stopped
    network_mode: host
    environment:
      PUID: 1000
      PGID: 1000
      STGUIADDRESS: 0.0.0.0:8384
    volumes:
      - syncthing_config:/var/syncthing
      - /path/on/the/host/Documents:/var/syncthing/Documents
    healthcheck:
      test: ["CMD", "wget", "-qO", "/dev/null", "http://127.0.0.1:8384/rest/noauth/health"]
      interval: 30s
      timeout: 10s
      retries: 5

volumes:
  syncthing_config:
Before starting, adjust two things. Change PUID/PGID to the user that owns the folders you are going to sync; find it on the host with id your_user. If they do not match, Syncthing cannot write and you will see permission errors, a classic problem that also shows up when working with volumes and bind mounts in Docker. And replace /path/on/the/host/Documents with the real folder you want to share.
The STGUIADDRESS: 0.0.0.0:8384 variable makes the web interface listen on all addresses, not just 127.0.0.1, so you can open it from another machine on your network. Start the stack and check the status:
docker compose up -d
docker compose ps
docker compose logs -f syncthing
When docker compose ps shows the healthy status, open http://SERVER-IP:8384 in your browser. The first time, Syncthing will ask you to set a username and password for the interface: do it right away, because the panel controls all synchronisation.
Why use host networking and not bridge mode?
This is the detail that avoids the most headaches. Syncthing discovers its LAN peers by broadcasting an announcement on port 21027/UDP. In the default bridge network mode, Docker puts the container behind its own NAT, so Syncthing sees Docker’s internal IP (something like 172.18.0.2) instead of your server’s real IP. The result: local discovery fails and devices end up connecting through a remote relay, at much worse speeds.
That is why the compose above uses network_mode: host: the container shares the host’s network stack and sees the real IPs. With host mode, the ports section is ignored (the ports are already published on the host). If for some reason you cannot use host mode (for example, to put it behind Traefik for the web interface only), remove network_mode: host and publish the ports by hand:
    ports:
      - "8384:8384"
      - "22000:22000/tcp"
      - "22000:22000/udp"
      - "21027:21027/udp"
Even so, in bridge mode local discovery will remain unreliable; for home use, host is almost always the right answer.
How do you pair devices and share a folder?
Syncing in Syncthing is two steps: first you introduce the devices, then you share a folder between them. Install Syncthing on the second machine too (a phone, laptop or another server with this same compose) and follow this flow:
- On the first device, open the web interface and click Actions, Show ID. Copy the device ID, that 56-character string.
- On the second device, click Add remote device, paste the ID and save. On the first one a prompt appears asking to confirm the new device: accept it. Pairing is always reciprocal.
- Now share the folder. In Add folder set a label and a path inside the container (for example
/var/syncthing/Documents, which you already mounted), and in the Sharing tab tick the remote device. - On the other machine a notification will offer the folder; accept it and choose where to store it. From then on, any change propagates on its own.
A useful detail is the folder type. By default it is Send and Receive (bidirectional). You can set it to Send Only (for example, a server that publishes files but never accepts changes from others) or Receive Only (a backup replica). Combining types gives you fine control over the direction of the flow.
What ports does Syncthing need and what are they for?
It helps to be clear about the four ports, especially if you are going to sync across different networks or over the Internet:
- 8384/TCP is the administration web interface. Never expose it directly to the Internet; if you need remote access, do it over a VPN or behind an authenticated reverse proxy.
- 22000/TCP is the sync protocol (BEP over TLS). It is the port that actually moves your files.
- 22000/UDP does the same but over QUIC, useful when TCP performs poorly.
- 21027/UDP is local discovery: the broadcast that lets two devices on the same LAN find each other with no configuration.
To sync over the Internet with a direct connection (faster than a relay), open a forward of ports 22000/TCP and 22000/UDP on your router towards the server. The Syncthing interface warns you if it detects that incoming connections are blocked. Because communication is bidirectional, it is enough for one of the two ends to have the port open for both to connect.
Syncthing versus the traditional cloud
When should you choose Syncthing and when a cloud service? Syncthing shines when you want two or more of your own machines to keep the same folders. It covers the laptop photo library replicated at home, projects between the office and the studio, or a copy of the phone’s documents on the server. It is free, private and imposes no space limit beyond your disks.
It is not the ideal tool for everything. It offers no web interface to open your files from any browser the way Seafile or Nextcloud would, and it does not share public links. Above all, it is not a backup: by replicating changes, it also replicates deletions and mistakes. The powerful combination is to use Syncthing to keep your data live across more than one machine and add versioned, historical backups on top.
Bear in mind too that since Syncthing 2.0 (August 2025) the internal database moved from LevelDB to SQLite, with an automatic migration the first time you launch that version. Deleted items are also no longer kept forever, but forgotten after six months.
Frequently asked questions
Does Syncthing upload my files to any cloud server?
No. Syncthing is peer-to-peer: your files are only copied between the devices you pair, and traffic is TLS-encrypted. The project’s global discovery servers and relays only help two devices find each other or connect when there is no direct route. They never store nor can read the contents of your folders.
Why can’t my devices see each other on the same network?
It is almost always the Docker network. If you started the container in bridge mode, Syncthing sees Docker’s internal IP and local discovery on port 21027/UDP does not work. The fix is to use network_mode: host, as in the compose in this guide. If they still do not connect over the Internet even with host mode, check the forwarding of ports 22000/TCP and 22000/UDP on your router.
Can I use Syncthing as a backup?
Not really. Syncthing synchronises, it does not version: if you delete or corrupt a file on one device, that change replicates to the rest. You can enable file versioning on each folder to keep old copies for a while, but for a real backup strategy use a backup tool with retention and history, such as Duplicati, in parallel.
Conclusion
With a single service in docker-compose.yml, host networking and a couple of permission variables you have Syncthing syncing folders across all your devices, end-to-end encrypted and with no dependence on anyone’s cloud. Remember the two golden rules: use network_mode: host so local discovery works, and do not confuse synchronisation with a backup. The natural next step is to pair your phone or a second server and, if you keep valuable data, add a backup layer with Duplicati.
Sources: [1] Official Syncthing documentation[1], [2] Official syncthing image on Docker Hub[2], [3] Syncthing on GitHub: code and release notes[3].
Sources
Source code
Access all the source code for this post on GitHub.
View on GitHub