How to Install Gotify with Docker
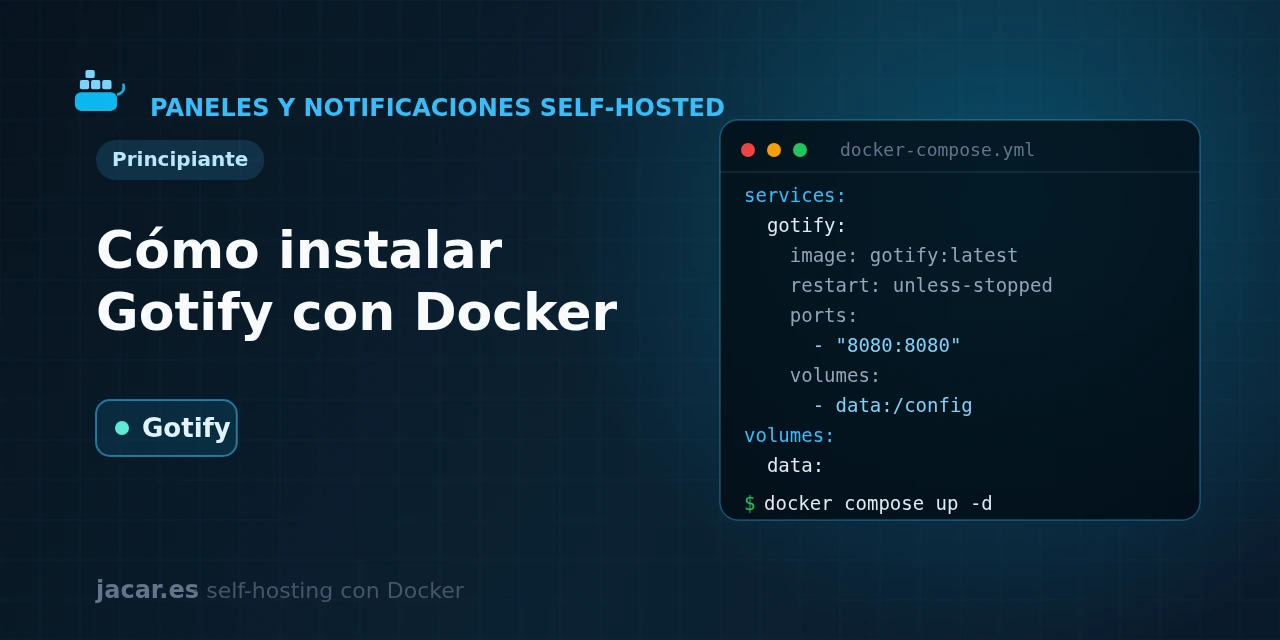
Table of contents
- Key takeaways
- What is Gotify and what is it for?
- What does the Gotify docker-compose.yml look like?
- How do you create applications and tokens?
- How do you send messages through the Gotify API?
- Gotify or ntfy: which should you choose?
- Frequently asked questions
- Do I need a mobile app to receive the notifications?
- Can I use Gotify with an external database like PostgreSQL?
- How do I back up Gotify?
- Conclusion
- Sources
When you run your own servers, you want to know the instant a backup failed, a container restarted or Watchtower updated an image. You would also rather not lean on third-party services for that alert.
That is what Gotify is for: a self-hosted, minimalist push notification server that stands up in one container, receives messages from your scripts and services and forwards them to your phone or browser. In this guide you bring it up with Docker Compose, create an application with its token and send your first message through its REST API. The same explanation is available in Spanish.
Key takeaways
- Gotify is an MIT-licensed notification server with around 15,300 GitHub stars; its latest version is v2.9.1, released on 28 February 2026.
- The server is written in Go and its web dashboard in TypeScript; it ships as a single image,
gotify/server, that listens by default on port 80 inside the container. - It stores everything in a SQLite database (
data/gotify.db) under/app/data, so you need no external database to start; it supports MySQL or PostgreSQL if you prefer. - It works with two kinds of token: application tokens, which your scripts use to send messages, and client tokens, which apps use to receive them over WebSocket.
- Sending an alert is as simple as a
POSTto/messagewith theX-Gotify-Keyheader; priority runs from 0 to 10 and decides how the notification sounds and vibrates on Android.
What is Gotify and what is it for?
Gotify is a push notification server you install on your own machine. Its official repository sums it up plainly: "a simple server for sending and receiving messages."
The idea is to have a single point that your scripts, scheduled tasks and services send alerts to. Your phone or browser receive them from there in real time. All of it without going through Firebase, without third-party accounts and without your messages leaving your infrastructure.
The design is deliberately minimalist. A single Go binary runs the REST API, the web dashboard and the live message stream all at once. There are no collectors, no external queues and no heavy dependencies: by default it stores data in a SQLite file, so it starts with a single container and a volume. That simplicity is its main strength against fuller solutions, and the reason it fits so well on a homelab or a modest server.
The workflow has two sides. On one side, you define applications: each represents a message source (for example "Backups" or "Web server") and has its own token to send alerts with. On the other, clients (the Android app, the web dashboard or any other consumer) subscribe with a client token and receive messages instantly over WebSocket. It is the same self-hosted alert model that ntfy pursues, with a slightly different approach we will compare at the end.
What does the Gotify docker-compose.yml look like?
Gotify deploys with a single service. Create a folder for the project and save this docker-compose.yml inside it.
It publishes the container’s port 80 on the host’s 8080, so you need no root privileges for a low port. It persists data in a named volume mounted at /app/data. And it pins version 2.9.1 instead of :latest, because a floating tag can change version on a simple restart and surprise you with changes you did not expect:
services:
  gotify:
    image: gotify/server:2.9.1
    container_name: gotify
    restart: unless-stopped
    ports:
      - "8080:80"
    environment:
      TZ: "Europe/Madrid"
      GOTIFY_DEFAULTUSER_NAME: "admin"
      GOTIFY_DEFAULTUSER_PASS: "change-this-password"
    volumes:
      - gotify_data:/app/data
    healthcheck:
      test: ["CMD", "wget", "--spider", "-q", "http://localhost:80/health"]
      interval: 60s
      timeout: 5s
      retries: 3

volumes:
  gotify_data:
Start it and check that it responds:
docker compose up -d
docker compose ps
Open http://SERVER-IP:8080 in the browser. On its first start Gotify creates an admin user, with the default credentials admin / admin.
In the compose above you have already changed the password with GOTIFY_DEFAULTUSER_PASS, a variable that only takes effect the first time, when the database is created. It is best to manage that password and the tokens as secrets, as explained in the guide on environment variables and secrets in Docker. Do not leave them in clear text in a compose file you push to a repository.
If you are going to reach Gotify from outside your local network, do not publish the port directly: put it behind a reverse proxy with HTTPS. The most convenient way in this series is to delegate it to Traefik, a reverse proxy that discovers Docker containers and issues them automatic HTTPS certificates, adding the matching router labels to the service. If you are starting from scratch, review how to install Docker on Ubuntu 24.04 first.
How do you create applications and tokens?
With Gotify running and logged in as admin, the first step is to create an application. In the side menu, go to "Apps" and click "Create Application". Give it a descriptive name (for example "Backups") and, optionally, a description and an icon.
On confirming, Gotify generates an application token: a string starting with A. That token is the key to send messages to that application, and you can view or regenerate it at any time from the same screen.
It is worth creating one application per alert source: one for backups, another for the web server, another for container updates. That way, in the dashboard and in the mobile app, messages stay grouped by origin and you can mute or prioritise each one separately. If you want Watchtower to notify you when it updates an image, for instance, you give it the token of an application called "Updates" and its notifications will appear neatly there.
Client tokens are the other side of the coin. They are created in the "Clients" section and used by consumers (the Android app or any program that wants to receive messages live over the /stream WebSocket). Do not confuse them: the application token is for sending, the client token for receiving. This separation is what lets you hand out permissions carefully, giving each script only the ability to publish to its application.
How do you send messages through the Gotify API?
Here is the practical part and the reason Gotify is so convenient: sending a notification is one POST to /message with the application token in the X-Gotify-Key header. Only the message field is required; title and priority are optional. With curl, a complete alert looks like this:
curl "http://SERVER-IP:8080/message"
  -H "X-Gotify-Key: YOUR-APP-TOKEN"
  -F "title=Backup"
  -F "message=The nightly backup finished with no errors"
  -F "priority=5"
If the token is valid, Gotify replies with the message in JSON and, instantly, the alert appears in the web dashboard and in any connected client. From a script in Bash, Python or whatever language you use, integrating it is a one-liner. That is why it fits so well at the end of a cron job, a deploy hook or a homemade healthcheck.
Priority deserves attention because it changes the behaviour on the phone. The official Android app maps the value, from 0 to 10, into four tiers.
With 0 no notification is generated at all and the message only stays in the history. From 1 to 3 an icon appears in the notification bar with no sound, and from 4 to 7 sound is added. From 8 to 10 it sounds and also vibrates, meant for the urgent. Reserve high priority for what truly cannot wait (a service down), and use low priority for informational noise, so your phone does not end up ignoring everything alike.
Gotify or ntfy: which should you choose?
Gotify and ntfy solve the same problem (your own push notifications) with different philosophies, and it is worth knowing the differences before deciding:
- Sending model. Gotify organises messages by applications, each with its token; you have to create the application in the dashboard before sending. ntfy uses topics: you publish to a URL with the topic name and that is it, with no prior registration.
- Mobile clients. Gotify has a solid official Android app (on Google Play and F-Droid), but offers no official iOS app; there it relies on UnifiedPush. ntfy publishes official apps for both Android and iOS, which can tip the balance if you use an iPhone.
- Account and access. Gotify always requires logging in: it is a closed server with users and tokens. ntfy can work without an account for the basics and control access only when you need it.
- Simplicity. Gotify is more compact: one container, SQLite and a dashboard where you see the history. ntfy offers more options (attachments, actions, inbound email) in exchange for a bit more configuration.
In practice, choose Gotify if you want a private mailbox ordered by source, you use Android and you value the minimal surface. Choose ntfy if you need an iOS app, prefer the registration-free topic model or want more advanced features. Both can run side by side in the same homelab, depending on the use case.
Frequently asked questions
Do I need a mobile app to receive the notifications?
It is not essential: Gotify’s own web dashboard shows messages in real time, so with the tab open you already see them. To receive alerts with the phone locked, install the official Android app, available on Google Play and F-Droid, and point it at your server’s URL with a client token. On iOS there is no official Gotify app; the alternative is to use a client that is compatible with UnifiedPush.
Can I use Gotify with an external database like PostgreSQL?
Yes. By default Gotify uses SQLite, which is enough for personal or homelab use and requires no additional service. If you prefer MySQL or PostgreSQL, you configure them with the GOTIFY_DATABASE_DIALECT and GOTIFY_DATABASE_CONNECTION variables, pointing at the database container. For most installations, SQLite inside the volume is the simplest option and the one that needs the least maintenance.
How do I back up Gotify?
Since everything lives in /app/data (the SQLite database, uploaded images and certificates), backing up that volume is enough. You can stop the container and copy the gotify_data volume, or copy the gotify.db file live. On restoring, you recover users, applications and tokens exactly as they were. Keeping that volume in your backup routine is all you need to avoid losing the configuration.
Conclusion
Gotify is the most direct way to have your own push notifications without handing your alerts to third parties. With a single docker-compose.yml, a volume and a few minutes, you bring up the server, create an application with its token and can already fire messages from any script with a curl to /message. The natural next step is to connect your services: have Watchtower notify you of each update and route your server’s healthchecks to Gotify. If you also use an iPhone or want the topic model, compare the experience with ntfy to keep whichever fits best.
Sources: [1] Gotify installation documentation[1], [2] Gotify: configuration and environment variables[2], [3] Gotify: sending messages through the API[3], [4] Gotify official repository on GitHub[4], [5] gotify/server image on Docker Hub[5].